編輯:關於Android編程
在Android開發中,為了UI線程能及時響應需要避免在其中執行耗時操作,以防止界面假死甚至ANR。我們一般把耗時操作如下載,查詢放在一個單獨的線程中。這之後再將結果更新到UI界面。android平台在非UI線程中更新界面大致有以下幾種方式:
[java]
<SPAN style="COLOR: #993300">Activity.runOnUiThread(Runnable)
View.post(Runnable)
AsyncTask<Params, Progress, Result>
Handler.post(Runnable)</SPAN>
Activity.runOnUiThread(Runnable)
View.post(Runnable)
AsyncTask<Params, Progress, Result>
Handler.post(Runnable)
其中後面兩種方式我們用的比較多,而AsyncTask也是基於Handler進行封裝的,可以看出Handler是我們更新UI線程的利器。看下常用的Handler構造方法:
[java]
<SPAN style="COLOR: #993300">public Handler() {
this(null, false);
}
public Handler(Callback callback, boolean async) {
.....
mLooper = Looper.myLooper();
.....
mQueue = mLooper.mQueue;
mCallback = callback;
mAsynchronous = async;
}</SPAN>
public Handler() {
this(null, false);
}
public Handler(Callback callback, boolean async) {
.....
mLooper = Looper.myLooper();
.....
mQueue = mLooper.mQueue;
mCallback = callback;
mAsynchronous = async;
}
從第二個方法裡面可以看出,新建一個handler對象,主要是使其final MessageQueue mQueue作用域指向一個對象,其它的作用域用默認的都行。mQueue來自mLooper = Looper.myLooper();看下myLooper()方法的實現:
[java]
<SPAN style="COLOR: #993300">public static Looper myLooper() {
return sThreadLocal.get();
}
// sThreadLocal.get() will return null unless you've called prepare().
static final ThreadLocal<Looper> sThreadLocal = new ThreadLocal<Looper>();</SPAN>
public static Looper myLooper() {
return sThreadLocal.get();
}
// sThreadLocal.get() will return null unless you've called prepare().
static final ThreadLocal<Looper> sThreadLocal = new ThreadLocal<Looper>();
到這裡是時候說明下ThreadLocal了,ThreadLocal是java中為每個線程都提供一個變量值的副本,是Java中一種較為特殊的線程綁定機制。這裡我們只要記住以下幾點:1.每個線程中獲得的ThreadLocal的值都是線程獨立的,和其它線程沒有關聯。2.對於ThreadLocal的理解在記住第一點的基礎上只需要記住public void set(T)和public T get()兩個接口就可以。
事實上android利用ThreadLocal,為每個UI線程建立一個looper對象,每個looper對象有一個消息隊列MessageQueue。每次聲明一個handler,其主要步驟就是綁定當前線程的消息隊列,這之後就可以利用handler將需要的操作派發到消息隊列中。一般在每個線程的開始執行Looper.prepare();這是為當前線程創建線程私有的looper對象,這之後就可以聲明handler;一般在每個線程的最後執行Looper.loop();前面說明handler綁定了當前線程的消息隊列,loop()方法就是監聽消息隊列,並且執行操作,因此這個方法是一個無限循環,其之後的代碼都不會執行,所以在線程的最後執行。
這種模式有點像大學操作系統中的生產者和消費者模式,looper就像消費者,handler就像生產者,比較特殊的是在一個線程中消費者looper只能有一個,生產者handler可以有多個。接下來帶著上面的知識看看looper中的主要代碼:
[java]
<SPAN style="COLOR: #993300">public static void prepare() {
prepare(true);
}
private static void prepare(boolean quitAllowed) {
if (sThreadLocal.get() != null) {
throw new RuntimeException("Only one Looper may be created per thread");
}
sThreadLocal.set(new Looper(quitAllowed));
}
public static void loop() {
final Looper me = myLooper();
final MessageQueue queue = me.mQueue;
for (;;) {
Message msg = queue.next(); // might block
.....
msg.target.dispatchMessage(msg);
}
}</SPAN>
public static void prepare() {
prepare(true);
}
private static void prepare(boolean quitAllowed) {
if (sThreadLocal.get() != null) {
throw new RuntimeException("Only one Looper may be created per thread");
}
sThreadLocal.set(new Looper(quitAllowed));
}
public static void loop() {
final Looper me = myLooper();
final MessageQueue queue = me.mQueue;
for (;;) {
Message msg = queue.next(); // might block
.....
msg.target.dispatchMessage(msg);
}
}
在程序中如果某一個子方法裡面涉及到了handler而當前線程沒有綁定looper(比如在某個自己新建的線程中新分配的一個對象就可能需要handler),運行時就會拋出異常:
[java]
<SPAN style="COLOR: #993300">if (mLooper == null) {
throw new RuntimeException(
"Can't create handler inside thread that has not called Looper.prepare()");
}</SPAN>
if (mLooper == null) {
throw new RuntimeException(
"Can't create handler inside thread that has not called Looper.prepare()");
}
而如果只在線程的開頭執行Looper.prepare();而沒有執行Looper.loop();就會出現很多操作不會執行的現象。
 陌陌忘記密碼無法登錄? 密碼重置方法(已綁手機)
有時候使用陌陌會不會遇到密碼忘記的時候,特別是設置了復雜的密碼,更加容易忘記。忘記密碼無法登錄?別著急,小陌為您提供綁定手機情況下重置密碼的方法,請結合你的
 Android AsyncTask 源碼解析
1、概述 相信大家對AsyncTask都不陌生,對於執行耗時任務,然後更新UI是一把利器,當然也是替代Thread + Handler 的一種方式。如果你對
 Android開發之Sensors與搖一搖
Sensor概述 基於Android的設備有內置的傳感器,測量運動,方向,和各種環境條件。這些傳感器能夠提供原始數據的高精度和准確度,並且是有用的如果你想要監測裝置、定位
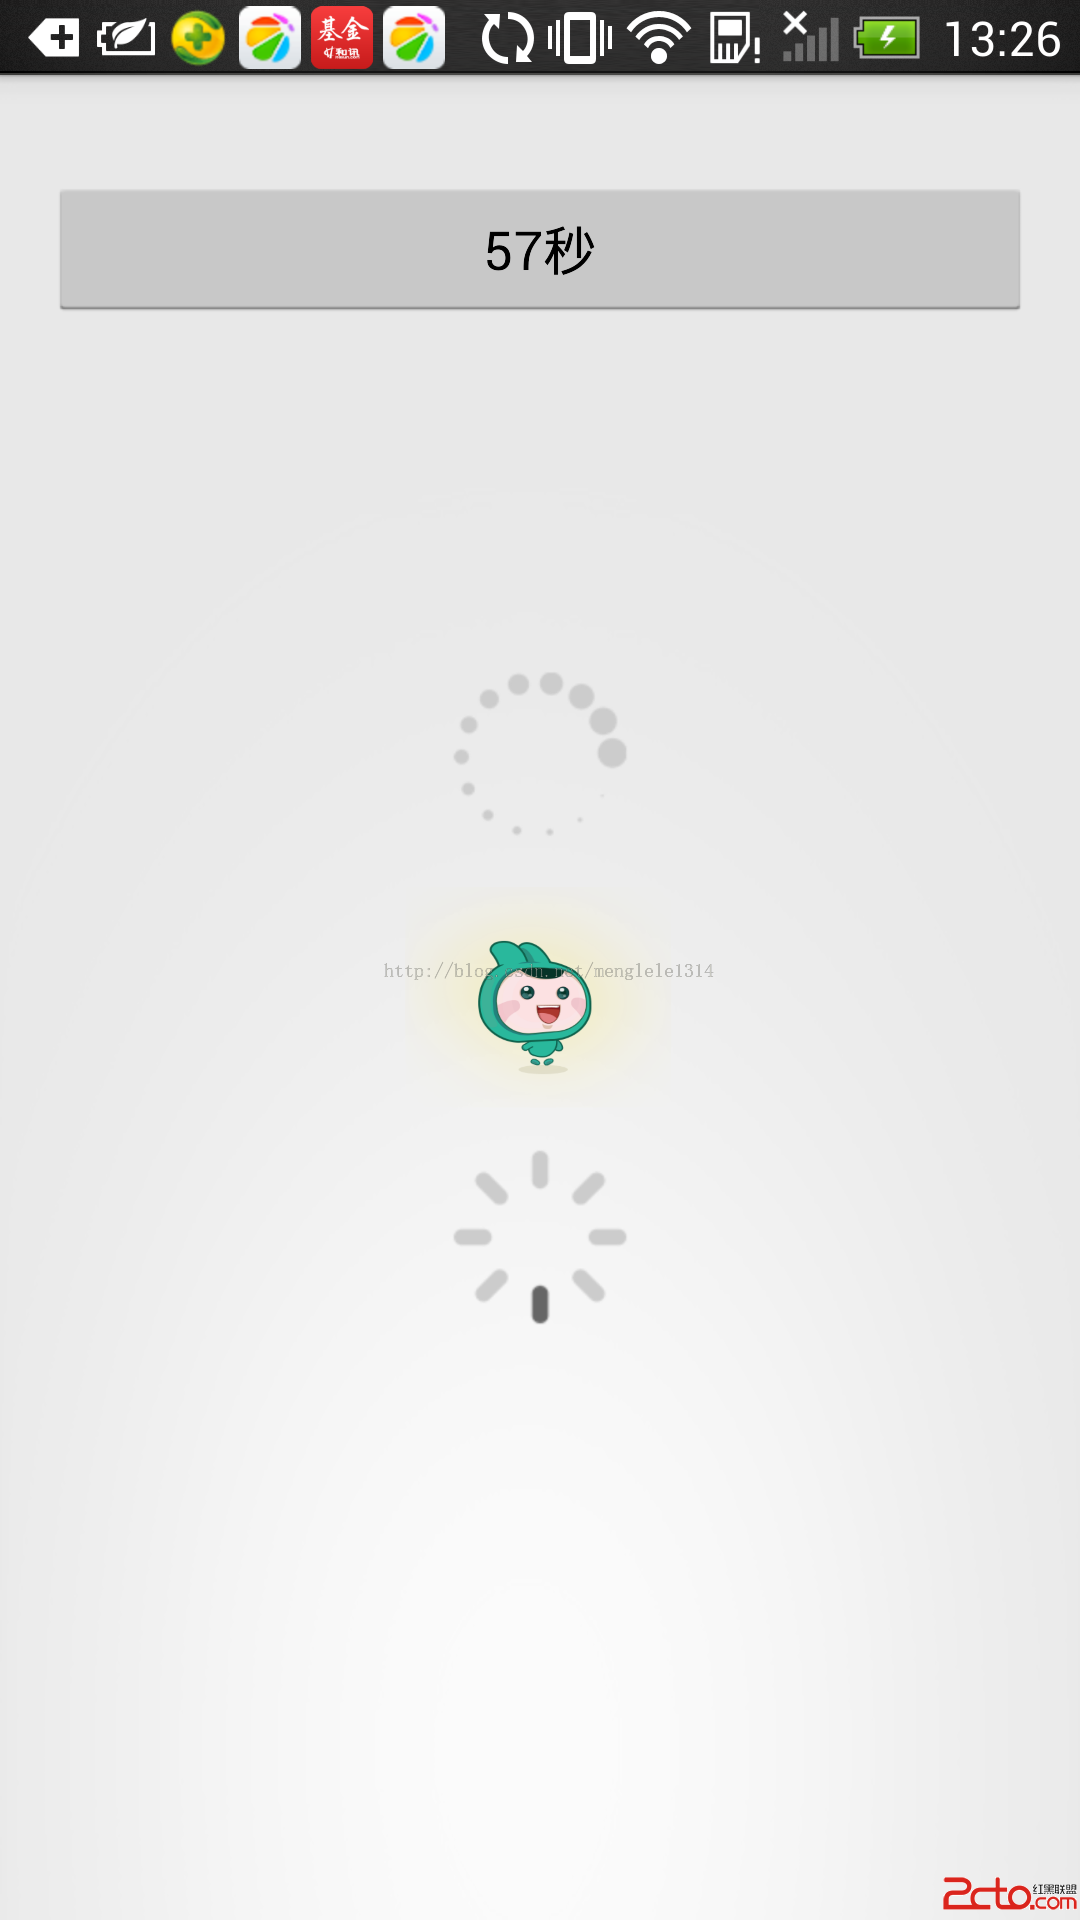 android 獲取短信驗證碼倒計時
android 獲取短信驗證碼倒計時public class MainActivity extends Activity {private Button submit;p