編輯:關於Android編程
PopupWindow是我們開發中的常客之一,使用起來也比較簡單方便。
寫了個最簡單地自定義PopupWindow,記錄下來,方便以後使用時直接在上面改動就可以。
/**
 * @param
 * @author ldm
 * @description 自定義PopupWindow
 * @time 2016/9/29 15:26
 */
public class CustomPopup extends PopupWindow {
  //上下文
  private Context mContext;
  // PopupWindow中控件點擊事件回調接口
  private IPopuWindowListener mOnClickListener;
  //PopupWindow布局文件中的Button
  private Button alarm_pop_btn;
   /**
   * @description 構造方法
   * @author ldm
   * @time 2016/9/30 9:14
   * @param
  */
  public CustomPopup(Context mContext, int width, int height, IPopuWindowListener listener) {
    super(mContext);
    this.mContext = mContext;
    this.mOnClickListener = listener;
    //獲取布局文件
    View mContentView = LayoutInflater.from(mContext).inflate(R.layout.alarm_disopse_pop, null);
    //設置布局
    setContentView(mContentView);
    // 設置彈窗的寬度和高度
    setWidth(width);
    setHeight(height);
    //設置能否獲取到焦點
    setFocusable(false);
    //設置PopupWindow進入和退出時的動畫效果
    setAnimationStyle(R.style.popwindow_exit_anim_style);
    setTouchable(true); // 默認是true,設置為false,所有touch事件無響應,而被PopupWindow覆蓋的Activity部分會響應點擊
    // 設置彈窗外可點擊,此時點擊PopupWindow外的范圍,Popupwindow不會消失
    setOutsideTouchable(false);
    //外部是否可以點擊,設置Drawable原因可以參考:http://blog.csdn.net/harvic880925/article/details/49278705
    setBackgroundDrawable(new BitmapDrawable());
    // 設置彈窗的布局界面
    initUI();
  }

  /**
   * 初始化彈窗列表
   */
  private void initUI() {
  //獲取到按鈕
    alarm_pop_btn = (Button) getContentView().findViewById(R.id.alarm_pop_btn);
    //設置按鈕點擊事件
    alarm_pop_btn.setOnClickListener(new View.OnClickListener() {
      @Override
      public void onClick(View view) {
        if (null != mOnClickListener) {
          mOnClickListener.dispose();
        }
      }
    });
  }

  /**
   * 顯示彈窗列表界面
   */
  public void show(View view) {
    int[] location = new int[2];
    view.getLocationOnScreen(location);
    //Gravity.BOTTOM設置在view下方,還可以根據location來設置PopupWindowj顯示的位置
    showAtLocation(view, Gravity.BOTTOM, 0, 0);
  }

  /**
   * @param
   * @author ldm
   * @description 點擊事件回調處理接口
   * @time 2016/7/29 15:30
   */
  public interface IPopuWindowListener {
    void dispose();
  }
}
注:設置PopupWindow的寬高還可以通過LayoutParams來設置,比如:
 //通過LayoutParams來設置PopupWindow的高度和寬度
  ViewGroup.LayoutParams lp = (ViewGroup.LayoutParams)mContentView.getLayoutParams();
   lp.widht=400;
   lp.height = 180;
  mContentView.setLayoutParams(lp);
  //但是直接這樣寫獲取到的lp可能為空,我們在獲取一個View的LayoutParams時,通常應該這樣寫:
  //在addOnGlobalLayoutListener監聽中來獲取View的LayoutParams  mContentView.getViewTreeObserver().addOnGlobalLayoutListener(new ViewTreeObserver.OnGlobalLayoutListener() {
      @Override
      public void onGlobalLayout() {
        ViewGroup.LayoutParams lp = (ViewGroup.LayoutParams) mContentView.getLayoutParams();
        lp.height = 180;
        lp.width = 400;
        mContentView.setLayoutParams(lp);
      }
    });
在Activity中使用:
private CustomPopup alarmPopup;
....
//初始化PopupWindow這裡通過數據200來設置PopupWindow高度
alarmPopup=new CustomPopup(getActivity(), ViewGroup.LayoutParams.MATCH_PARENT, 200, this);//這裡的this是指當前Activity實現了PopupWindow中IPopuWindowListener接口
//彈出PopupWindow
 @Override
  protected void widgetClick(View v) {
    super.widgetClick(v);
    switch (v.getId()) {
      case R.id.popup:
        alarmPopup.show(v);
        break;
    }
  }
  //處理PopupWindow中按鈕點擊回調
   @Override
  public void dispose() {
    //TODO sth
    if (alarmPopup.isShowing()) {
        alarmPopup.dismiss();//關閉PopupWindow
      }
  }
PopupWindow對應 的布局界面:
<?xml version="1.0" encoding="utf-8"?>
<LinearLayout xmlns:android="http://schemas.android.com/apk/res/android"
  android:id="@+id/pop_ll"
  android:layout_width="match_parent"
  android:layout_height="60dp"
  android:background="#404040"
  android:orientation="horizontal">

  <Button
    android:id="@+id/alarm_pop_btn"
    android:layout_width="match_parent"
    android:layout_height="match_parent"
    android:background="@null"
    android:gravity="center"
    android:text="@string/dispose"
    android:textColor="#FFFFFF"
    android:textSize="18sp" />
</LinearLayout>
動畫style:
  <style name="popwindow_exit_anim_style" parent="android:Animation">
    <item name="android:windowEnterAnimation">@anim/popshow_anim</item>
    <!-- 指定顯示的動畫xml -->
    <item name="android:windowExitAnimation">@anim/pophidden_anim</item>
    <!-- 指定消失的動畫xml -->
  </style>
popshow_anim.xml
<?xml version="1.0" encoding="utf-8"?>
<set xmlns:android="http://schemas.android.com/apk/res/android" >

  <translate
  android:duration="500"
  android:fromYDelta="100%p"
  android:toYDelta="0" />
 <alpha
  android:duration="500"
  android:fromAlpha="0.0"
  android:toAlpha="1.0" />
</set>
pophidden_anim.xml:
<?xml version="1.0" encoding="utf-8"?>
<set xmlns:android="http://schemas.android.com/apk/res/android" >

   <translate
  android:duration="500"
  android:fromYDelta="0"
  android:toYDelta="50%p" />
 <alpha
  android:duration="500"
  android:fromAlpha="1.0"
  android:toAlpha="0.0" />
</set>
以上就是本文的全部內容,希望對大家的學習有所幫助,也希望大家多多支持本站。
 Hook框架xposed的簡單demo
簡介:Xposed框架是一款可以在不修改APK的情況下影響程序運行的框架服務,通過替換/system/bin/app_process程序控制zygote進程,使得app
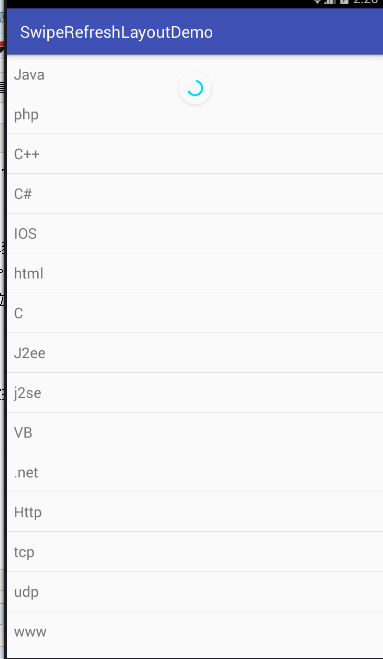 Android官方下拉刷新控件SwipeRefreshLayout使用詳解
可能開發安卓的人大多數都用過很多下拉刷新的開源組件,但是今天用了官方v4支持包的SwipeRefreshLayout覺得效果也蠻不錯的,特拿出來分享。簡介:SwipeRe
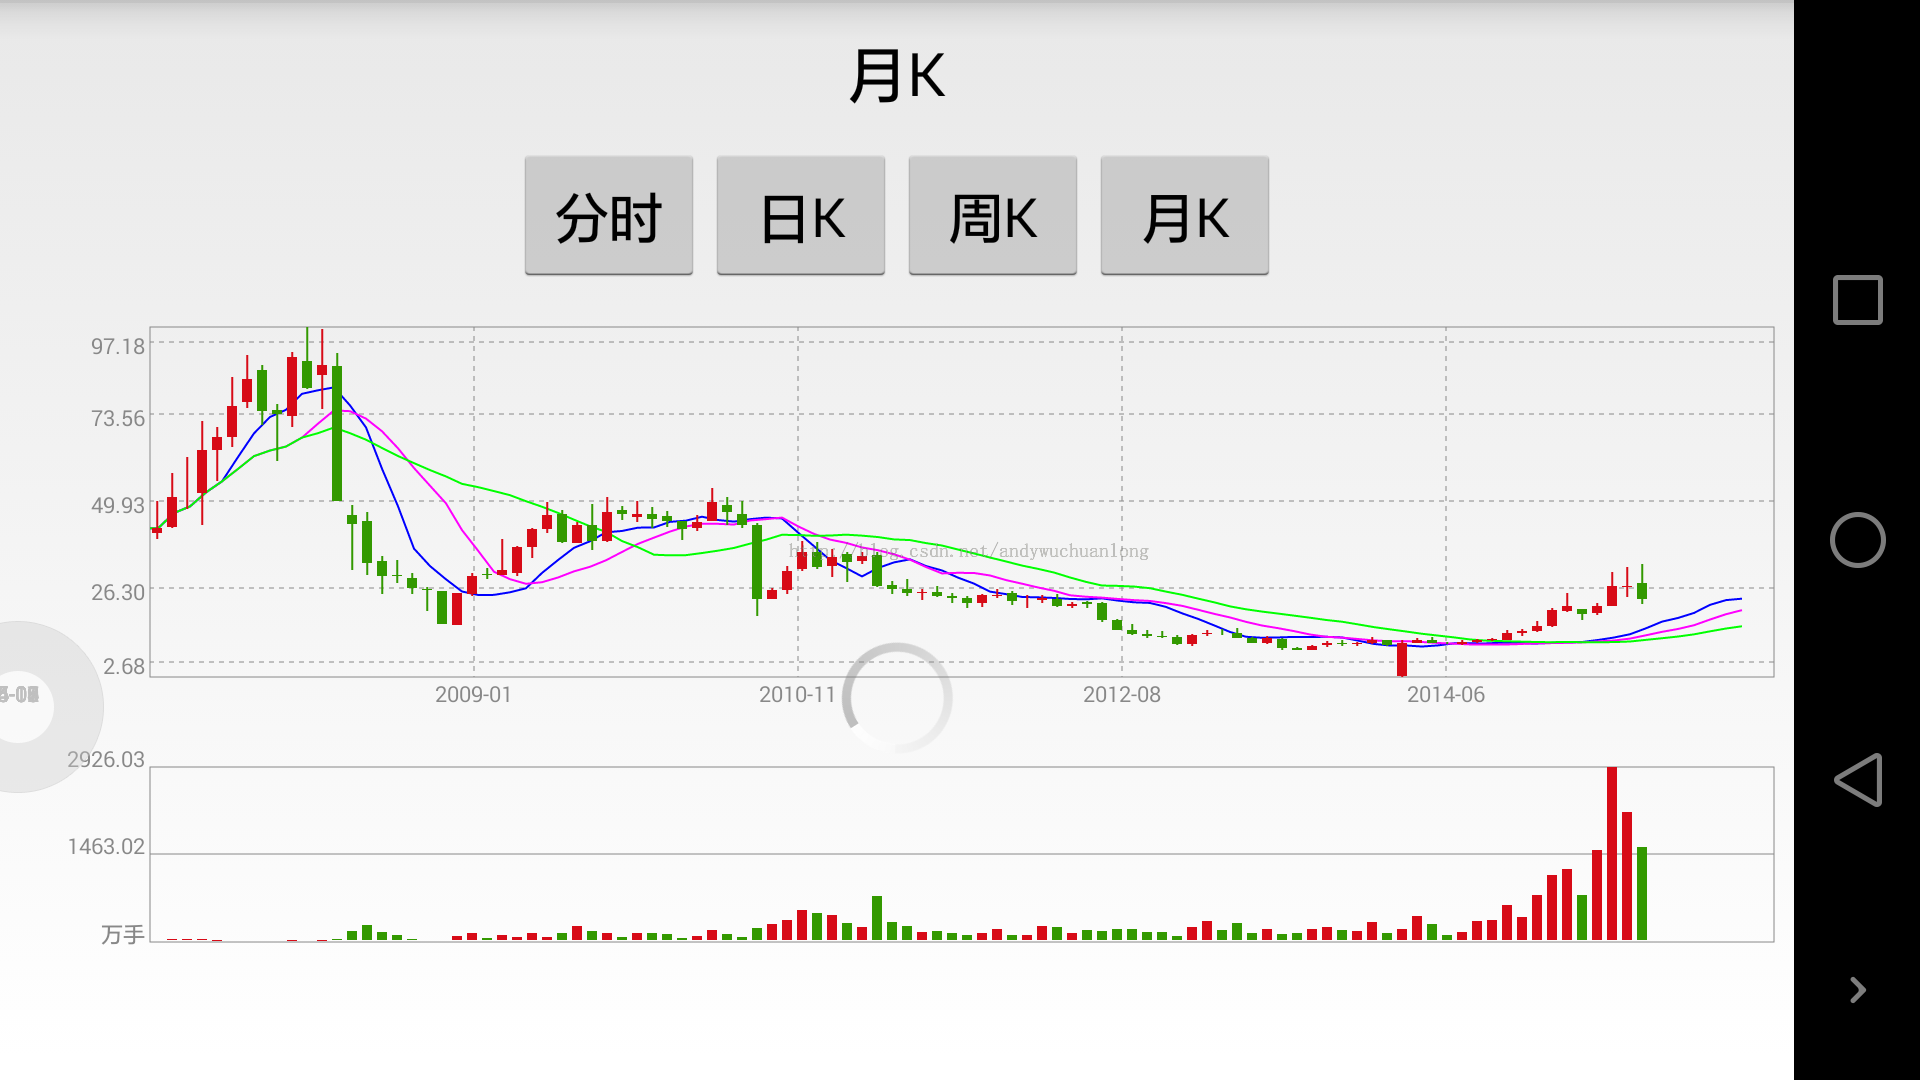 Android版的股票行情K線圖開發
現在在手上的是一個證券資訊類型的app,其中有涉及到股票行情界面,行情中有K線圖等,看到網上很多人在求這方面的資料,所以我特地寫了一個demo在此處給大家分享一下。下面是
 Android自定義控件——自定義屬性
我們在自定義android組件的時候,除了用Java構建出組件的樣子外,有時候還需要去申明一些“屬性”提供給項目使用,那麼什麼是組件