編輯:Android資訊
FragmentTabHost作為Android4.0版本的控件, 已經被項目廣泛使用, 5.0版本又推出TabLayout+ViewPager顯示多頁. 我來講解如何使用FragmentTabHost.
Github下載地址
主要包括:
(1) 自定義Tab的圖片資源和去掉分割線.
(2) 緩存Fragment的布局, 減少填充.
在切換頁面時, 控件會調用Fragment的onCreateView, 重新創建頁面.
通過緩存頁面, 可以增強性能.
FragmentTabHost是原生控件, 並不需要添加其他的maven庫.
包括標簽組Tabs和頁面TabContainer, 標簽組固定大小, 頁面填充.
<?xml version="1.0" encoding="utf-8"?>
<android.support.v4.app.FragmentTabHost
    android:id="@android:id/tabhost"
    xmlns:android="http://schemas.android.com/apk/res/android"
    android:layout_width="match_parent"
    android:layout_height="match_parent">

    <LinearLayout
        android:layout_width="match_parent"
        android:layout_height="match_parent"
        android:orientation="vertical">

        <TabWidget
            android:id="@android:id/tabs"
            android:layout_width="match_parent"
            android:layout_height="?attr/actionBarSize"
            android:layout_gravity="bottom"/>

        <FrameLayout
            android:id="@android:id/tabcontent"
            android:layout_width="match_parent"
            android:layout_height="0dp"
            android:layout_weight="1"/>

    </LinearLayout>

</android.support.v4.app.FragmentTabHost>
注意控件的id必須是Android提供的標准id, 即”@android:id”.
Fragment布局, 包含一行文字提示.
<?xml version="1.0" encoding="utf-8"?>
<LinearLayout xmlns:android="http://schemas.android.com/apk/res/android"
              xmlns:tools="http://schemas.android.com/tools"
              android:layout_width="match_parent"
              android:layout_height="match_parent"
              android:orientation="vertical">

    <TextView
        android:id="@+id/tab_tv_text"
        android:layout_width="match_parent"
        android:layout_height="match_parent"
        android:gravity="center"
        android:textSize="40sp"
        tools:text="Test"/>

</LinearLayout>
Tab布局, 包含一個圖片控件.
<?xml version="1.0" encoding="utf-8"?>
<LinearLayout
    xmlns:android="http://schemas.android.com/apk/res/android"
    xmlns:tools="http://schemas.android.com/tools"
    android:layout_width="wrap_content"
    android:layout_height="wrap_content"
    android:orientation="vertical">

    <ImageView
        android:id="@+id/tab_iv_image"
        android:padding="12dp"
        android:layout_width="wrap_content"
        android:layout_height="wrap_content"
        android:contentDescription="@null"
        tools:src="@drawable/tab_assistant"/>

</LinearLayout>
setup設置頁面組合, 卻掉分割線etDividerDrawable(null), 設置Tab.
使用自定義的圖片資源, newTabSpec設置Fragment的Tag標簽.
/**
 * 主頁, 切換Tab標簽顯示不同頁面.
 *
 * @author C.L.Wang
 */
public class MainActivity extends AppCompatActivity {

    @Bind(android.R.id.tabhost) FragmentTabHost mTabHost;

    // 圖片
    @DrawableRes
    private int mImages[] = {
            R.drawable.tab_counter,
            R.drawable.tab_assistant,
            R.drawable.tab_contest,
            R.drawable.tab_center
    };

    // 標題
    private String mFragmentTags[] = {
            "counter",
            "assistant",
            "contest",
            "center"
    };

    @Override
    protected void onCreate(Bundle savedInstanceState) {
        super.onCreate(savedInstanceState);
        setContentView(R.layout.activity_main);

        ButterKnife.bind(this);

        mTabHost.setup(this, getSupportFragmentManager(), android.R.id.tabcontent);
        mTabHost.getTabWidget().setDividerDrawable(null); // 去掉分割線

        for (int i = 0; i < mImages.length; i++) {
            // Tab按鈕添加文字和圖片
            TabHost.TabSpec tabSpec = mTabHost.newTabSpec(mFragmentTags[i]).setIndicator(getImageView(i));
            // 添加Fragment
            mTabHost.addTab(tabSpec, FragmentTab.class, null);
            // 設置Tab按鈕的背景
            mTabHost.getTabWidget().getChildAt(i).setBackgroundResource(R.color.pedo_actionbar_bkg);
        }
    }

    // 獲得圖片資源
    private View getImageView(int index) {
        @SuppressLint("InflateParams")
        View view = getLayoutInflater().inflate(R.layout.view_tab_indicator, null);
        ImageView imageView = (ImageView) view.findViewById(R.id.tab_iv_image);
        imageView.setImageResource(mImages[index]);
        return view;
    }
}
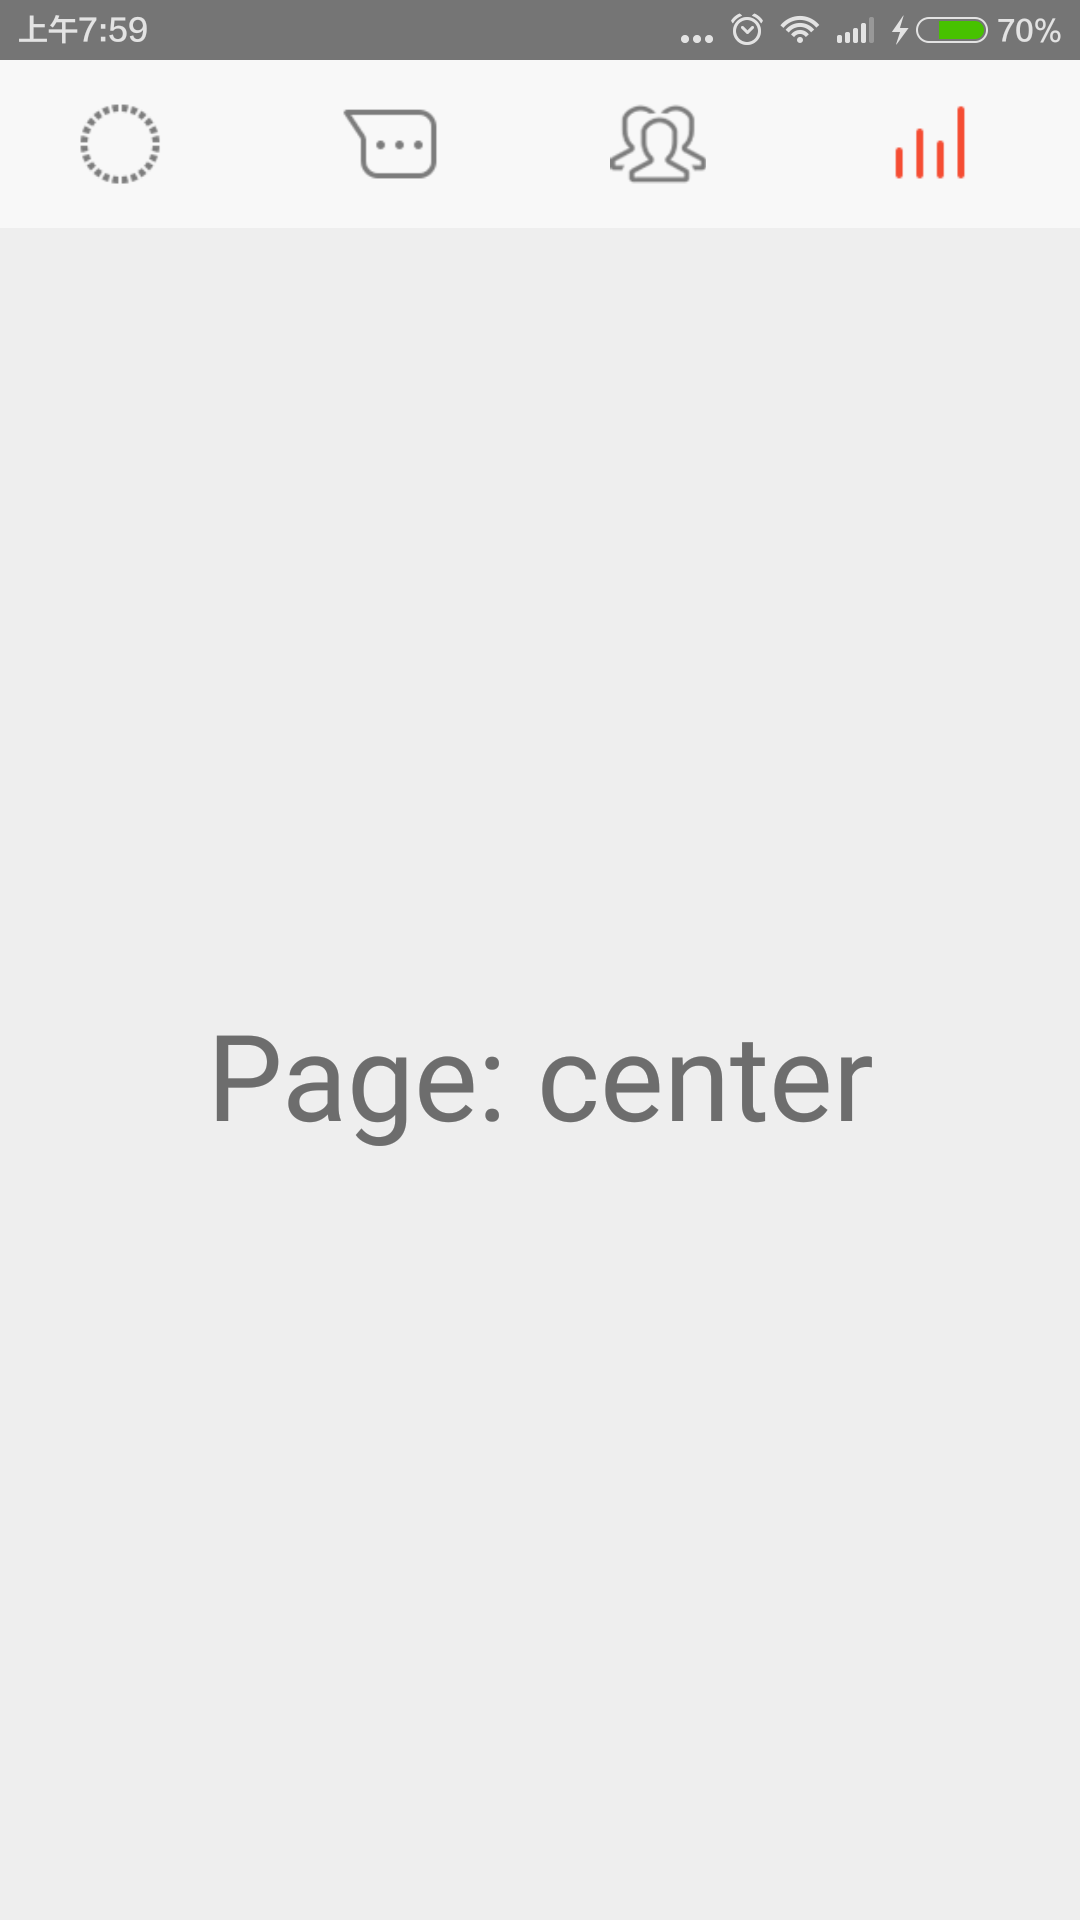
顯示不同Tag標簽. 緩存頁面, 注意關聯前, 刪除父控件關聯. 頁面顯示Tag信息.
/**
 * Tab的Fragment
 * <p/>
 * Created by wangchenlong on 15/12/28.
 */
public class FragmentTab extends Fragment {

    @Bind(R.id.tab_tv_text) TextView mTvText;

    private View mViewContent; // 緩存視圖內容

    @Nullable @Override
    public View onCreateView(LayoutInflater inflater, @Nullable ViewGroup container, @Nullable Bundle savedInstanceState) {
        if (mViewContent == null) {
            mViewContent = inflater.inflate(R.layout.fragment_tab, container, false);
        }

        // 緩存View判斷是否含有parent, 如果有需要從parent刪除, 否則發生已有parent的錯誤.
        ViewGroup parent = (ViewGroup) mViewContent.getParent();
        if (parent != null) {
            parent.removeView(mViewContent);
        }

        ButterKnife.bind(this, mViewContent);
        return mViewContent;
    }

    @Override public void onViewCreated(View view, @Nullable Bundle savedInstanceState) {
        super.onViewCreated(view, savedInstanceState);
        // 顯示Fragment的Tag信息
        mTvText.setText(String.valueOf("Page: " + getTag()));
    }

    @Override public void onDestroyView() {
        super.onDestroyView();
        ButterKnife.unbind(this);
    }
}
OK, That’s all! 熟練使用控件很重要. Enjoy It!
 Android官方導航欄ActionBar使用詳解
一、ActionBar概述 ActionBar是androiD3.0以後新增的組件,主要用於標示應用程序以及用戶所處的位置並提供相關操作以及全局的導航功能。下面我
 Android UI控件系列:WebView(網絡視圖)
Android網路功能很強大,WebView組件支持直接加載網頁,可以將其視為一個浏覽器,要實現該功能,具體步驟如下 1、在布局文件中聲明WebView 2、在A
 MVP實現Android應用層開發原理及過程
背景 之所以要談這個話題是因為你在開發App時可能會發現,Activity擔負的責任非常之重,如果站在MVC框架角度看自己開發的App,一般xml布局文件科Act
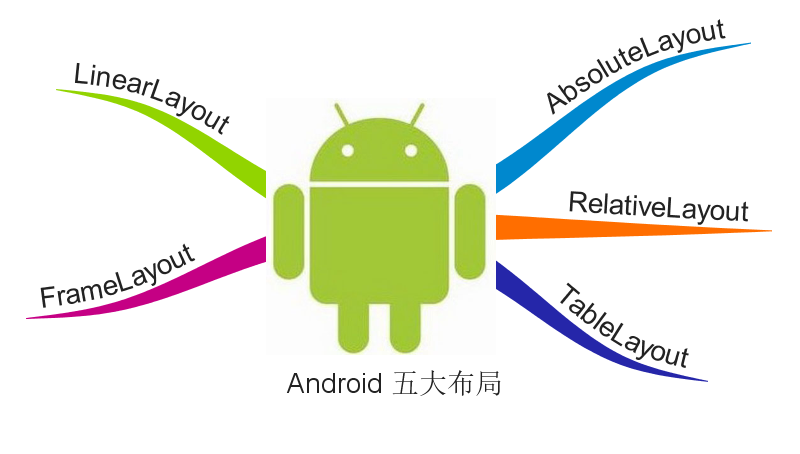 Android 五大布局講解與應用
本文由碼農網 – 楊小勇原創,轉載請看清文末的轉載要求,歡迎參與我們的付費投稿計劃! Android總體有五大布局: 線性布局(LiearLayout)