編輯:Android技術基礎
准備工作:
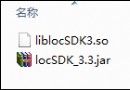
(1)第一步,下載定位Android locSDK3.3。
(2)第二步,修改擴展名zip為jar
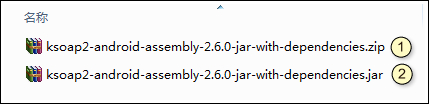
下載之後,文件名為:ksoap2-android-assembly-2.6.0-jar-with-dependencies.zip
請修改為:ksoap2-android-assembly-2.6.0-jar-with-dependencies.jar
准備工作至此已經結束。
一、工程配置
1、第一步,在工程裡新建libs文件夾,將開發包裡的ksoap2-android-assembly-2.6.0-jar-with-dependencies.jar拷貝到libs根目錄下,拷貝完成後的工程目錄如下圖所示;

2、第二步:在工程屬性->Java Build Path->Libraries中選擇“Add External JARs”,選定ksoap2-android-assembly-2.6.0-jar-with-dependencies.jar,確定後返回。
通過以上兩步操作後,您就可以正常使用Web Service的功能了。
二、設計界面
1、布局文件
打開res/layout/activity_main.xml文件。
輸入以下代碼:
三、程序文件
1、MainActivity.java
打開“src/com.genwoxue.baidulocation/MainActivity.java”文件。
然後輸入以下代碼:
四、配置文件
打開“AndroidManifest.xml”文件。
注意:由於是調用WebService,請注意在AndroidManifest.xml加上由於互聯網權限。
<uses-permission android:name="android.permission.INTERNET"/>
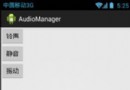
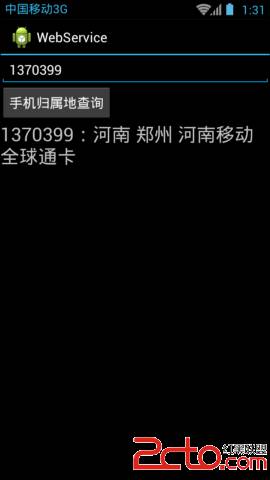
五、運行結果
 第100章、WebView應用之Javascript調用Android(從零開始學Android)
在某些Android應用中,使用Javascript調用Android中的方法也是會用到的。(1)用WebView來顯示HTML代碼;(2)允許WebView執行Java
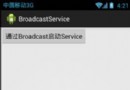 第92章、廣播之三通過廣播啟動服務(從零開始學Android)
Service(服務)在Android中地位是至關重要的,我們可以通過Activity與Broadcast(廣播)啟動Service(服務),我們本章學習如何通過廣播Br
 8.4.1 Android動畫合集之幀動畫
本節引言:從本節開始我們來探究Android中的動畫,畢竟在APP中添加上一些動畫,會讓我們的應用變得很炫,比如最簡單的關開Activity,當然自
 第103章、百度地圖定位-我在哪?(從零開始學Android)
百度地圖我們已經有了簡單了解,那麼今天我們再談定位,從地圖上看看自己在哪裡?准備工作:(1)第一步,下載定位Android locSDK3.3。下載地址:http://d