前言:
盡管Android已經為我們提供了一套豐富的控件,如:Button,ImageView,TextView,EditText等眾多控件,但是,有時候在項目開發過程中,還是需要開發者自定義一些需要重復使用的控件,使之能像Android提供的其它控件一樣,使用起來方便,幸好Android為我們自定義控件過程掃除了障礙,提供了一套基礎的類(如:View,Canvas等)和XML標簽(如下文即將提及的resources標簽,declare-styleable標簽,attr標簽等);
創建流程:
一,在value文件夾新建以"attrs"命名的XML文件:
看一下本例中的attrs.xml文件
attrs.xml文件:
復制代碼
1 <?xml version="1.0" encoding="utf-8"?>
2 <resources>
3 <declare-styleable name="CustomView">
4 <attr name="textString" format="string"></attr>
5 <attr name="colorValue" format="color"></attr>
6 <attr name="textSize" format = "dimension"></attr>
7 </declare-styleable>
8 </resources>
復制代碼
attrs.xml文件中,外層引入了如下標簽:
<declare-styleable name="CustomView">
這個標簽就是為了讓我們自定義的View,擁有自身的屬性,從上面的代碼中,我們可以看到,該標簽內包含定義了三個屬性,分別取名為:"textString","colorValue","textSize",這樣我們就可以方便地使用該View的這些屬性,就像我們在使用系統提供的TextView時,在布局文件中設置TextView的textSize,textColor等屬性。
我們給declare-styleable的name字段取名為"CustomView",這是因為,我們將在下文給自定義的View取名為"CustomView",為什麼declare-styleable的名字要跟我們自定義的這個View的名字一樣呢?翻閱了google文檔,找到解釋:
The name of the styleable entity is, by convention, the same name as the name of the class that defines the custom view. Although it's not strictly necessary to follow this convention, many popular code editors depend on this naming convention to provide statement completion.
外層的declare-styleable標簽就分析到這裡,我們再來仔細看一下attr標簽:
<attr name="textString" format="string"></attr>
<attr name="colorValue" format="color"></attr>
<attr name="textSize" format = "dimension"></attr>
本例中,給自定義的View制定了三個屬性,textString:該View顯示的Text內容;colorValue:字體的顏色;textSize:字體的大小。attr標簽不僅有name字段,並且給出了format字段(關於format字段都有哪些值,在附錄中我們給出其具體的定義及應用示例)
二,編寫布局文件,引用自定義的View
復制代碼
<?xml version="1.0" encoding="utf-8"?>
<LinearLayout xmlns:android="http://schemas.android.com/apk/res/android"
xmlns:app="http://schemas.android.com/apk/res/com.project.summary"
android:layout_width="match_parent"
android:layout_height="match_parent"
android:orientation="vertical"
android:background="@color/BgColor">
<com.project.summary.customview.CustomView
android:id="@+id/customView"
android:layout_width="wrap_content"
android:layout_height="wrap_content"
app:colorValue="@color/textRed"
app:textString="This the Custom View!!!"
app:textSize="20sp"
/>
</LinearLayout>
復制代碼
這裡需要注意的地方有兩個:
1,新增布局文件的命名空間
因為我們自定義了View,並且自定義了屬性,而這些屬性不再屬於
http://schemas.android.com/apk/res/android
這個命名空間,而是屬於
http://schemas.android.com/apk/res/[your package name].
所以我們需要增加布局文件中的命名空間,改成
xmlns:app="http://schemas.android.com/apk/res/com.project.summary"
2,自定義View在布局文件中的引用
<com.project.summary.customview.CustomView
我們需要把這個自定義類的包名都寫完整;
另外:如果CustomView這個類是ParentCustomView類的內部類,那麼在布局文件中的引用應該寫成
<com.project.summary.customview.ParentCustomView$CustomView
即需要在類和之間增加字符$
3,自定義屬性在布局文件中的引用
app:colorValue="@color/textRed"
app:textString="This the Custom View!!!"
app:textSize="20sp"
需要在自定義的屬性前面加上app字段(因為app="http://schemas.android.com/apk/res/com.project.summary",在這裡app就是指代新的命名空間)。
三,編寫自定義View代碼
google文檔要求該自定義的View中,至少要有以Context和AttributeSet為參數的構造方法,原因有兩個:
1.
To allow the Android Developer Tools to interact with your view, at a minimum you must provide a constructor that takes a Context and an AttributeSet object as parameters. This constructor allows the layout editor to create and edit an instance of your view.
復制代碼
2.
When a view is created from an XML layout, all of the attributes in the XML tag are read from the resource bundle and passed into the view's constructor as an AttributeSet. Although it's possible to read values from the AttributeSet directly, doing so has some disadvantages:
A:Resource references within attribute values are not resolved;
B:Styles are not applied;
Instead, pass the AttributeSet to obtainStyledAttributes(). This method passes back a TypedArray array of values that have already been dereferenced and styled.
The Android resource compiler does a lot of work for you to make calling obtainStyledAttributes() easier. For each <declare-styleable> resource in the res directory, the generated R.java defines both an array of attribute ids and a set of constants that define the index for each attribute in the array. You use the predefined constants to read the attributes from the TypedArray.
復制代碼
第一個原因:為了讓我們的開發工具 layout editor創建和編輯我們自定義的View;
第二個原因:這個也是最主要的原因,當我們從布局文件中創建View的時候,布局文件中的所有標簽,標簽中的所有屬性都被讀到資源包裡,並且這個資源包被包裝成屬性集合AttributeSet傳遞給自定義View的構造方法;
在構造方法中,使用 obtainStyledAttributes()方法將這些屬性轉化成TypedArray數組,數組裡包含我們自定義的屬性ID和常量集合,這樣,我們就可以用我們定義的常量名稱很方便地從TypedArray中讀取我們定義的屬性。
所以我們至少先編寫包含Context和AttributeSet為參數的構造方法
復制代碼
1 public class CustomView extends View {
2 private int color;
3 private String mText;
4 private int textSize;
5
6 public CustomView(Context context, AttributeSet attrs) {
7 super(context, attrs);
8 TypedArray a = context.obtainStyledAttributes(attrs,
9 R.styleable.CustomView);
10 try {
11 mText = a.getString(R.styleable.CustomView_textString);
12 color = a.getColor(R.styleable.CustomView_colorValue,
13 R.color.textRed);
14 textSize = a.getDimensionPixelOffset(
15 R.styleable.CustomView_textSize, 20);
16 } finally {
17 a.recycle();
18 }
19 }
復制代碼
從代碼中可以看出,我們可以用TypedArray提供的相關方法,來取出我們在布局文件中設置的相關屬性,此處還需要注意TypedArray的回收!
四,本例中,我們自定義了一個View用來實現顯示文字,類似於TextView
由於本文只是講述如何自定義View,以及其使用,自定義View的功能部分不在本文范疇,將在下一篇中具體講述;所以,下面只貼代碼,不再具體講述。
復制代碼
public class CustomView extends View {
private int color;
private Paint mTextPaint;
private String mText;
private int textSize;
private int mAscent;
public CustomView(Context context, AttributeSet attrs) {
super(context, attrs);
initLabelView();
TypedArray a = context.obtainStyledAttributes(attrs,
R.styleable.CustomView);
try {
mText = a.getString(R.styleable.CustomView_textString);
color = a.getColor(R.styleable.CustomView_colorValue,
R.color.textRed);
if (mText != null) {
setCustomText(mText);
}
setTextColor(color);
textSize = a.getDimensionPixelOffset(
R.styleable.CustomView_textSize, 20);
if (textSize > 0) {
setTextSize(textSize);
}
} finally {
a.recycle();
}
}
/**
* Sets the text to display in this label
*
* @param text
* The text to display. This will be drawn as one line.
*/
private void setCustomText(String text) {
// TODO Auto-generated method stub
mText = text;
requestLayout();
invalidate();
}
private final void initLabelView() {
mTextPaint = new Paint();
mTextPaint.setAntiAlias(true);
// Must manually scale the desired text size to match screen density
mTextPaint.setTextSize(16 * getResources().getDisplayMetrics().density);
mTextPaint.setColor(0xFF000000);
setPadding(3, 3, 3, 3);
}
@Override
protected void onMeasure(int widthMeasureSpec, int heightMeasureSpec) {
setMeasuredDimension(measureWidth(widthMeasureSpec),
measureHeight(heightMeasureSpec));
}
/**
* Determines the width of this view
*
* @param measureSpec
* A measureSpec packed into an int
* @return The width of the view, honoring constraints from measureSpec
*/
private int measureWidth(int measureSpec) {
int result = 0;
int specMode = MeasureSpec.getMode(measureSpec);
int specSize = MeasureSpec.getSize(measureSpec);
if (specMode == MeasureSpec.EXACTLY) {
// We were told how big to be
result = specSize;
} else {
// Measure the text
result = (int) mTextPaint.measureText(mText) + getPaddingLeft()
+ getPaddingRight();
if (specMode == MeasureSpec.AT_MOST) {
// Respect AT_MOST value if that was what is called for by
// measureSpec
result = Math.min(result, specSize);
}
}
return result;
}
/**
* Determines the height of this view
*
* @param measureSpec
* A measureSpec packed into an int
* @return The height of the view, honoring constraints from measureSpec
*/
private int measureHeight(int measureSpec) {
int result = 0;
int specMode = MeasureSpec.getMode(measureSpec);
int specSize = MeasureSpec.getSize(measureSpec);
mAscent = (int) mTextPaint.ascent();
if (specMode == MeasureSpec.EXACTLY) {
// We were told how big to be
result = specSize;
} else {
// Measure the text (beware: ascent is a negative number)
result = (int) (-mAscent + mTextPaint.descent()) + getPaddingTop()
+ getPaddingBottom();
if (specMode == MeasureSpec.AT_MOST) {
// Respect AT_MOST value if that was what is called for by
// measureSpec
result = Math.min(result, specSize);
}
}
return result;
}
/**
* Sets the text size for this label
*
* @param size
* Font size
*/
public void setTextSize(int size) {
// This text size has been pre-scaled by the getDimensionPixelOffset
// method
mTextPaint.setTextSize(size);
requestLayout();
invalidate();
}
/**
* Sets the text color for this label.
*
* @param color
* ARGB value for the text
*/
public void setTextColor(int color) {
mTextPaint.setColor(color);
invalidate();
}
/**
* Render the text
*
* @see android.view.View#onDraw(android.graphics.Canvas)
*/
@Override
protected void onDraw(Canvas canvas) {
super.onDraw(canvas);
canvas.drawText(mText, getPaddingLeft(), getPaddingTop() - mAscent,
mTextPaint);
}
// @Override
// protected void onMeasure(final int widthMeasureSpec,
// final int heightMeasureSpec) {
// int width = MeasureSpec.getSize(widthMeasureSpec);
// // int height = (int) (width * heightScale / widthScale);
// int height = MeasureSpec.getSize(heightMeasureSpec);
// if (height == 0) {
// super.onMeasure(widthMeasureSpec, heightMeasureSpec);
// } else {
// super.onMeasure(
// MeasureSpec.makeMeasureSpec(width, MeasureSpec.EXACTLY),
// MeasureSpec.makeMeasureSpec(height, MeasureSpec.EXACTLY));
// }
// }
}
復制代碼
附錄:format的定義及應用示例:
1. reference:資源引用。
屬性定義:
<attr name = "background" format = "reference" />
屬性使用:
<com.lin.gw.CustomView
android:layout_width = "42dip"
android:layout_height = "42dip"
app:background = "@drawable/圖片ID"
/>
2. color:顏色值。
屬性定義:
<attr name = "textColor" format = "color" />
屬性使用:
<com.lin.gw.CustomView
android:layout_width = "42dip"
android:layout_height = "42dip"
app:textColor = "#fff000"
/>
3. boolean:布爾值。
屬性定義:
<attr name = "focusable" format = "boolean" />
屬性使用:
<com.lin.gw.CustomView
android:layout_width = "42dip"
android:layout_height = "42dip"
app:focusable = "true"
/>
4. dimension:尺寸值。
屬性定義:
<attr name = "customWidth" format = "dimension" />
屬性使用:
<com.lin.gw.CustomView
app:customWidth = "42dip"
android:layout_height = "wrap_content"
/>
5. float:浮點值。
屬性定義:
<attr name = "fromAlpha" format = "float" />
屬性使用:
<com.lin.gw.CustomView
app:fromAlpha = "2.0"
/>
6. integer:整型值。
屬性定義:
<attr name = "frameDuration" format="integer" />
屬性使用:
<com.lin.gw.CustomView
app:frameDuration = "20"
/>
7. string:字符串。
屬性定義:
<attr name="textString" format="string"></attr>
屬性使用:
<com.lin.gw.CustomView
app:textString = "hello lingling!"
/>
8. fraction:百分數。
屬性定義:
<attr name = "pivotX" format = "fraction" />
屬性使用:
<com.lin.gw.CustomView
app:pivotX = "30%"
/>
9. enum:枚舉值。
屬性定義:
<attr name="orientation">
<enum name="horizontal" value="0" />
<enum name="vertical" value="1" />
</attr>
屬性使用:
<com.lin.gw.CustomView
app:orientation = "vertical"
/>
10. flag:位或運算。
屬性定義:
復制代碼
<declare-styleable name="CustomView">
<attr name="windowSoftInputMode">
<flag name = "stateUnspecified" value = "0" />
<flag name = "stateUnchanged" value = "1" />
<flag name = "stateHidden" value = "2" />
<flag name = "stateAlwaysHidden" value = "3" />
<flag name = "stateVisible" value = "4" />
<flag name = "stateAlwaysVisible" value = "5" />
<flag name = "adjustUnspecified" value = "0x00" />
<flag name = "adjustResize" value = "0x10" />
<flag name = "adjustPan" value = "0x20" />
<flag name = "adjustNothing" value = "0x30" />
</attr>
</declare-styleable>
復制代碼
屬性使用:
app:windowSoftInputMode = "stateUnspecified | stateUnchanged | stateHidden">
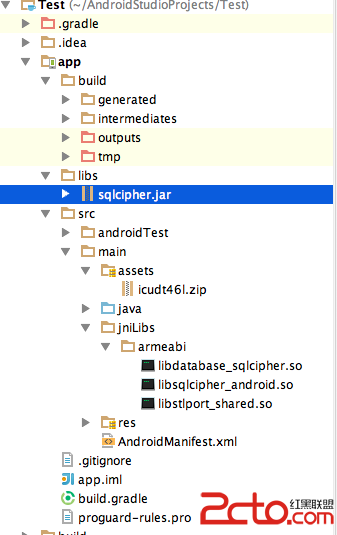 android studio下使用SqlCipher
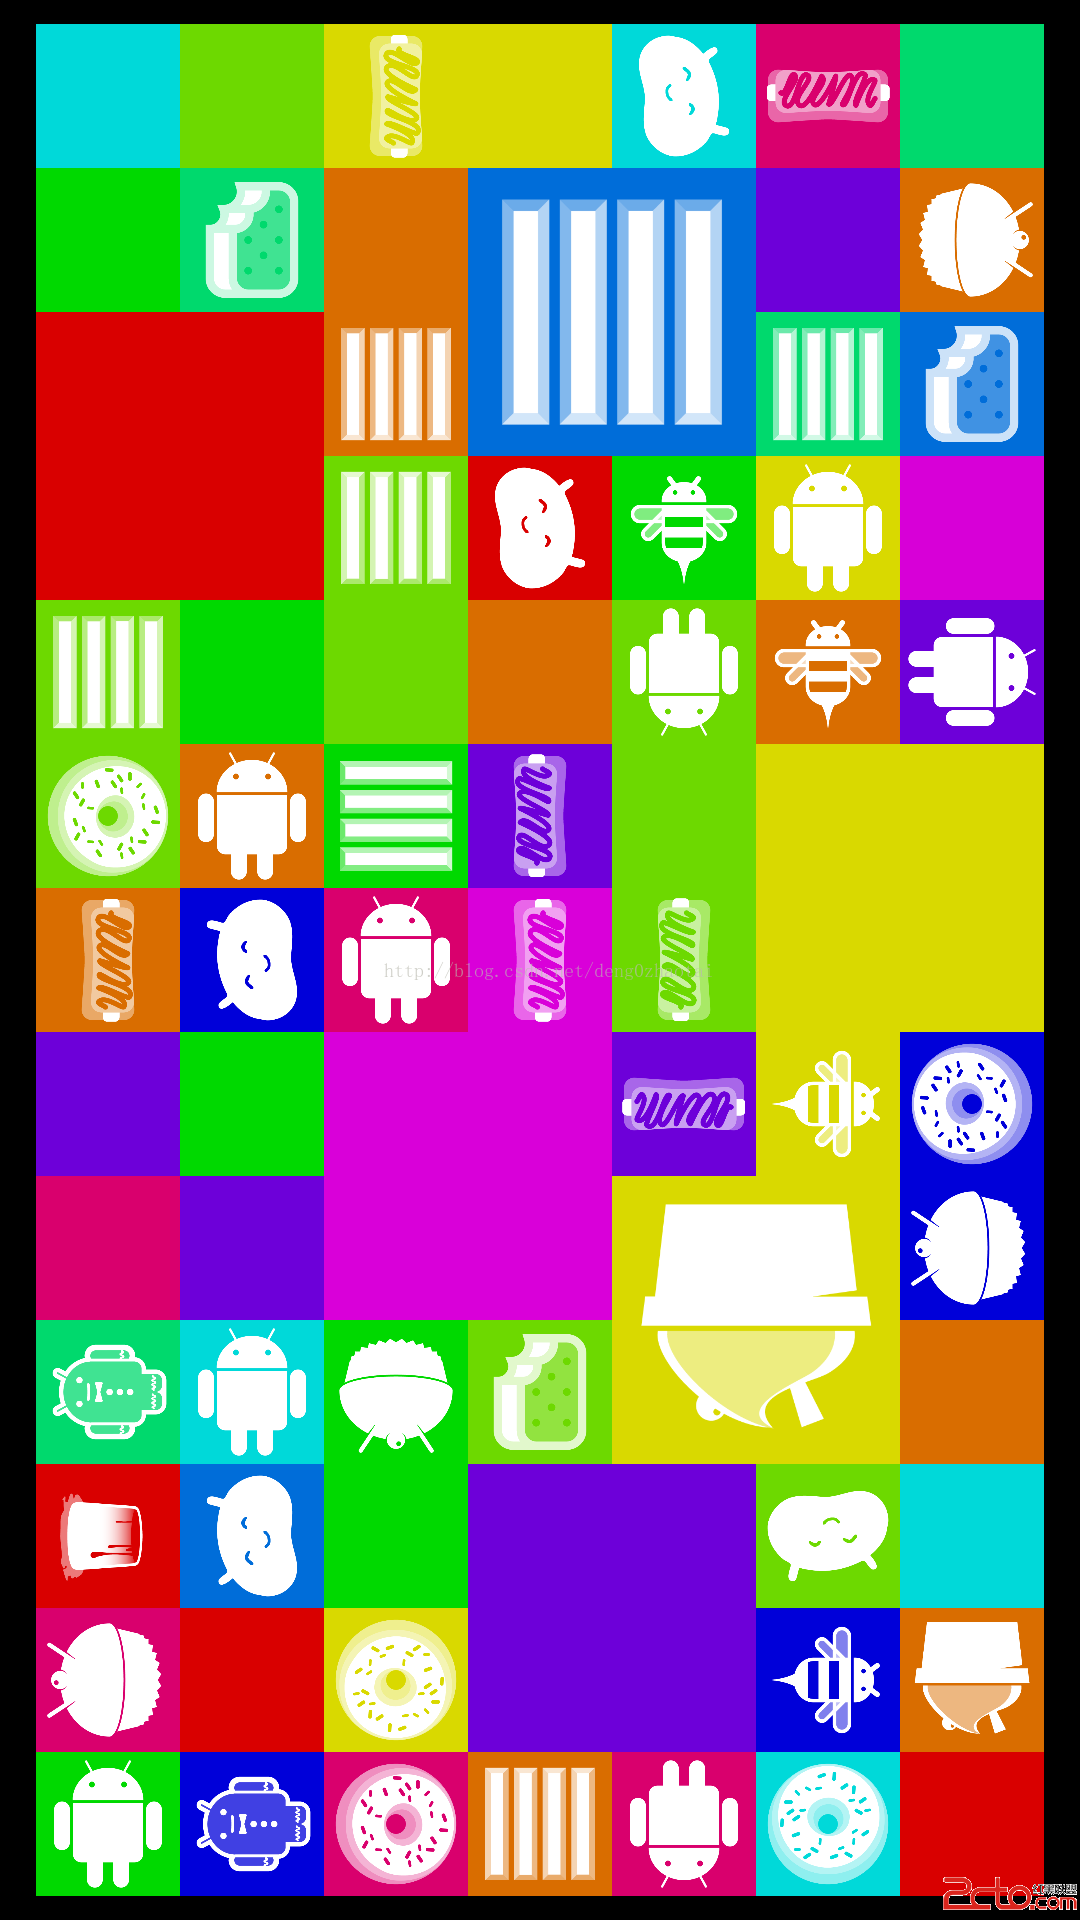 Android4.4 SystemUI分析之DessertCase
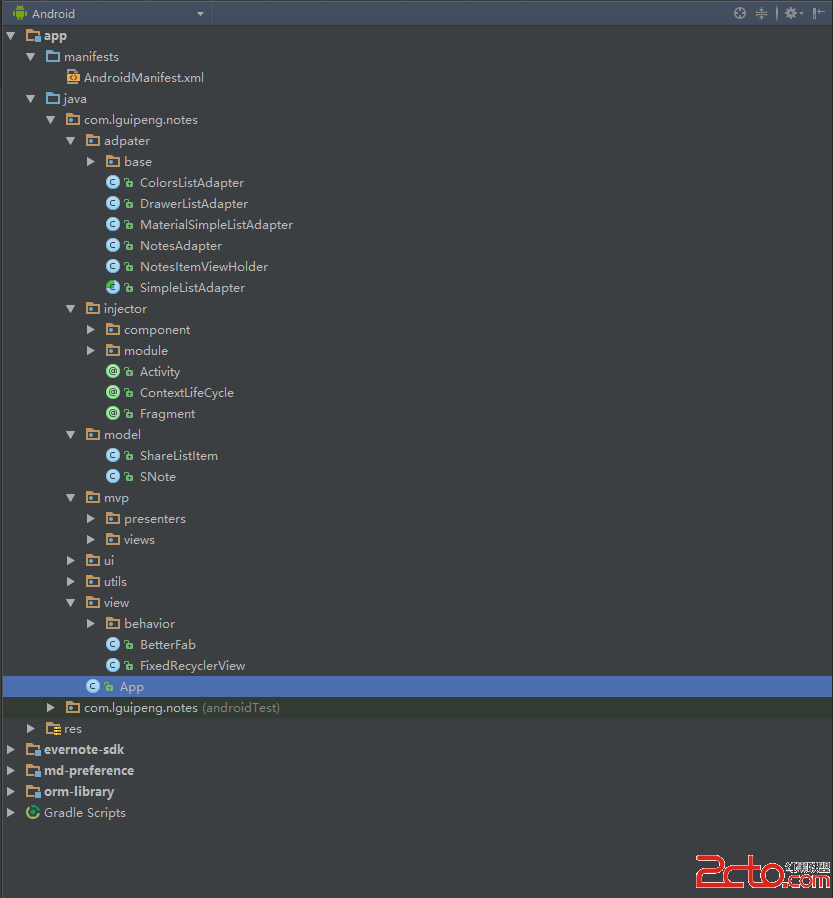 《極簡筆記》源碼分析(一)
 Android js啟動APK