2014年8月6日11:06:44
android對自定義標簽的使用,實現扁平化UI設計:
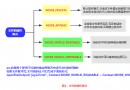
1.attrs.xml文件中自定義標簽
如:
//reference指的是是從string.xml引用過來
//flag是自己定義的,類似於android:gravity=top
//dimension 指的是是從dimension.xml裡引用過來的內容.
2.在布局文件中使用自定義標簽,對標簽屬性進行賦值
如:
//com.example.declarestyleabletest為清單文件中包的根路徑 xmlns:test=http://schemas.android.com/apk/res/com.example.declarestyleabletest
android:layout_width=match_parent
android:layout_height=match_parent
android:orientation=vertical >
//MyTest見下面
android:id=@+id/tvTest
test:name=@string/name
android:layout_width=fill_parent
android:layout_height=wrap_content
android:text=@string/test
test:age=oldman
test:testSize=@dimen/size />
3.MyTest.java:在類中可以得到布局文件中對屬性賦的值,取到值之後可以對TextView的屬性進行賦值修改樣式
如:
package com.example.declarestyleabletest;
import android.content.Context;
import android.content.res.TypedArray;
import android.util.AttributeSet;
import android.widget.TextView;
public class MyTest extends TextView {
public MyTest(Context context, AttributeSet attrs) {
super(context, attrs);
TypedArray tArray = context.obtainStyledAttributes(attrs,
R.styleable.first);
String name = tArray.getString(R.styleable.first_name);
int age = tArray.getInt(R.styleable.first_age, 100);
//int dimen = tArray.getInt(R.styleable.first_testSize, 110);
System.out.println(name: + name + age: + age + dimen: );
// 復用StyledAttributes
tArray.recycle();
}
}
4.在main.activity中通過id:tvTest使用修改過樣式的view對象,如本例中的TextView。
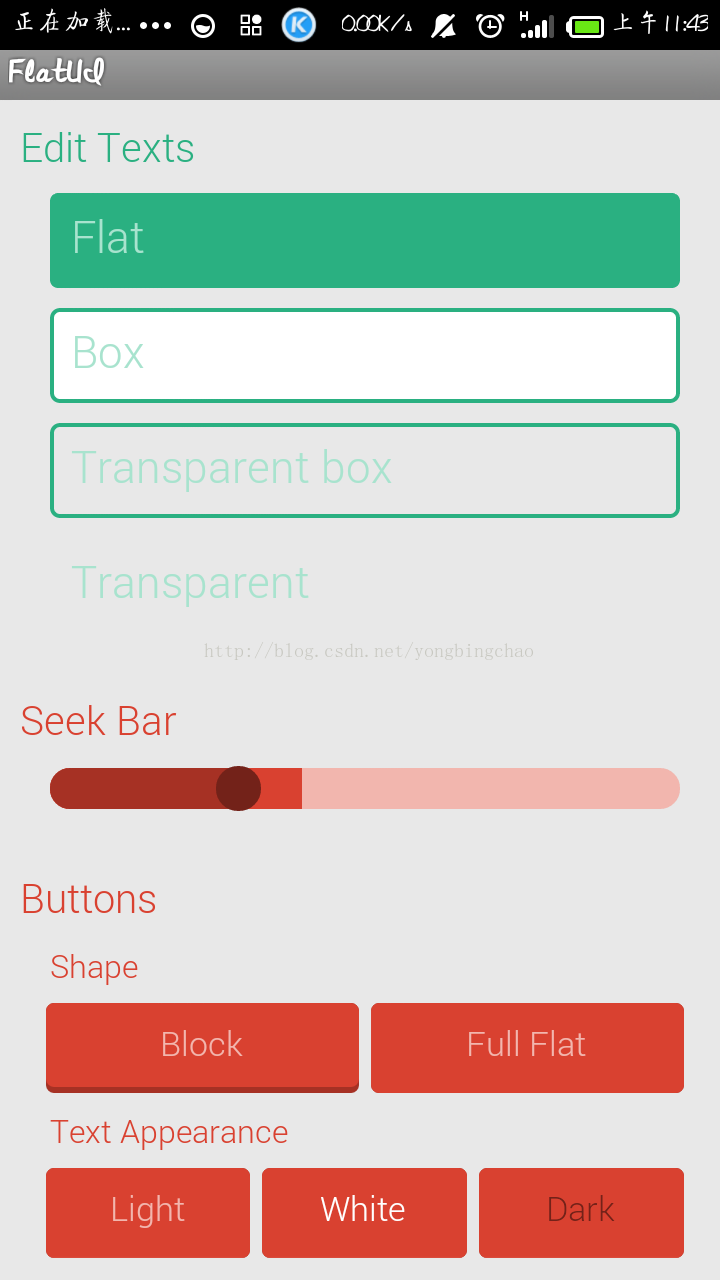
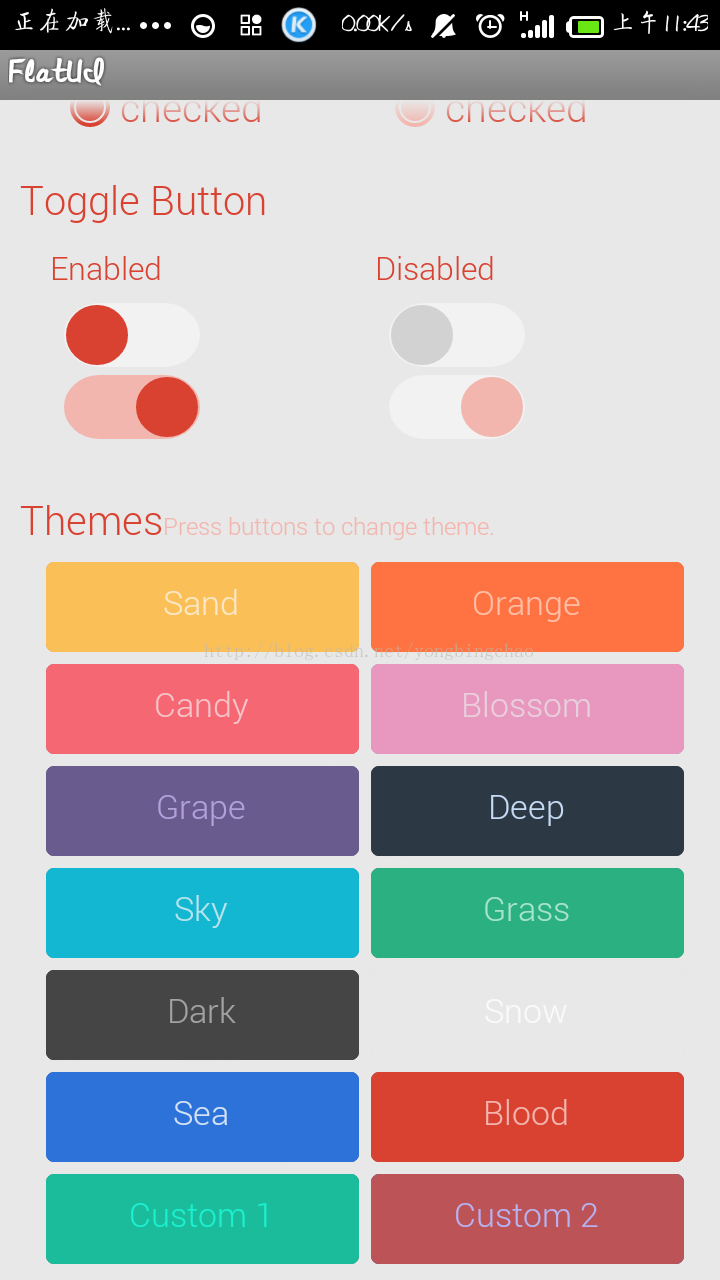
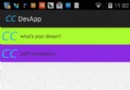
下面附上兩個demo,第一個為簡單的自定義標簽的賦值和取出,第二個為較為復雜的FlatUi扁平化Ui的實現,大家可以參考一下。
扁平化效果圖:
 android 點擊下彈動畫實現
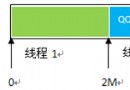 Android實現網絡多線程斷點續傳下載實例
 Android通知Notification詳解
 Android編程滑動效果之Gallery+GridView實現圖片預覽功能(附demo源碼下載)