編輯:關於Android編程
位於根目錄,它指明了那些包含在多項目構建中的子項目(Android支持gradle多項目構建)
位於根目錄,在這裡添加配置選項會對所有的子項目起效
buildscript {
    repositories {
        jcenter()
    }
    dependencies {
        classpath 'com.android.tools.build:gradle:2.0.0'
    }
}
allprojects {
    repositories {
        jcenter()
    }
}
task clean(type: Delete) {
    delete rootProject.buildDir
}
The Gradle distribution does not include Android functionality by default. Google
provides an Android plug-in for Gradle, which allows easy configuration of Android
projects. The buildscript block in the top-level build file tells Gradle where to
download that plug-in.
大概原意:Gradle默認是沒有構建Android項目的功能的;而Google官方提供了一個Android插件給gradle用於簡化Android項目的構建配置。buildscript標簽配置就是用於說明gradle需要去哪裡下載該Android插件,相當於給gradle配置了一個下載的地址
倉庫配置
jcenter()-Bintray JCenter Artifactory repository:默認的倉庫,該倉庫所有的內容都放在CDN上,並使用HTTPS鏈接,它的速度相對較快
mavenCentral():Maven默認的倉庫配置
The allprojects section indicates that the top-level project and any subprojects all
default to using the jcenter() repository to resolve any Java library dependencies.
大概原意:allprojects模塊表明頂層項目和其他子項目默認使用jcenter()倉庫去下載任何需要的java-lib庫
Gradle允許我們自定義任務(task),並將其跟其他的任務關聯起來(DAG)。上邊的配置作用是:定義了一個刪除的任務,用於刪除根目錄的build子目錄
每個子項目的獨立build.gradle文件,用於配置子項目特殊的一些構建屬性
apply plugin: 'com.android.application'
android {
    compileSdkVersion 23
    buildToolsVersion "23.0.3"
    defaultConfig {
        applicationId "com.kousenit.myandroidapp"
        minSdkVersion 19
        targetSdkVersion 23
        versionCode 1
        versionName "1.0"
    }
    buildTypes {
        release {
            minifyEnabled false
            proguardFiles getDefaultProguardFile('proguard-android.txt'),'proguard-rules.pro'
        }
    }
}
dependencies {
    compile fileTree(dir: 'libs', include:['*.jar'])
    testCompile 'junit:junit:4.12'
    compile 'com.android.support:appcompat-v7:23.3.0'
}
The apply functionality in Gradle adds the Android plug-in to the build system,which enables the android section Domain Specific Language (DSL) configuration.
大概原意:apply功能將Android插件添加到整個構建系統中,使其支持Android部分領域特定語言
compile fileTree(dir: ‘libs’, include:[‘*.jar’]):
libs路徑下的所有.jar文件都被添加到編譯類路徑下
testCompile ‘junit:junit:4.12’:下載4.12版的junit,用於進行單元測試
compile ‘com.android.support:appcompat-v7:23.3.0’:下載23.3.0版本的appcompat-v7,作為其中一個編譯的依賴庫
The top-level Android build file adds the Android plug-in for Gradle to your project,via the buildscript block. Module build files “apply” the plug-in, which adds an android block to the Gradle DSL.
大概原意:根目錄的buildscript模塊將Android插件添加到構建系統中,子目錄中的build.gradle使用該插件將android作用塊添加到Gradle-DSL,在該作用塊中你可以為每個子項目配置特殊的構建屬性
android作用塊是Android-DSL的入口,在這裡需要使用compileSdkVersion指定編譯的目標版本,使用build
ToolsVersion指定構建工具的版本
該應用的包名
該應用支持的最低版本的SDK
該應用支持的目標版本的SDK
通常用於應用升級
Prior to the switch to Gradle, the minSdkVersion and buildToolsVersion properties
were specified in the Android Manifest as attributes of a tag. That
approach is now deprecated, as the values there are overridden by the values in the
Gradle build file.大意:AndroidManifest中使用配置的minSdkVersion和buildToolsVersion屬性會被build.gradle中的配置覆蓋
配置該app使用的JDK版本
The purpose of the Gradle wrapper is to allow a client to run Gradle without having
to install it first. The wrapper uses the gradle-wrapper.jar and the gradle-
wrapper.properties files in the gradle/wrapper folder in the application root to start the
process.
大概原意:Gradle wrapper的作用是讓客戶端在沒有安裝Gradle的情況下也能運行gradle腳本;其使用gradle-wrapper.jar和gradle-wrapper.properties文件來運行程序
#Mon Dec 28 10:00:20 PST 2015
distributionBase=GRADLE_USER_HOME
distributionPath=wrapper/dists
zipStoreBase=GRADLE_USER_HOME
zipStorePath=wrapper/dists
distributionUrl=https\://services.gradle.org/distributions/gradle-2.10-all.zip
1.1 The distributionUrl property indicates that the wrapper will download and install version 2.10 of Gradle:將下載2.10版本的gradle-wrapper
1.2 the Gradle distribution will be cached in
the zipStorePath folder under the zipStoreBase directory and then be available for
all subsequent executions of Gradle tasks:第一次下載後將會把wrapper緩存在zipStorePath目錄下,以後將會適用於所有的gradle任務(即以後的task將會默認使用緩存中的wrapper)
// 多個同名的task,只會執行一次
Executing more than one task
> ./gradlew lint assembleDebug
Note that repeating the same task name only executes it once.
// 可使用-x來排除不需要執行的task
> ./gradlew assembleDebug -x lintDebug
Excluding the lintDebug task
// 可使用縮略的字符串執行,但必須保證縮略的字符串沒有歧義
> ./gradlew anDep
Not enough letters to be unique
To execute a particular task, double-click the entry in the Gradle window.雙擊下圖的某個選項就可執行
常用命令
terminal查看進度
gradle支持多種不同方式的依賴引用
testCompile group: 'junit', name: 'junit',version: '4.12'
testCompile 'junit:junit:4.12'
testCompile 'junit:junit:4.+'
This tells Gradle that any version of JUnit greater than or equal to 4.0 is required to
compile the project’s tests. While this works, it makes the build less deterministic and
therefore less reproducible. Explicit version numbers also protect you from changes
in later versions of a particular API.
If you want to add a set of files to a configuration without adding them to a reposi‐
tory, you can use the files or fileTree syntax inside the dependencies block
dependencies {
    compile files('libs/a.jar', 'libs/b.jar')
    compile fileTree(dir: 'libs', include: '*.jar')
}
1 dependencies列表

2 添加界面

3 搜索界面

4 搜索結果界面

JCenter():https://jcenter.bintray.com
mavenCentral():http://repo1.maven.org/maven2
repositories {
    maven {
        url 'http://repo.spring.io/milestone'
    }
}
repositories {
    maven {
        credentials {
            username 'username'
            password 'password'
        }
        url 'http://repo.mycompany.com/maven2'
    }
}
repositories {
    flatDir {
        dirs 'lib'
    }
}
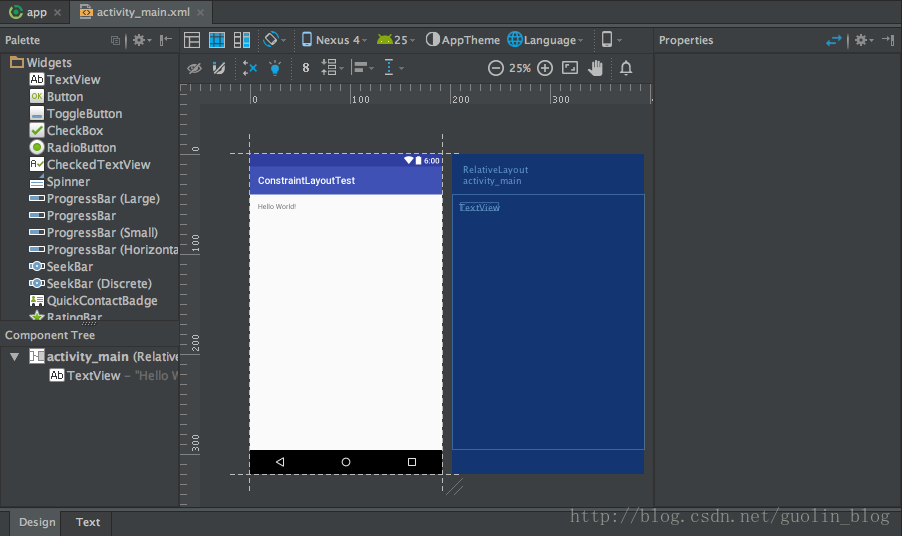
 Android自定義控件系列五:自定義絢麗水波紋效果
今天我們來利用Android自定義控件實現一個比較有趣的效果:滑動水波紋。先來看看最終效果圖: 圖一 效果還是很
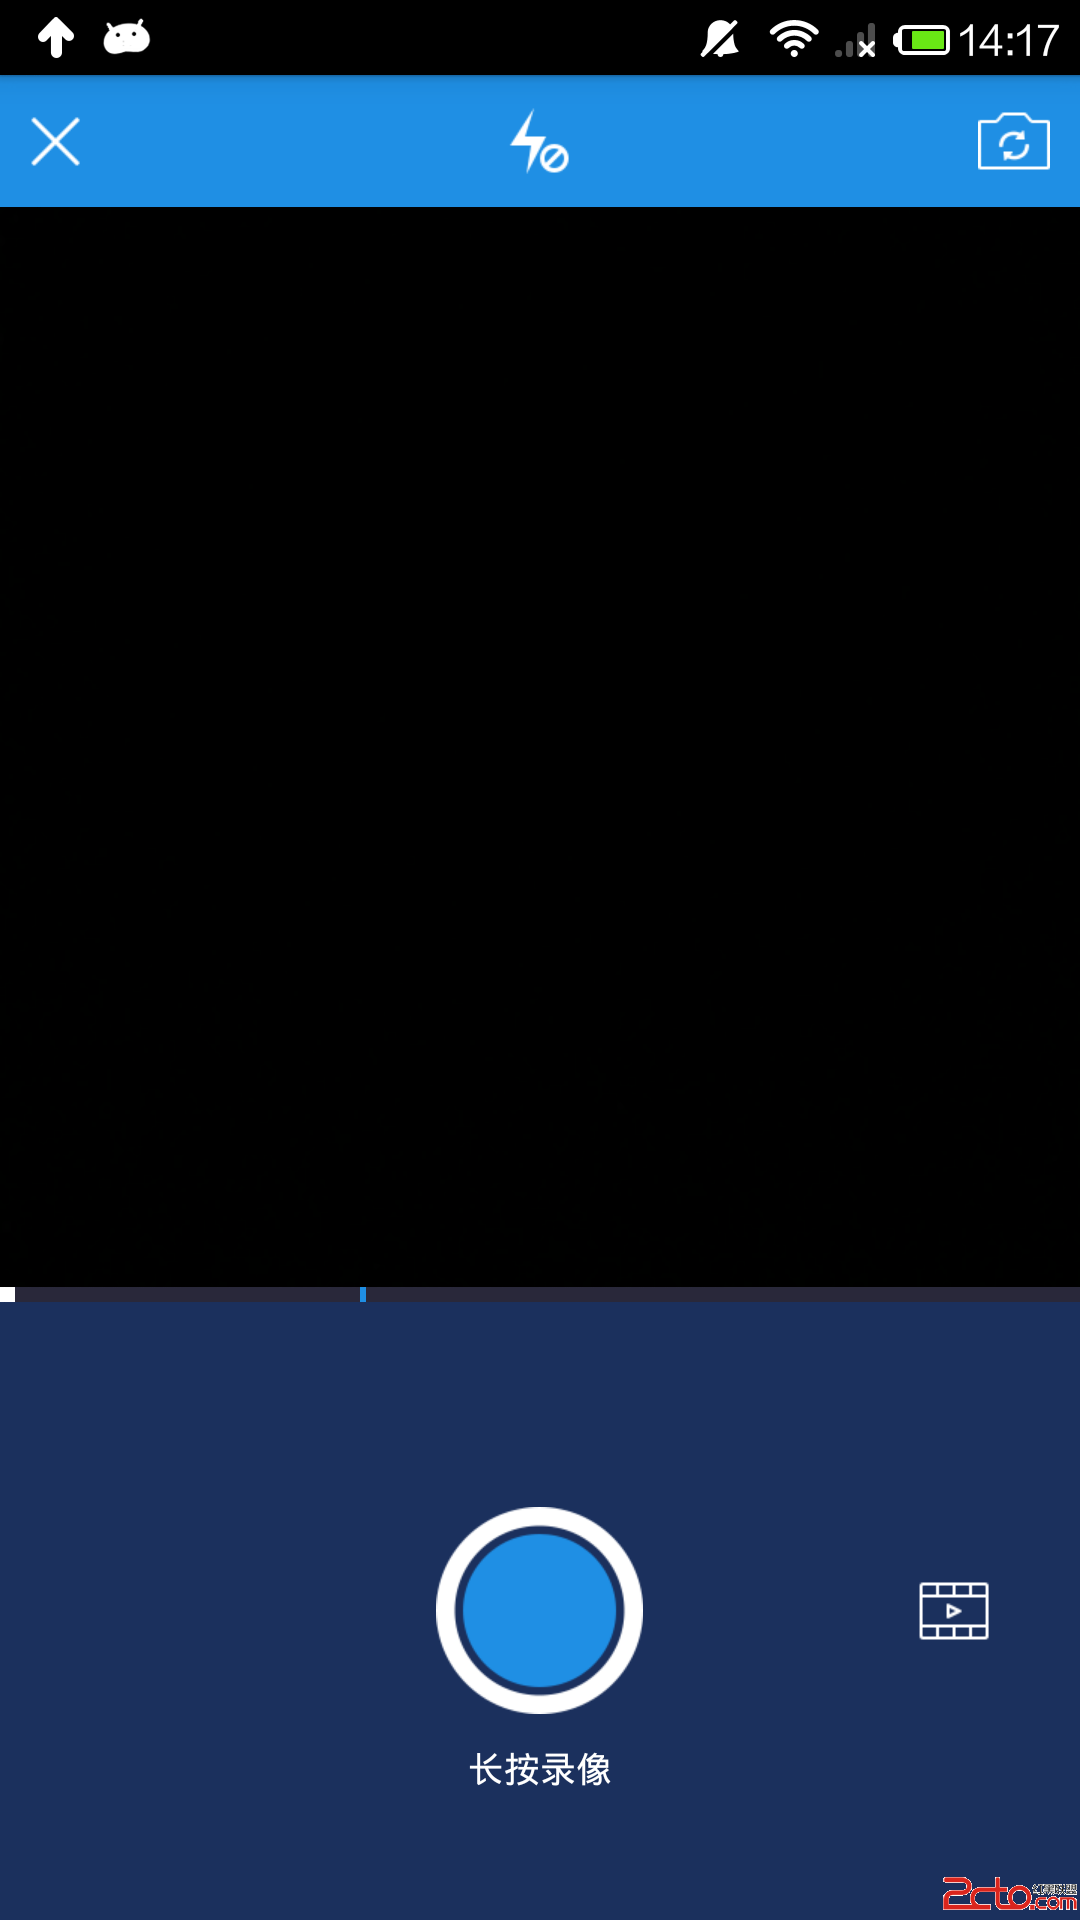 android 視頻開發2分之1(仿美拍,糗百)
最近比較忙,很久沒更新博客,今天我們仿一個美拍或者糗事百科的錄像功能。 首先確認步奏: 1、打開攝像頭; 2、開始錄制; 3、支持分段錄制,並支持分段刪除; 4、把分段
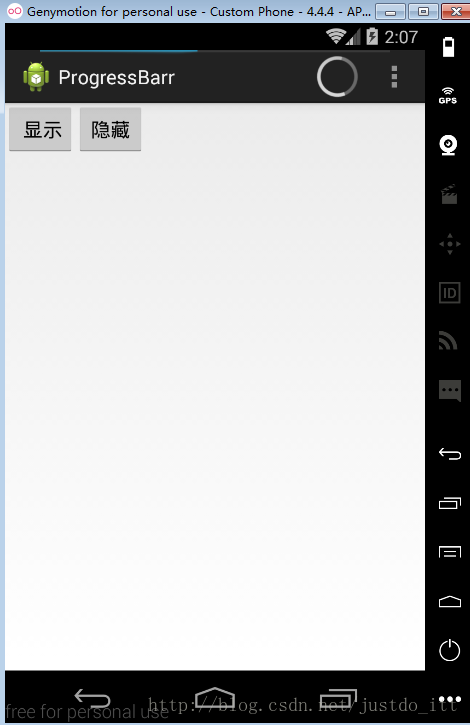 Android 進度條顯示在標題欄的實現方法
好吧,先給大家展示效果圖:xml文件:<LinearLayout xmlns:android=http://schemas.android.com/apk/res/
 Handler消息機制完全解析(二)MessageQueue的隊列管理
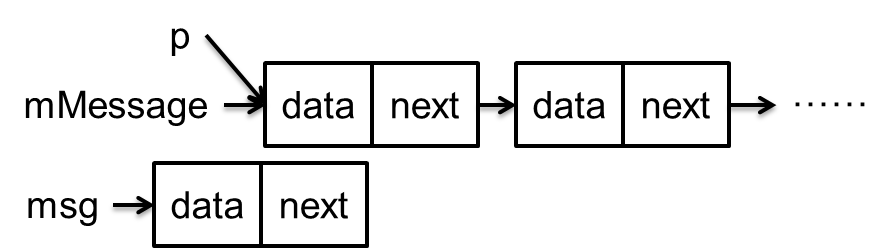
關於這個隊列先說明一點,該隊列的實現既非Collection的子類,亦非Map的子類,而是Message本身。因為Message本身就是鏈表節點。隊列中的Message