編輯:關於Android編程
上一篇博客講了,如何在android studio使用apt
然後在Processor裡生成自己的代碼,把要輸出的類,通過StringBuilder拼接字符串,然後輸出。
    try { // write the file
        JavaFileObject source = processingEnv.getFiler().createSourceFile("com.chiclaim.processor.generated.GeneratedClass");
        Writer writer = source.openWriter();
        writer.write(builder.toString());
        writer.flush();
        writer.close();
    } catch (IOException e) {
        e.printStackTrace();
    }
輸出簡單的類這種方法還是挺好的,簡單明了,如果要輸出復雜點的java文件,這個就不是很方便了,接下來介紹一個square公司開源的框架javapoet來幫助我們構建java文件。
MethodSpec main = MethodSpec.methodBuilder("main")                       //方法名
    .addModifiers(Modifier.PUBLIC, Modifier.STATIC)                      //方法修飾符
    .returns(void.class)                                                 //方法返回類型
    .addParameter(String[].class, "args")                                //方法參數
    .addStatement("$T.out.println($S)", System.class, "Hello, JavaPoet!")//方法體語句
    .build();
TypeSpec helloWorld = TypeSpec.classBuilder("HelloWorld")  //類名
    .addModifiers(Modifier.PUBLIC, Modifier.FINAL)         //類的修飾符
    .addMethod(main)                                       添加類方法(MethodSpec main)
    .build();
JavaFile javaFile = JavaFile.builder("com.example.helloworld", helloWorld)
    .build();
javaFile.writeTo(System.out);
上面通過MethodSpec.addaddParameter(String[].class, “args”)方法構建方法體,對於比較復雜的可以通過CodeBlock來構建:
codeBlock.addStatement("$L.inject(this, this)", mViewInjectorName);
javapoet就先介紹到這裡。更多具體的使用可以查看官方文檔或者其他資料。
我們要想達到在生成的類中初始化activity Views,那麼肯定需要如下類似下面的代碼(偽代碼):
public class MainActivity_Binding {

    public MainActivity_Binding(MainActivity target,View view) {
        target.text1 = (TextView)view.findViewById(id);
        target.text2 = (TextView)view.findViewById(id);
        target.text3 = (TextView)view.findViewById(id);
        target.text4 = (TextView)view.findViewById(id);
    }
}
據此,我們需要在ButterKnifeProcessor process方法裡獲取三個基本信息:
1、注解所在的類,用於生成類名,比如MainActivity使用了注解,那麼生成的類就是 MainActivity_ViewBinding
2、注解的值,用於findViewById,如:
    @BindView(R.id.title)
    TextView title;
那麼我們要獲取的值就是R.id.title
3、注解所在字段的類型,用於強轉。如:
    @BindView(R.id.title)
    TextView title;
那麼我們要獲取的類型就是TextView
通過下面的方法可以獲取上面的信息

【element.getEnclosingElement()】 //注解所在的類

【element.getAnnotation(BindView.class).value()】 //注解上的值, 用於findViewById

【element.asType()】 //注解字段的類型,用於強轉
通過上一篇博客知道,我們是在process方法裡生成代碼的:
@Override
public boolean process(Set annotations, RoundEnvironment roundEnv) {
    //TODO do something
    return true;
}
對RoundEnvironment裡的信息進行分組處理所有關於類上的注解信息,全部在 RoundEnvironment roundEnv裡,而且可能的多個類用到了注解, 所以我們要對RoundEnvironment的信息進行分組處理。
我通過Map來保存分組的信息,

Map
//roundEnv裡的信息進行分組
private void parseRoundEnvironment(RoundEnvironment roundEnv) {
        // 保存分組信息
        Map map = new LinkedHashMap<>();
        for (Element element : roundEnv.getElementsAnnotatedWith(BindView.class)) {
            TypeElement enclosingElement = (TypeElement) element.getEnclosingElement();
            //注解的值
            int annotationValue = element.getAnnotation(BindView.class).value();
            //如果不存在創建BindClass,要創建的代碼都存在BindClass裡
            BindClass bindClass = map.get(enclosingElement);
            if (bindClass == null) {
                bindClass = BindClass.createBindClass(enclosingElement);
                map.put(enclosingElement, bindClass);
            }
            String name = element.getSimpleName().toString();
            TypeName type = TypeName.get(element.asType());
            //ViewBinding用於保存每個注解的相關信息(比如注解所在字段的名稱、注解所在字段的類型、注解上的值,)
            ViewBinding viewBinding = ViewBinding.createViewBind(name, type, annotationValue);
            //因為一個類上可能多處用了注解,所以用一個集合保存
            bindClass.addAnnotationField(viewBinding);
        }

        //迭代分組後的信息,主義生成對應的類
        for (Map.Entry entry : map.entrySet()) {
            printValue("==========" + entry.getValue().getBindingClassName());
            try {
                entry.getValue().preJavaFile().writeTo(filer);
            } catch (IOException e) {
                e.printStackTrace();
            }
        }
    }
ViewBinding用於保存每個注解的相關信息,代碼也很簡單:
class ViewBinding {

    private final String name;
    private final TypeName type;
    private final int value;

    private ViewBinding(String name, TypeName type, int value) {
        this.name = name;
        this.type = type;
        this.value = value;
    }

    static ViewBinding createViewBind(String name, TypeName type, int value) {
        return new ViewBinding(name, type, value);
    }
}
BindClass用於保存需要生成的代碼,裡面封裝了javapoet相關處理,所有具有生成代碼的功能.

先來看看創建BindClass構造方法:
    private BindClass(TypeElement enclosingElement) {
        //asType 表示注解所在字段是什麼類型(eg. Button TextView)
        TypeName targetType = TypeName.get(enclosingElement.asType());
        if (targetType instanceof ParameterizedTypeName) {
            targetType = ((ParameterizedTypeName) targetType).rawType;
        }
        //注解所在類名(包括包名)
        String packageName = enclosingElement.getQualifiedName().toString();
        packageName = packageName.substring(0, packageName.lastIndexOf("."));
        String className = enclosingElement.getSimpleName().toString();
        //我們要生成的類的類名
        ClassName bindingClassName = ClassName.get(packageName, className + "_ViewBinding");
        boolean isFinal = enclosingElement.getModifiers().contains(Modifier.FINAL);
        //注解所在類,在生成的類中,用於調用findViewById
        this.targetTypeName = targetType;
        this.bindingClassName = bindingClassName;
        //生成的類是否是final
        this.isFinal = isFinal;
        //用於保存多個注解的信息
        fields = new ArrayList<>();
    }
添加注解信息實體
    void addAnnotationField(ViewBinding viewBinding) {
        fields.add(viewBinding);
    }
生成類的修飾符,方法:
    private TypeSpec createTypeSpec() {
        TypeSpec.Builder result = TypeSpec.classBuilder(bindingClassName.simpleName())
                .addModifiers(PUBLIC);
        if (isFinal) {
            result.addModifiers(FINAL);
        }

        result.addMethod(createConstructor(targetTypeName));


        return result.build();
    }
創建構造方法,在構造方法裡生成初始化View的代碼:
    private MethodSpec createConstructor(TypeName targetType) {
        MethodSpec.Builder constructor = MethodSpec.constructorBuilder()
                .addModifiers(PUBLIC);
        //構造方法有兩個參數,target和source,在本例子中,Target就是activity,source就是activity的DecorView
        constructor.addParameter(targetType, "target", FINAL);
        constructor.addParameter(VIEW, "source");
        //可能有多個View需要初始化,也就是說activity中多個字段用到了注解
        for (ViewBinding bindings : fields) {
            //生成方法裡的語句,也就是方法體
            addViewBinding(constructor, bindings);
        }

        return constructor.build();
    }
下面看看如何為activity中每個用到注解的View在構造方法中生成初始化代碼:
    private void addViewBinding(MethodSpec.Builder result, ViewBinding binding) {
        //通過CodeBlock生成語句,因為生成的語句比較復雜。
        CodeBlock.Builder builder = CodeBlock.builder()
                .add("target.$L = ", binding.getName());
        //判斷是否需要強制類型轉換,如果目標View本來就是View,那就不需要強轉了
        boolean requiresCast = requiresCast(binding.getType());
        if (!requiresCast) {
            builder.add("source.findViewById($L)", binding.getValue());
        } else {
            //我們使用ProcessorUtils重點工具方法findViewByCast進行強轉 $T就是一個占位符,UTILS就是ClassName包含了UTILS的包名和類名
            //用ProcessorUtils替換成$T CodeBlock還支持很多占位符,需要了解更多可以去看看文檔.
            builder.add("$T.findViewByCast", UTILS);
            //ProcessorUtils.findViewByCast需要的參數source就是DecorView
            builder.add("(source, $L", binding.getValue());
            //ProcessorUtils.findViewByCast需要的參數$T.class,就是目標View需要強轉的類型
            builder.add(", $T.class", binding.getRawType());
            builder.add(")");
        }
        result.addStatement("$L", builder.build());

    }
下面就是強轉用到的工具類:
public class ProcessorUtils {


    public static  T findViewByCast(View source, @IdRes int id, Class cls) {
        View view = source.findViewById(id);
        return castView(view, id, cls);
    }

    private static  T castView(View view, @IdRes int id, Class cls) {
        try {
            return cls.cast(view);
        } catch (ClassCastException e) {
            //提示使用者類型轉換異常
            throw new IllegalStateException(view.getClass().getName() + "不能強轉成" + cls.getName());
        }
    }

}
注意, 如果你需要調試public boolean process(Set
// Generated code from My Butter Knife. Do not modify!!!
package com.chiclaim.sample;

import android.view.View;
import android.widget.TextView;
import com.chiclaim.butterknife.ProcessorUtils;

public class MainActivity_ViewBinding {
  public MainActivity_ViewBinding(final MainActivity target, View source) {
    target.textView = ProcessorUtils.findViewByCast(source, 2131427414, TextView.class);
    target.view = ProcessorUtils.findViewByCast(source, 2131427415, TextView.class);
  }
}
接下來就簡單了,在MainActivity中調用MainActivity_ViewBinding的構造方法就可以了。因為我們生成的類是有規律的,包名就是使用者的包名,類名是使用者類名加ViewBinding。然後通過反射調用下就可以了:
public class MyButterKnife {
    public static void bind(Activity activity) {
        //獲取activity的decorView
        View view = activity.getWindow().getDecorView();
        String qualifiedName = activity.getClass().getName();

        //找到該activity對應的Bind類
        String generateClass = qualifiedName + "_ViewBinding";
        try {
            //然後調用Bind類的構造方法,從而完成activity裡view的初始化
            Class.forName(generateClass)
                    .getConstructor(activity.getClass(), View.class).newInstance(activity, view);
        } catch (ClassNotFoundException e) {
            e.printStackTrace();
        } catch (NoSuchMethodException e) {
            e.printStackTrace();
        } catch (IllegalAccessException e) {
            e.printStackTrace();
        } catch (InstantiationException e) {
            e.printStackTrace();
        } catch (InvocationTargetException e) {
            e.printStackTrace();
        }
    }
}
所以只需要在跟butterknife一樣在activity的onCreate聲明周期方法裡調用bind方法即可,如下所示:
public class MainActivity extends AppCompatActivity {

    @BindView(R.id.text_view)
    TextView textView;

    @BindView(R.id.view)
    TextView view;

    @Override
    protected void onCreate(Bundle savedInstanceState) {
        super.onCreate(savedInstanceState);
        setContentView(R.layout.activity_main);
        //完成初始化操作
        MyButterKnife.bind(this);

        Toast.makeText(this, textView + "--textView", Toast.LENGTH_LONG).show();
        Log.d("MainActivity", textView + "," + view);

        textView.setText("initialed by my butter knife");
    }
}
四、總結1> butterknife 是一個運行時依賴祝框架,簡化android的大量模板代碼,使用apt來生成代碼
2> 像很多框架都是跟butterKnife的機制太不多的,比如下面幾款流行的框架:
greendao 流行的sqlite框架
dagger2 依賴注入框架
PermissionsDispatcher 處理Android6.0權限的框架
所以利用這個技術,也可以整個自己的框架。
更多實現信息,可以查看github上的源碼 https://github.com/chiclaim/study-butterknife
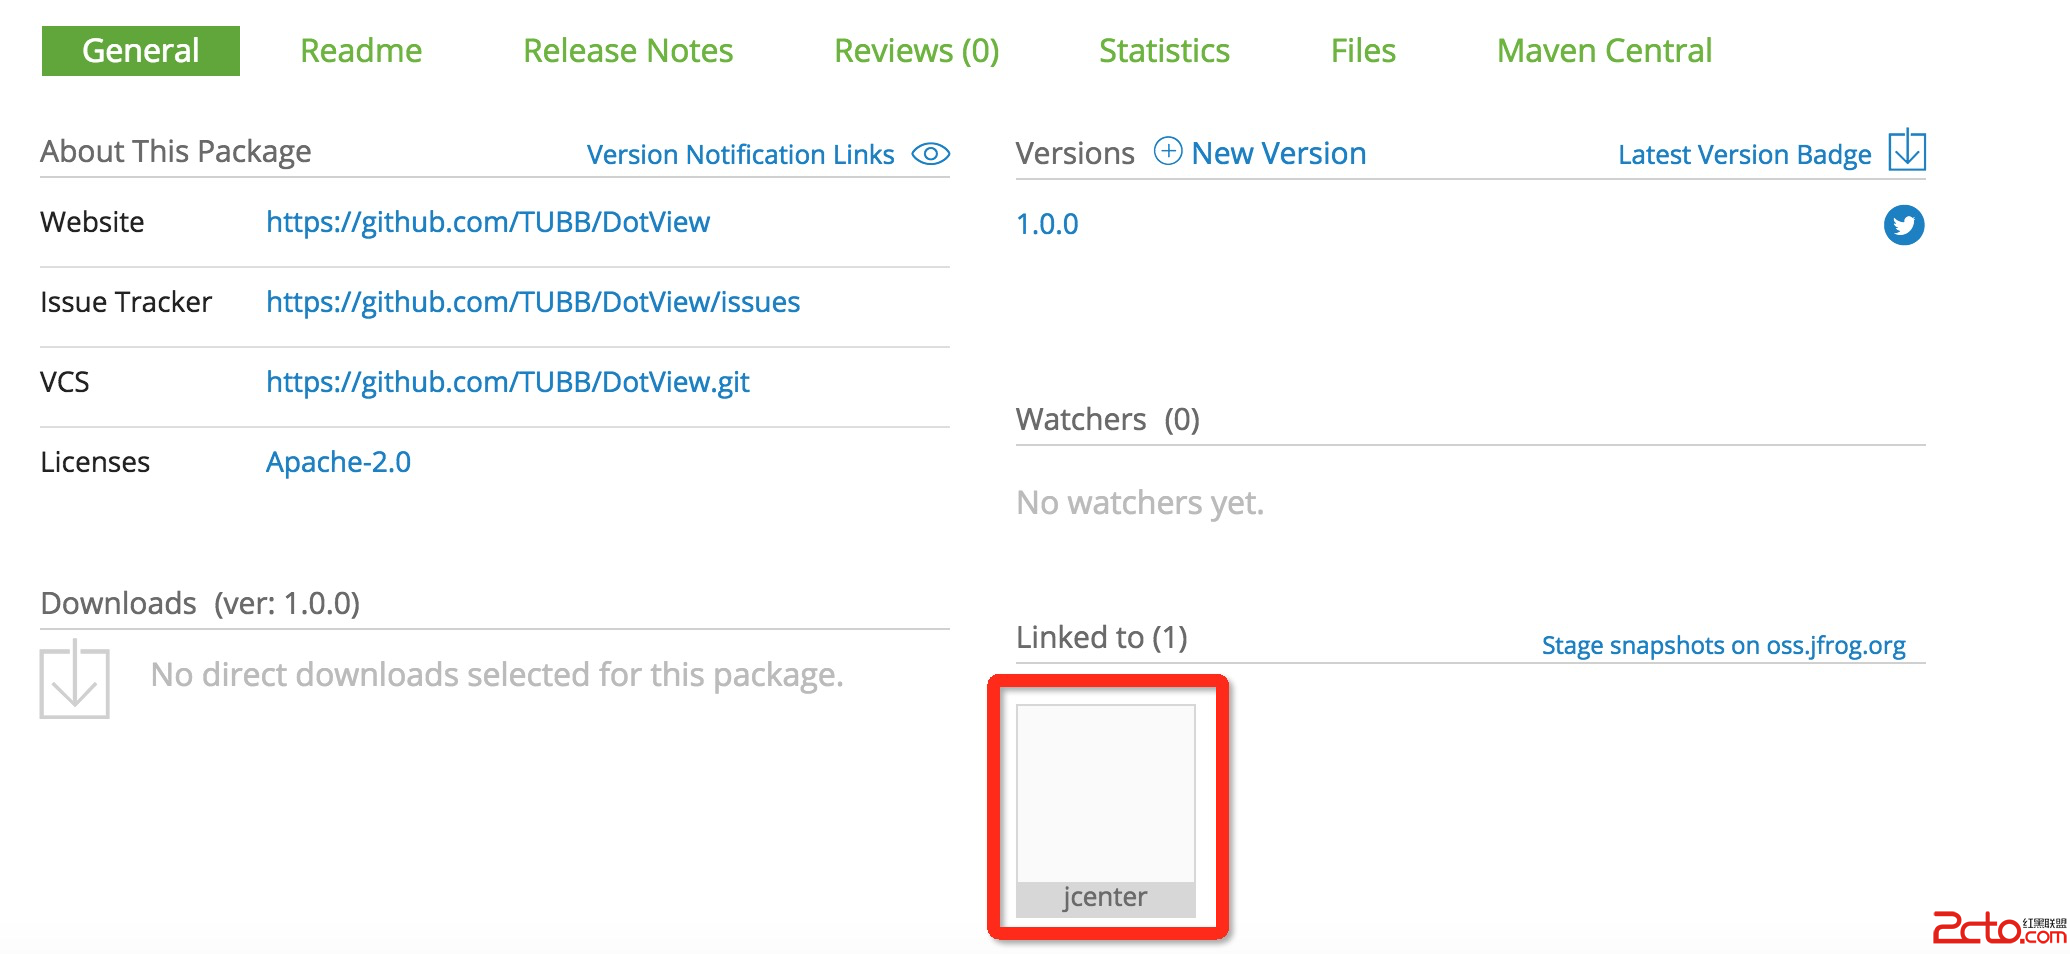 Android library上傳到jcenter
Android library上傳到jcenter如何把我們開發好的Android library上傳到中央倉庫,供其他開發者方便使用,一行代碼來進行依賴,而不必下載源碼
 我寫的Android圖表庫XCL-Charts,整理好現在開源了!!!
XCL-Charts v0.1 Android開源圖表庫,基於原生的Canvas來繪制各種圖表。目前支持3D/非3D柱形圖、3D/非3D餅圖、堆疊圖、面積圖、折線圖、曲線
 一看就喜歡的loading動畫效果Android分析實現
還是比較有新意,復雜度也不是非常高,所以就花時間整理一下,我們先一起看下原gif圖效果:從效果上看,我們需要考慮以下幾個問題: 1.葉子的隨機產生; 2.葉子隨著一條
 Android靜默安裝實現方案 仿360手機助手秒裝和智能安裝功能
之前有很多朋友都問過我,在Android系統中怎樣才能實現靜默安裝呢?所謂的靜默安裝,就是不用彈出系統的安裝界面,在不影響用戶任何操作的情況下不知不覺地將程序裝好。雖說這