編輯:關於Android編程
Tablelayout類以行和列的形式對控件進行管理,每一行為一個TableRow對象,或一個View控件。當為TableRow對象時,可在TableRow下添加子控件,默認情況下,每個子控件占據一列。 當為View時,該View將獨占一行。
三個常用的屬性
android:collapseColumns:設置需要被隱藏的列的序號
android:shrinkColumns:設置允許被收縮的列的列序號
android:stretchColumns:設置運行被拉伸的列的列序號
學習導圖
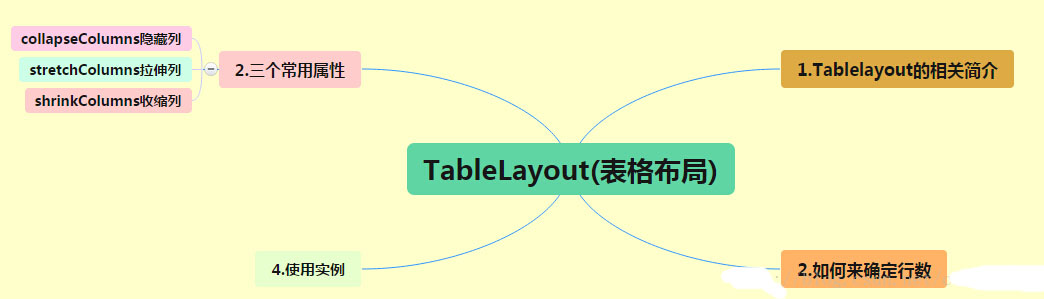
(1)TableLayout的相關簡介
java的swing編程和html中經常會使用到表格,可見表格的應用開發中使用還是比較多的,同樣android也為我們提供這樣的布局方式。
(2)如何確定行數
a:直接向TableLayout組件,直接占一行
b:如果想在一行添加多個組件, 就需要使用TableRow中添加
c:TableRow中有多少個組件,這一行就會有多少列
(3)三個常用屬性(都是從零開始計數)
Shrinkable:如果某一列被設置為Shrinkable,那麼該列的所有單元格的寬度可以被收縮,以保證表格能適應父容器的寬度;
Stretchable:如果某一列被設置為Stretchable,那麼該列的所有單元格的寬度可以拉伸,以保證組件完全填充表格空余空間;
Collapsed:如果某一列被設置為Collapsed,那麼該列的所有單元格的都會被隱藏;
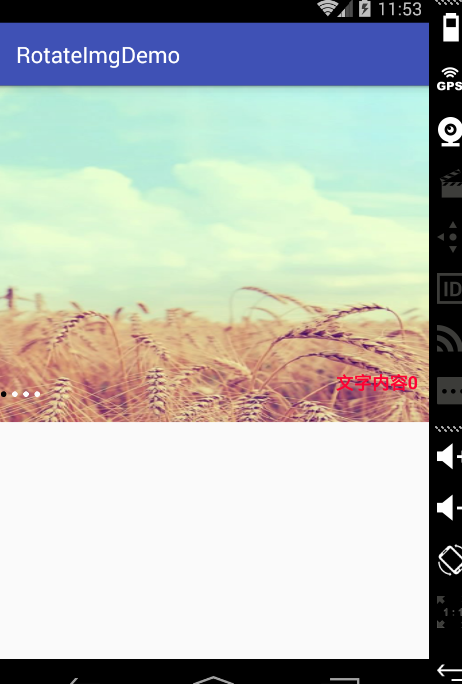
(4)使用實例(為了演示效果沒有,所有組件都沒有設置id)
<?xml version="1.0" encoding="utf-8"?>
<LinearLayout
  xmlns:android="http://schemas.android.com/apk/res/android"
  android:layout_width="match_parent"
  android:layout_height="match_parent"
  android:orientation="vertical">
  <!--定義第一個表格布局,指定第二列允許收縮,第三列拉伸-->
  <TableLayout
    android:layout_width="match_parent"
    android:layout_height="wrap_content"
    android:shrinkColumns="1"
    android:stretchColumns="2">
    <!-- 直接添加組件會獨占一行-->
    <Button
      android:layout_width="wrap_content"
      android:layout_height="wrap_content"
      android:text="獨自占一行"
      />
    <TableRow>
      <Button
        android:layout_width="wrap_content"
        android:layout_height="wrap_content"
        android:text="普通按鈕"/>
      <Button
        android:layout_width="wrap_content"
        android:layout_height="wrap_content"
        android:text="收縮按鈕"/>
      <Button
        android:layout_width="wrap_content"
        android:layout_height="wrap_content"
        android:text="拉伸按鈕"/>
    </TableRow>
  </TableLayout>
  <!--定義第二個表格布局指定第二列隱藏-->
  <TableLayout
    android:layout_width="match_parent"
    android:layout_height="wrap_content"
    android:collapseColumns="1">
    <!-- 直接添加組件會獨占一行-->
    <Button
      android:layout_width="wrap_content"
      android:layout_height="wrap_content"
      android:text="獨自占一行"
      />
    <TableRow>
      <Button
        android:layout_width="wrap_content"
        android:layout_height="wrap_content"
        android:text="普通按鈕"/>
      <Button
        android:layout_width="wrap_content"
        android:layout_height="wrap_content"
        android:text="普通按鈕"/>
      <Button
        android:layout_width="wrap_content"
        android:layout_height="wrap_content"
        android:text="普通按鈕"/>
    </TableRow>
  </TableLayout>
  <!--定義第三個表格布局,指定第二列,第三列都可以被拉伸-->
  <TableLayout
    android:layout_width="match_parent"
    android:layout_height="wrap_content"
    android:stretchColumns="1,2">
    <!-- 直接添加組件會獨占一行-->
    <Button
      android:layout_width="wrap_content"
      android:layout_height="wrap_content"
      android:text="獨自占一行"
      />
    <TableRow>
      <Button
        android:layout_width="wrap_content"
        android:layout_height="wrap_content"
        android:text="普通按鈕"/>
      <Button
        android:layout_width="wrap_content"
        android:layout_height="wrap_content"
        android:text="拉伸按鈕"/>
      <Button
        android:layout_width="wrap_content"
        android:layout_height="wrap_content"
        android:text="拉伸按鈕"/>
    </TableRow>
  </TableLayout>
</LinearLayout>
以上內容是小編給大家介紹的android布局之TableLayout表格布局,希望大家喜歡。
 實現折疊式Toolbar:CollapsingToolbarLayout 使用完全解析
簡介在各種不同的應用中,大家可能會經常見到這樣一個效果:Toolbar是透明的,有著一個背景圖片以及大標題,隨著頁面向上滑動,其標題逐漸縮放到Toolbar上,而背景圖片
 Andorid事件傳遞過程
一個好的應用與用戶的體驗分不開,用戶體驗好就是對事件的處理適當.要處理好Android事件處理,就必須了解Android中事件的傳遞過程.下面是我對Andorid事件的理
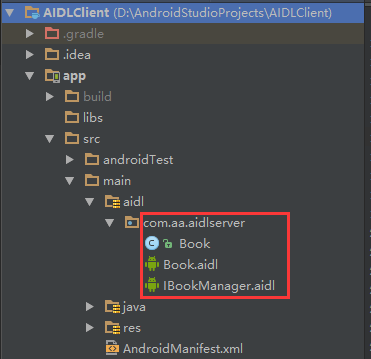 IPC學習之AIDL
最近在學習IPC進程間通信,在此記錄下AIDL的使用,並附上一個Demo:服務端每隔一分鐘添加一本書籍,客戶端通過進程間通信,獲取當前服務端的書籍列表,並且服務端對外開放
 Android中基於XMPP協議實現IM聊天程序與多人聊天室
簡單的IM聊天程序由於項目需要做一個基於XMPP協議的Android通訊軟件。故開始研究XMPP。XMPP協議采用的是客戶端-服務器架構,所有從一個客戶端發到另一個客戶端