背景
ViewPager。它是google SDk中自帶的一個附加包的一個類,可以用來實現屏幕間的切換。這個附加包是android-support-v4.jar。
根據屏幕的分辨率和圖片的寬度計算動畫移動的偏移量
image
代碼
viewpager.xml
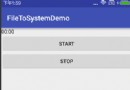
界面設計很簡單,第一行三個頭標,第二行動畫圖片,第三行頁卡內容展示。界面設計很簡單,第一行三個頭標,第二行動畫圖片,第三行頁卡內容展示。
復制代碼
<?xml version="1.0" encoding="utf-8"?>
<LinearLayout xmlns:android="http://schemas.android.com/apk/res/android"
android:layout_width="match_parent"
android:layout_height="match_parent"
android:orientation="vertical" >
<LinearLayout
android:id="@+id/linearLayout1"
android:layout_width="fill_parent"
android:layout_height="100.0dip"
android:background="#FFFFFF" >
<TextView
android:id="@+id/text1"
android:layout_width="fill_parent"
android:layout_height="fill_parent"
android:layout_weight="1.0"
android:gravity="center"
android:text="頁卡1"
android:textColor="#000000"
android:textSize="22.0dip" />
<TextView
android:id="@+id/text2"
android:layout_width="fill_parent"
android:layout_height="fill_parent"
android:layout_weight="1.0"
android:gravity="center"
android:text="頁卡2"
android:textColor="#000000"
android:textSize="22.0dip" />
<TextView
android:id="@+id/text3"
android:layout_width="fill_parent"
android:layout_height="fill_parent"
android:layout_weight="1.0"
android:gravity="center"
android:text="頁卡3"
android:textColor="#000000"
android:textSize="22.0dip" />
</LinearLayout>
<ImageView
android:id="@+id/cursor"
android:layout_width="fill_parent"
android:layout_height="wrap_content"
android:scaleType="matrix"
android:src="@drawable/a" />
<android.support.v4.view.ViewPager
android:id="@+id/vPager"
android:layout_width="wrap_content"
android:layout_height="wrap_content"
android:layout_gravity="center"
android:layout_weight="1.0"
android:background="#000000"
android:flipInterval="30"
android:persistentDrawingCache="animation" />
</LinearLayout>
復制代碼
我們要展示三個頁卡,所以還需要三個頁卡內容的界面設計,這裡我們只設置了背景顏色,能起到區別作用即可。3個lay.xml,設置顏色不同。
復制代碼
<?xml version="1.0" encoding="utf-8"?>
<LinearLayout xmlns:android="http://schemas.android.com/apk/res/android"
android:layout_width="fill_parent"
android:layout_height="fill_parent"
android:orientation="vertical"
android:background="#1586FF" >
</LinearLayout>
復制代碼
初始化頭標
復制代碼
/**
* 初始化頭標
*/
private void InitTextView() {
t1 = (TextView) findViewById(R.id.text1);
t2 = (TextView) findViewById(R.id.text2);
t3 = (TextView) findViewById(R.id.text3);
t1.setOnClickListener(new MyOnClickListener(0));
t2.setOnClickListener(new MyOnClickListener(1));
t3.setOnClickListener(new MyOnClickListener(2));
}
復制代碼
頭標點擊監聽
復制代碼
/**
* 頭標點擊監聽
*
*/
public class MyOnClickListener implements View.OnClickListener {
private int index = 0;
public MyOnClickListener(int i) {
index = i;
}
@Override
public void onClick(View v) {
mPager.setCurrentItem(index);
}
};
復制代碼
以上功能就是點擊第幾個,就展示第幾個頁卡內容。
初始化ViewPager
復制代碼
/**
* 初始化ViewPager
*/
private void InitViewPager() {
mPager = (ViewPager) findViewById(R.id.vPager);
listViews = new ArrayList<View>();
LayoutInflater mInflater = getLayoutInflater();
listViews.add(mInflater.inflate(R.layout.lay1, null));
listViews.add(mInflater.inflate(R.layout.lay2, null));
listViews.add(mInflater.inflate(R.layout.lay3, null));
mPager.setAdapter(new MyPagerAdapter(listViews));
mPager.setCurrentItem(0);
mPager.setOnPageChangeListener(new MyOnPageChangeListener());
}
復制代碼
我們將三個頁卡界面裝入其中,默認顯示第一個頁卡。這裡我們還需要實現一個適配器。
ViewPager適配器
復制代碼
/**
* ViewPager適配器
*/
public class MyPagerAdapter extends PagerAdapter {
public List<View> mListViews;
public MyPagerAdapter(List<View> mListViews) {
this.mListViews = mListViews;
}
@Override
public void destroyItem(View arg0, int arg1, Object arg2) {
((ViewPager) arg0).removeView(mListViews.get(arg1));
}
@Override
public void finishUpdate(View arg0) {
}
@Override
public int getCount() {
return mListViews.size();
}
@Override
public Object instantiateItem(View arg0, int arg1) {
((ViewPager) arg0).addView(mListViews.get(arg1), 0);
return mListViews.get(arg1);
}
@Override
public boolean isViewFromObject(View arg0, Object arg1) {
return arg0 == (arg1);
}
@Override
public void restoreState(Parcelable arg0, ClassLoader arg1) {
}
@Override
public Parcelable saveState() {
return null;
}
@Override
public void startUpdate(View arg0) {
}
}
復制代碼
這裡我們實現了各頁卡的裝入和卸載。
頁卡切換監聽
復制代碼
/**
* 頁卡切換監聽
*/
public class MyOnPageChangeListener implements OnPageChangeListener {
int one = offset * 2 + bmpW;// 頁卡1 -> 頁卡2 偏移量
int two = one * 2;// 頁卡1 -> 頁卡3 偏移量
@Override
public void onPageSelected(int arg0) {
Animation animation = null;
switch (arg0) {
case 0:
if (currIndex == 1)
{
animation = new TranslateAnimation(one, 0, 0, 0);
}
else if (currIndex == 2)
{
animation = new TranslateAnimation(two, 0, 0, 0);
}
break;
case 1:
if (currIndex == 0)
{
animation = new TranslateAnimation(offset, one, 0, 0);
}
else if (currIndex == 2)
{
animation = new TranslateAnimation(two, one, 0, 0);
}
break;
case 2:
if (currIndex == 0) {
animation = new TranslateAnimation(offset, two, 0, 0);
} else if (currIndex == 1) {
animation = new TranslateAnimation(one, two, 0, 0);
}
break;
}
currIndex = arg0;
animation.setFillAfter(true);// True:圖片停在動畫結束位置
animation.setDuration(300);
cursor.startAnimation(animation);
}
@Override
public void onPageScrolled(int arg0, float arg1, int arg2) {
}
@Override
public void onPageScrollStateChanged(int arg0) {
}
}
復制代碼
初始化動畫
復制代碼
private void InitImageView() {
cursor = (ImageView) findViewById(R.id.cursor);
bmpW = BitmapFactory.decodeResource(getResources(), R.drawable.a).getWidth();
DisplayMetrics dm = new DisplayMetrics();
getWindowManager().getDefaultDisplay().getMetrics(dm);
int screenW = dm.widthPixels;// 獲取屏幕分辨率寬度
offset = (screenW / 3 - bmpW) / 2; // 計算偏移量:屏幕寬度/3,平分為3分,如果是3個view的話,再減去圖片寬度,因為圖片居中,所以要得到兩變剩下的空隙需要再除以2
Matrix matrix = new Matrix();
matrix.postTranslate(offset, 0); // 初始化位置,在中間
cursor.setImageMatrix(matrix); // 設置動畫初始位置
}
復制代碼
根據屏幕的分辨率和圖片的寬度計算動畫移動的偏移量。
OnCreate函數
復制代碼
private ViewPager mPager;//頁卡內容
private List<View> listViews; // Tab頁面列表
private ImageView cursor;// 動畫圖片
private TextView t1, t2, t3;//頁卡頭標
private int offset = 0;//動畫圖片偏移量
private int currIndex = 0;//當前頁卡編號
private int bmpW;//動畫圖片寬度
@Override
protected void onCreate(Bundle savedInstanceState) {
// TODO 自動生成的方法存根
super.onCreate(savedInstanceState);
setContentView(R.layout.viewpager);
InitImageView();
InitTextView();
InitViewPager();
}
復制代碼
簡短不割
TranslateAnimation
TranslateAnimation是移動的動畫效果。它有三個構造函數,分別是:
public TranslateAnimation(Context context,AttributeSet attrs)
略過
public TranslateAnimation(float fromXDelta, float toXDelta, float fromYDelta, float toYDelta)
這個是我們最常用的一個構造方法,
float fromXDelta:這個參數表示動畫開始的點離當前View X坐標上的差值;
float toXDelta, 這個參數表示動畫結束的點離當前View X坐標上的差值;
float fromYDelta, 這個參數表示動畫開始的點離當前View Y坐標上的差值;
float toYDelta,這個參數表示動畫開始的點離當前View Y坐標上的差值;
如果view在A(x,y)點 那麼動畫就是從B點(x+fromXDelta, y+fromYDelta)點移動到C 點(x+toXDelta,y+toYDelta)點.
public TranslateAnimation (int fromXType, float fromXValue, int toXType, float toXValue, int fromYType, float fromYValue, int toYType, float toYValue)
fromXType:第一個參數是x軸方向的值的參照(Animation.ABSOLUTE, Animation.RELATIVE_TO_SELF,or Animation.RELATIVE_TO_PARENT);
fromXValue:第二個參數是第一個參數類型的起始值;
toXType,toXValue:第三個參數與第四個參數是x軸方向的終點參照與對應值;
後面四個參數就不用解釋了。如果全部選擇Animation.ABSOLUTE,其實就是第二個構造函數。
以x軸為例介紹參照與對應值的關系:
如果選擇參照為Animation.ABSOLUTE,那麼對應的值應該是具體的坐標值,比如100到300,指絕對的屏幕像素單位。
如果選擇參照為Animation.RELATIVE_TO_SELF或者 Animation.RELATIVE_TO_PARENT指的是相對於自身或父控件,對應值應該理解為相對於自身或者父控件的幾倍或百分之多少。多試參數就明白了。
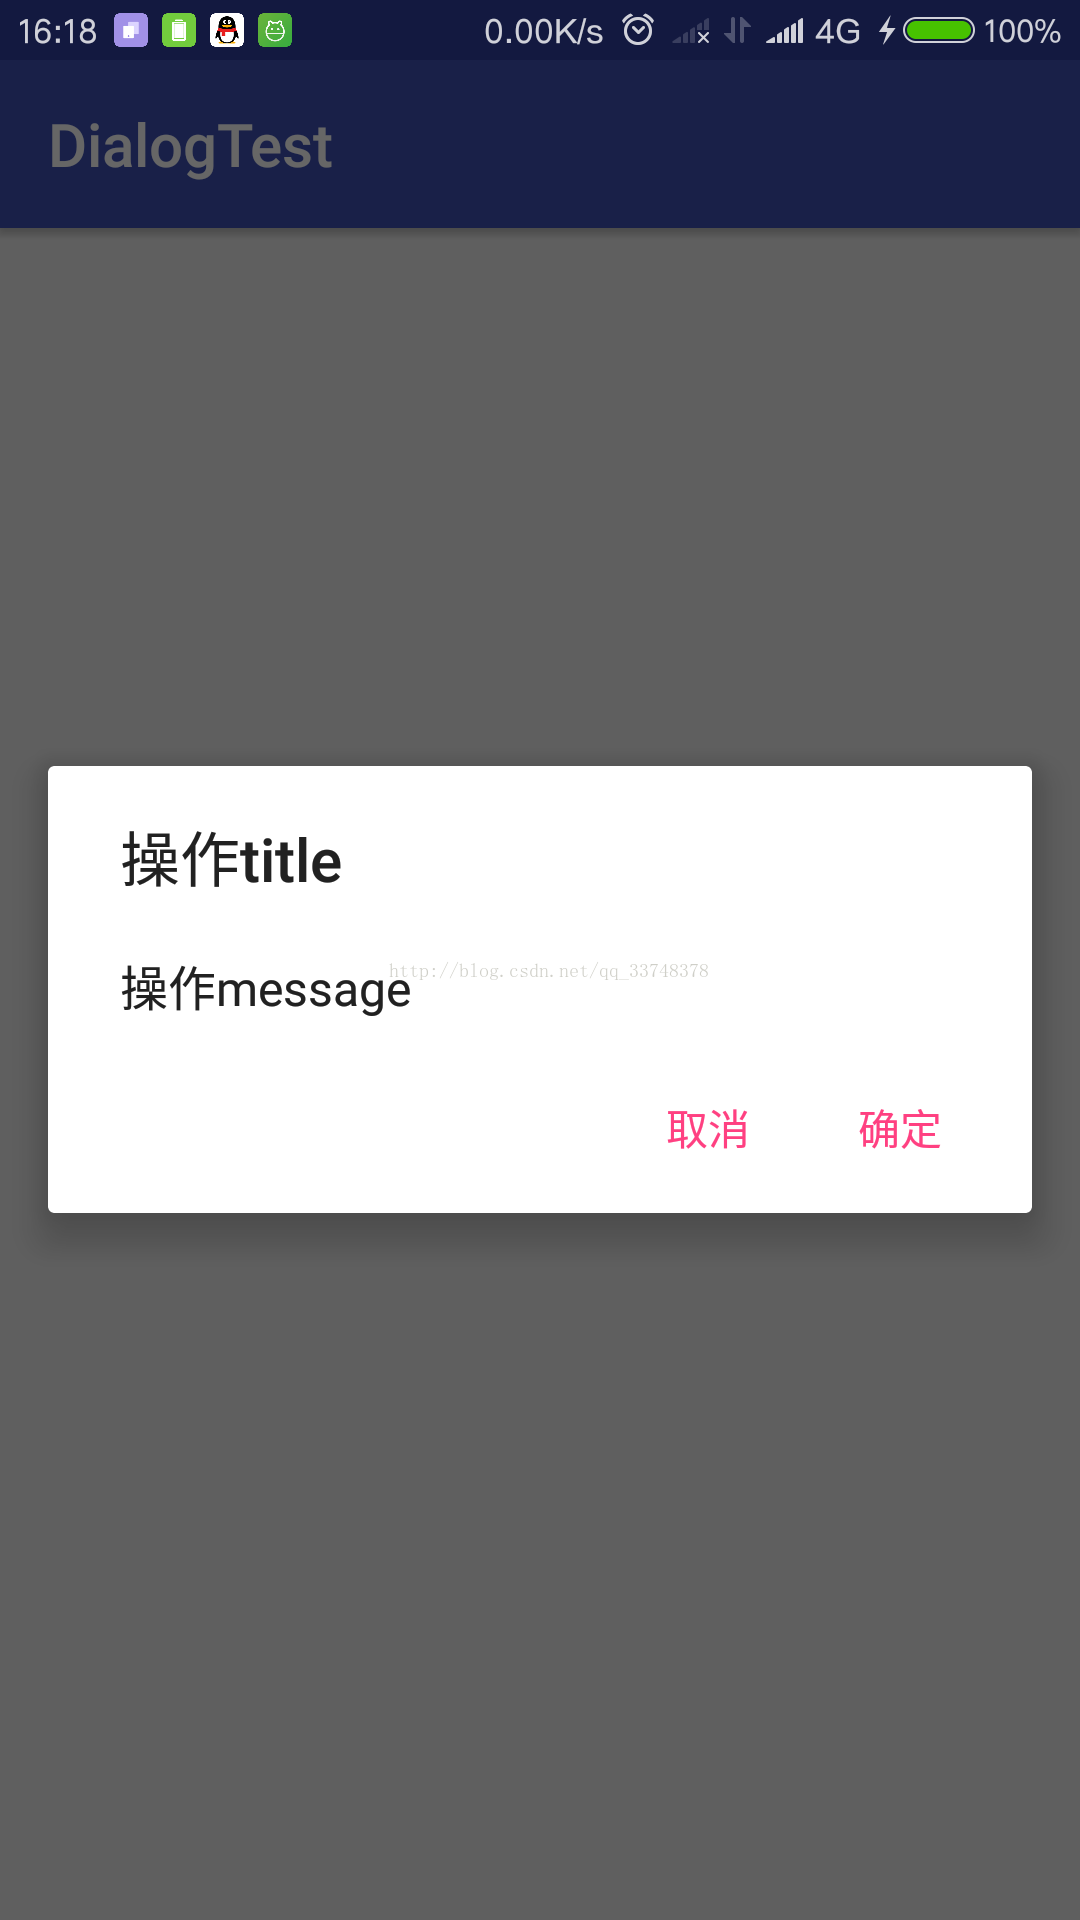
getLayoutInflater
android允許我們在對話框中顯示指定的xml文件,從而實現自定義對話框的效果。自定義的登錄對話框。
XML
復制代碼
<?xml version="1.0" encoding="utf-8"?>
<TableLayout xmlns:android="http://schemas.android.com/apk/res/android"
android:id="@+id/loginForm"
android:layout_width="fill_parent"
android:layout_height="fill_parent"
android:orientation="vertical" >
<TableRow>
<TextView
android:layout_width="fill_parent"
android:layout_height="wrap_content"
android:text="用戶名:"
android:textSize="10pt" />
<!-- 輸入用戶名的文本框 -->
<EditText
android:layout_width="fill_parent"
android:layout_height="wrap_content"
android:hint="請填寫登錄帳號"
android:selectAllOnFocus="true" />
</TableRow>
<TableRow>
<TextView
android:layout_width="fill_parent"
android:layout_height="wrap_content"
android:text="密碼:"
android:textSize="10pt" />
<!-- 輸入密碼的文本框 -->
<EditText
android:layout_width="fill_parent"
android:layout_height="wrap_content"
android:password="true" />
</TableRow>
<TableRow>
<TextView
android:layout_width="fill_parent"
android:layout_height="wrap_content"
android:text="電話號碼:"
android:textSize="10pt" />
<!-- 輸入電話號碼的文本框 -->
<EditText
android:layout_width="fill_parent"
android:layout_height="wrap_content"
android:hint="請填寫您的電話號碼"
android:phoneNumber="true"
android:selectAllOnFocus="true" />
</TableRow>
<Button
android:layout_width="wrap_content"
android:layout_height="wrap_content"
android:text="注冊" />
</TableLayout>
復制代碼
Java
復制代碼
bn.setOnClickListener(new View.OnClickListener()
{
@Override
public void onClick(View source)
{
// 設置對話框的圖標
builder.setIcon(R.drawable.tools);
// 設置對話框的標題
builder.setTitle("自定義普通對話框");
//裝載/res/layout/login.xml界面布局
TableLayout loginForm = (TableLayout)getLayoutInflater().inflate( R.layout.login, null);
// 設置對話框顯示的View對象
builder.setView(loginForm);
// 為對話框設置一個“確定”按鈕
builder.setPositiveButton("登錄" , new OnClickListener()
{
@Override
public void onClick(DialogInterface dialog, int which)
{
}
});
// 為對話框設置一個“取消”按鈕
builder.setNegativeButton("取消" ,new OnClickListener()
{
@Override
public void onClick(DialogInterface dialog, int which)
{
}
});
//創建、並顯示對話框
builder.create().show();
}
}
 Android 實用工具之emulator介紹
 Android中View自定義組合控件的基本編寫方法
 Android SwitchButton(滑動開關)
 Android 計時器 Chronometer or handler+timer+timerTask