編輯:關於Android編程
Zxing 是google提供的二維碼掃描工程
Demo本身默認的掃圖區域最大只有 360*480 需要拉開很遠的距離才能將整個二維碼掃描到
因此需要我們自己調整取圖大小
在CameraManager.java這個類中進行調整
默認的大小是 以下這4個參數
//  private static final int MIN_FRAME_WIDTH = 240;
//  private static final int MIN_FRAME_HEIGHT = 240;
//  private static final int MAX_FRAME_WIDTH = 480;
//  private static final int MAX_FRAME_HEIGHT = 360;
根據屏幕大小調整 大家可以增大這些數值 : 最小的寬 高 ; 最大寬高
參數實際在 getFramingRect() 方法中起作用
以下是原本Demo中提供的
 /**
   * Calculates the framing rect which the UI should draw to show the user where to place the
   * barcode. This target helps with alignment as well as forces the user to hold the device
   * far enough away to ensure the image will be in focus.
   *
   * @return The rectangle to draw on screen in window coordinates.
   */
  public Rect getFramingRect() {
    Point screenResolution = configManager.getScreenResolution();
    if (framingRect == null) {
      if (camera == null) {
        return null;
      }

      //原生
      int width = screenResolution.x * 3 / 4;
      if (width < MIN_FRAME_WIDTH) {
        width = MIN_FRAME_WIDTH;
      } else if (width > MAX_FRAME_WIDTH) {
        width = MAX_FRAME_WIDTH;
      }
      int height = screenResolution.y * 3 / 4;
      if (height < MIN_FRAME_HEIGHT) {
        height = MIN_FRAME_HEIGHT;
      } else if (height > MAX_FRAME_HEIGHT) {
        height = MAX_FRAME_HEIGHT;
      }
      int leftOffset = (screenResolution.x - width) / 2;
      int topOffset = (screenResolution.y - height) / 2;
      framingRect = new Rect(leftOffset, topOffset, leftOffset + width, topOffset + height);
      Log.d(TAG, "Calculated framing rect: " + framingRect);
    }
    return framingRect;
  }
我為了適配不同的屏幕大小將代碼改成了
  public Rect getFramingRect() {
    Point screenResolution = configManager.getScreenResolution();
    if (framingRect == null) {
      if (camera == null) {
        return null;
      }

    //修改之後
    int width = screenResolution.x * 7 / 10;
    int height = screenResolution.y * 7 / 10;

    int leftOffset = (screenResolution.x - width) / 2;
    int topOffset = (screenResolution.y - height) / 3;
    framingRect = new Rect(leftOffset, topOffset, leftOffset + width, topOffset + height);


      Log.d(TAG, "Calculated framing rect: " + framingRect);
    }
    return framingRect;
  }
寬高 我占據了屏幕的 7/10
當然...取圖改的這麼大 會多占一點內存....相應的掃描的時候快得多
以上是實際讀取圖片的大小
實際的界面美化 在ViewfinderView 這個類當中進行繪制
不足之處請在下方留言 謝謝
希望對您有用
資源下載地址:http://download.csdn.net/detail/aaawqqq/7281577
 Android Camera 實時濾鏡(二)
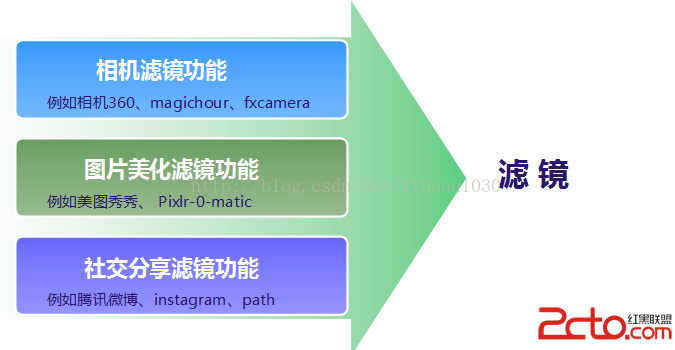
一、Android平台濾鏡濾鏡這個功能在目前的市場上應用很廣泛,發展也非常快,總結起來,基本上有以下三種應用會包含濾鏡功能,都各有所長。 二、相機濾鏡介紹1、相
 微信個人公眾號怎麼改名字 微信個人公眾號改名字教程
近日,微信悄然上線了個人公眾號改名功能,據悉,微信在原賬號名稱下方會有一行“個人類賬號一年內可主動修改一次名稱”的標注,每年只有一次
 微信號怎麼改 微信號怎麼改第二次
想必現在有很多朋友都曾經遇到過這樣的困惑。小編也嘗試過修改幾個微信號都沒能成功;結果有一個是兩年前注冊的微信號,並且當時是已經填寫了自己的微信號(不是默認號
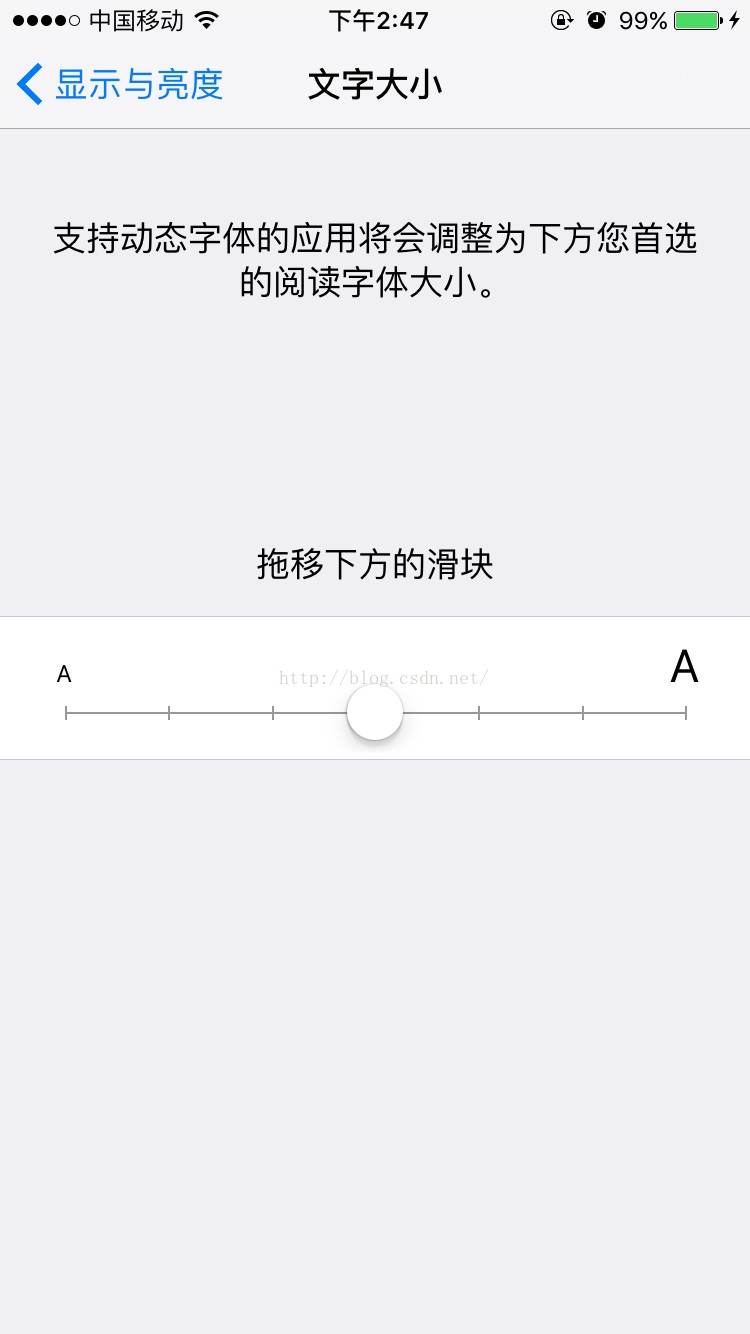 Android UI設計之(十二)自定義View,實現絢麗的字體大小控制控件FontSliderBar
了解iOS的同學應該知道在iOS中有個UISliderBar控件,在iPhone手機中的設置文字大小中使用了該控件。近來產品提的需求中有一個是更改APP中部分字體大小,雖