轉帖請注明本文出自xiaanming的博客(http://blog.csdn.net/xiaanming),請尊重他人的辛勤勞動成果,謝謝!
隨著移動互聯網的快速發展,它已經和我們的生活息息相關了,在公交地鐵裡面都能看到很多人的人低頭看著自己的手機屏幕,從此“低頭族”一詞就產生了,作為一名移動行業的開發人員,我自己也是一名“低頭族”,上下班時間在公交地鐵上看看新聞來打發下時間,有時候也會看看那些受歡迎的App的一些界面效果,為什麼人家的app那麼受歡迎?跟用戶體驗跟UI設計也有直接的關系,最近在美團和大眾點評的App看到如下效果,我感覺用戶好,很人性化,所以自己也嘗試著實現了下,接下來就講解下實現思路!


如上圖(2)我們看到了,當立即搶購布局向上滑動到導航欄布局的時候,立即搶購布局就貼在導航欄布局下面,下面的其他的布局還是可以滑動,當我們向下滑動的時候,立即搶購的布局又隨著往下滑動了,看似有點復雜,但是一說思路可能你就頓時恍然大悟了。
當我們向上滑動過程中,我們判斷立即搶購的布局是否滑到導航欄布局下面,如果立即搶購的上面頂到了導航欄,我們新建一個立即搶購的懸浮框來顯示在導航欄下面,這樣子就實現了立即搶購貼在導航欄下面的效果啦,而當我們向下滑動的時候,當立即搶購布局的下面剛好到了剛剛新建的立即搶購懸浮框的下面的時候,我們就移除立即搶購懸浮框,可能說的有點拗口,既然知道了思路,接下來我們就來實現效果。
新建一個Android項目,取名MeiTuanDemo,先看立即搶購(buy_layout.xml)的布局,這裡為了方便我直接從美團上面截去了圖片
-
-
android:orientation="horizontal"
-
android:layout_width="fill_parent"
-
android:layout_height="wrap_content" >
-
-
android:id="@+id/buy_layout"
-
android:layout_width="fill_parent"
-
android:layout_height="wrap_content"
-
android:background="@drawable/buy" />
-
-
立即搶購的布局實現了,接下來實現主界面的布局,上面是導航欄布局,為了方便還是直接從美團截取的圖片,然後下面的ViewPager布局,立即搶購布局,其他布局 放在ScrollView裡面,界面還是很簡單的
-
xmlns:tools="http://schemas.android.com/tools"
-
android:layout_width="match_parent"
-
android:layout_height="match_parent"
-
android:orientation="vertical" >
-
-
android:id="@+id/imageView1"
-
android:scaleType="centerCrop"
-
android:layout_width="match_parent"
-
android:layout_height="45dip"
-
android:src="@drawable/navigation_bar" />
-
-
-
android:id="@+id/scrollView"
-
android:layout_width="fill_parent"
-
android:layout_height="fill_parent" >
-
-
android:layout_width="match_parent"
-
android:layout_height="wrap_content"
-
android:orientation="vertical" >
-
-
android:id="@+id/iamge"
-
android:layout_width="match_parent"
-
android:layout_height="wrap_content"
-
android:background="@drawable/pic"
-
android:scaleType="centerCrop" />
-
-
android:id="@+id/buy"
-
layout="@layout/buy_layout" />
-
-
android:layout_width="match_parent"
-
android:layout_height="wrap_content"
-
android:background="@drawable/one"
-
android:scaleType="centerCrop" />
-
-
android:layout_width="match_parent"
-
android:layout_height="wrap_content"
-
android:background="@drawable/one"
-
android:scaleType="centerCrop" />
-
-
android:layout_width="match_parent"
-
android:layout_height="wrap_content"
-
android:background="@drawable/one"
-
android:scaleType="centerCrop" />
-
-
-
-
你會發現上面的主界面布局中並不是ScrollView,而是自定義的一個MyScrollView,接下來就看看MyScrollView類中的代碼
-
package com.example.meituandemo;
-
-
import android.content.Context;
-
import android.os.Handler;
-
import android.util.AttributeSet;
-
import android.view.MotionEvent;
-
import android.widget.ScrollView;
-
/**
-
* 博客地址:http://blog.csdn.net/xiaanming
-
*
-
* @author xiaanming
-
*
-
*/
-
public class MyScrollView extends ScrollView {
-
private OnScrollListener onScrollListener;
-
/**
-
* 主要是用在用戶手指離開MyScrollView,MyScrollView還在繼續滑動,我們用來保存Y的距離,然後做比較
-
*/
-
private int lastScrollY;
-
-
public MyScrollView(Context context) {
-
this(context, null);
-
}
-
-
public MyScrollView(Context context, AttributeSet attrs) {
-
this(context, attrs, 0);
-
}
-
-
public MyScrollView(Context context, AttributeSet attrs, int defStyle) {
-
super(context, attrs, defStyle);
-
}
-
-
/**
-
* 設置滾動接口
-
* @param onScrollListener
-
*/
-
public void setOnScrollListener(OnScrollListener onScrollListener) {
-
this.onScrollListener = onScrollListener;
-
}
-
-
-
/**
-
* 用於用戶手指離開MyScrollView的時候獲取MyScrollView滾動的Y距離,然後回調給onScroll方法中
-
*/
-
private Handler handler = new Handler() {
-
-
public void handleMessage(android.os.Message msg) {
-
int scrollY = MyScrollView.this.getScrollY();
-
-
//此時的距離和記錄下的距離不相等,在隔5毫秒給handler發送消息
-
if(lastScrollY != scrollY){
-
lastScrollY = scrollY;
-
handler.sendMessageDelayed(handler.obtainMessage(), 5);
-
}
-
if(onScrollListener != null){
-
onScrollListener.onScroll(scrollY);
-
}
-
-
};
-
-
};
-
-
/**
-
* 重寫onTouchEvent, 當用戶的手在MyScrollView上面的時候,
-
* 直接將MyScrollView滑動的Y方向距離回調給onScroll方法中,當用戶抬起手的時候,
-
* MyScrollView可能還在滑動,所以當用戶抬起手我們隔5毫秒給handler發送消息,在handler處理
-
* MyScrollView滑動的距離
-
*/
-
@Override
-
public boolean onTouchEvent(MotionEvent ev) {
-
if(onScrollListener != null){
-
onScrollListener.onScroll(lastScrollY = this.getScrollY());
-
}
-
switch(ev.getAction()){
-
case MotionEvent.ACTION_UP:
-
handler.sendMessageDelayed(handler.obtainMessage(), 5);
-
break;
-
}
-
return super.onTouchEvent(ev);
-
}
-
-
-
/**
-
*
-
* 滾動的回調接口
-
*
-
* @author xiaanming
-
*
-
*/
-
public interface OnScrollListener{
-
/**
-
* 回調方法, 返回MyScrollView滑動的Y方向距離
-
* @param scrollY
-
* 、
-
*/
-
public void onScroll(int scrollY);
-
}
-
-
-
-
}
一看代碼你也許明白了,就是對ScrollView的滾動Y值進行監聽,我們知道ScrollView並沒有實現滾動監聽,所以我們必須自行實現對ScrollView的監聽,我們很自然的想到在onTouchEvent()方法中實現對滾動Y軸進行監聽,可是你會發現,我們在滑動ScrollView的時候,當我們手指離開ScrollView。它可能還會繼續滑動一段距離,所以我們選擇在用戶手指離開的時候每隔5毫秒來判斷ScrollView是否停止滑動,並將ScrollView的滾動Y值回調給OnScrollListener接口的onScroll(int
scrollY)方法中,我們只需要對ScrollView調用我們只需要對ScrollView調用setOnScrollListener方法就能監聽到滾動的Y值。
實現了對ScrollView滾動的Y值進行監聽,接下來就簡單了,我們只需要顯示立即搶購懸浮框和移除懸浮框了,接下來看看主界面Activity的代碼編寫
-
package com.example.meituandemo;
-
-
import android.app.Activity;
-
import android.content.Context;
-
import android.graphics.PixelFormat;
-
import android.os.Bundle;
-
import android.view.Gravity;
-
import android.view.LayoutInflater;
-
import android.view.View;
-
import android.view.WindowManager;
-
import android.view.WindowManager.LayoutParams;
-
import android.widget.LinearLayout;
-
import com.example.meituandemo.MyScrollView.OnScrollListener;
-
/**
-
* 博客地址:http://blog.csdn.net/xiaanming
-
*
-
* @author xiaanming
-
*
-
*/
-
public class MainActivity extends Activity implements OnScrollListener{
-
private MyScrollView myScrollView;
-
private LinearLayout mBuyLayout;
-
private WindowManager mWindowManager;
-
/**
-
* 手機屏幕寬度
-
*/
-
private int screenWidth;
-
/**
-
* 懸浮框View
-
*/
-
private static View suspendView;
-
/**
-
* 懸浮框的參數
-
*/
-
private static WindowManager.LayoutParams suspendLayoutParams;
-
/**
-
* 購買布局的高度
-
*/
-
private int buyLayoutHeight;
-
/**
-
* myScrollView與其父類布局的頂部距離
-
*/
-
private int myScrollViewTop;
-
-
/**
-
* 購買布局與其父類布局的頂部距離
-
*/
-
private int buyLayoutTop;
-
-
-
@Override
-
protected void onCreate(Bundle savedInstanceState) {
-
super.onCreate(savedInstanceState);
-
setContentView(R.layout.activity_main);
-
-
myScrollView = (MyScrollView) findViewById(R.id.scrollView);
-
mBuyLayout = (LinearLayout) findViewById(R.id.buy);
-
-
myScrollView.setOnScrollListener(this);
-
mWindowManager = (WindowManager) getSystemService(Context.WINDOW_SERVICE);
-
screenWidth = mWindowManager.getDefaultDisplay().getWidth();
-
}
-
-
/**
-
* 窗口有焦點的時候,即所有的布局繪制完畢的時候,我們來獲取購買布局的高度和myScrollView距離父類布局的頂部位置
-
*/
-
@Override
-
public void onWindowFocusChanged(boolean hasFocus) {
-
super.onWindowFocusChanged(hasFocus);
-
if(hasFocus){
-
buyLayoutHeight = mBuyLayout.getHeight();
-
buyLayoutTop = mBuyLayout.getTop();
-
-
myScrollViewTop = myScrollView.getTop();
-
}
-
}
-
-
-
-
/**
-
* 滾動的回調方法,當滾動的Y距離大於或者等於 購買布局距離父類布局頂部的位置,就顯示購買的懸浮框
-
* 當滾動的Y的距離小於 購買布局距離父類布局頂部的位置加上購買布局的高度就移除購買的懸浮框
-
*
-
*/
-
@Override
-
public void onScroll(int scrollY) {
-
if(scrollY >= buyLayoutTop){
-
if(suspendView == null){
-
showSuspend();
-
}
-
}else if(scrollY <= buyLayoutTop + buyLayoutHeight){
-
if(suspendView != null){
-
removeSuspend();
-
}
-
}
-
}
-
-
-
/**
-
* 顯示購買的懸浮框
-
*/
-
private void showSuspend(){
-
if(suspendView == null){
-
suspendView = LayoutInflater.from(this).inflate(R.layout.buy_layout, null);
-
if(suspendLayoutParams == null){
-
suspendLayoutParams = new LayoutParams();
-
suspendLayoutParams.type = LayoutParams.TYPE_PHONE; //懸浮窗的類型,一般設為2002,表示在所有應用程序之上,但在狀態欄之下
-
suspendLayoutParams.format = PixelFormat.RGBA_8888;
-
suspendLayoutParams.flags = LayoutParams.FLAG_NOT_TOUCH_MODAL
-
| LayoutParams.FLAG_NOT_FOCUSABLE; //懸浮窗的行為,比如說不可聚焦,非模態對話框等等
-
suspendLayoutParams.gravity = Gravity.TOP; //懸浮窗的對齊方式
-
suspendLayoutParams.width = screenWidth;
-
suspendLayoutParams.height = buyLayoutHeight;
-
suspendLayoutParams.x = 0; //懸浮窗X的位置
-
suspendLayoutParams.y = myScrollViewTop; ////懸浮窗Y的位置
-
}
-
}
-
-
mWindowManager.addView(suspendView, suspendLayoutParams);
-
}
-
-
-
/**
-
* 移除購買的懸浮框
-
*/
-
private void removeSuspend(){
-
if(suspendView != null){
-
mWindowManager.removeView(suspendView);
-
suspendView = null;
-
}
-
}
-
-
}
上面的代碼比較簡單,根據ScrollView滑動的距離來判斷顯示和移除懸浮框,懸浮框的實現主要是通過WindowManager這個類來實現的,調用這個類的addView方法用於添加一個懸浮框,removeView用於移除懸浮框。
通過上述代碼就實現了美團,大眾點評的這種效果,在運行項目之前我們必須在AndroidManifest.xml中加入
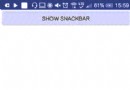
我們運行下項目看下效果吧

 Android進階——Material Design新控件之Snackbar
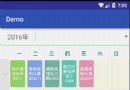 Android開發高仿課程表的布局實例詳解
 Android中自定義View實現圓環等待及相關的音量調節效果
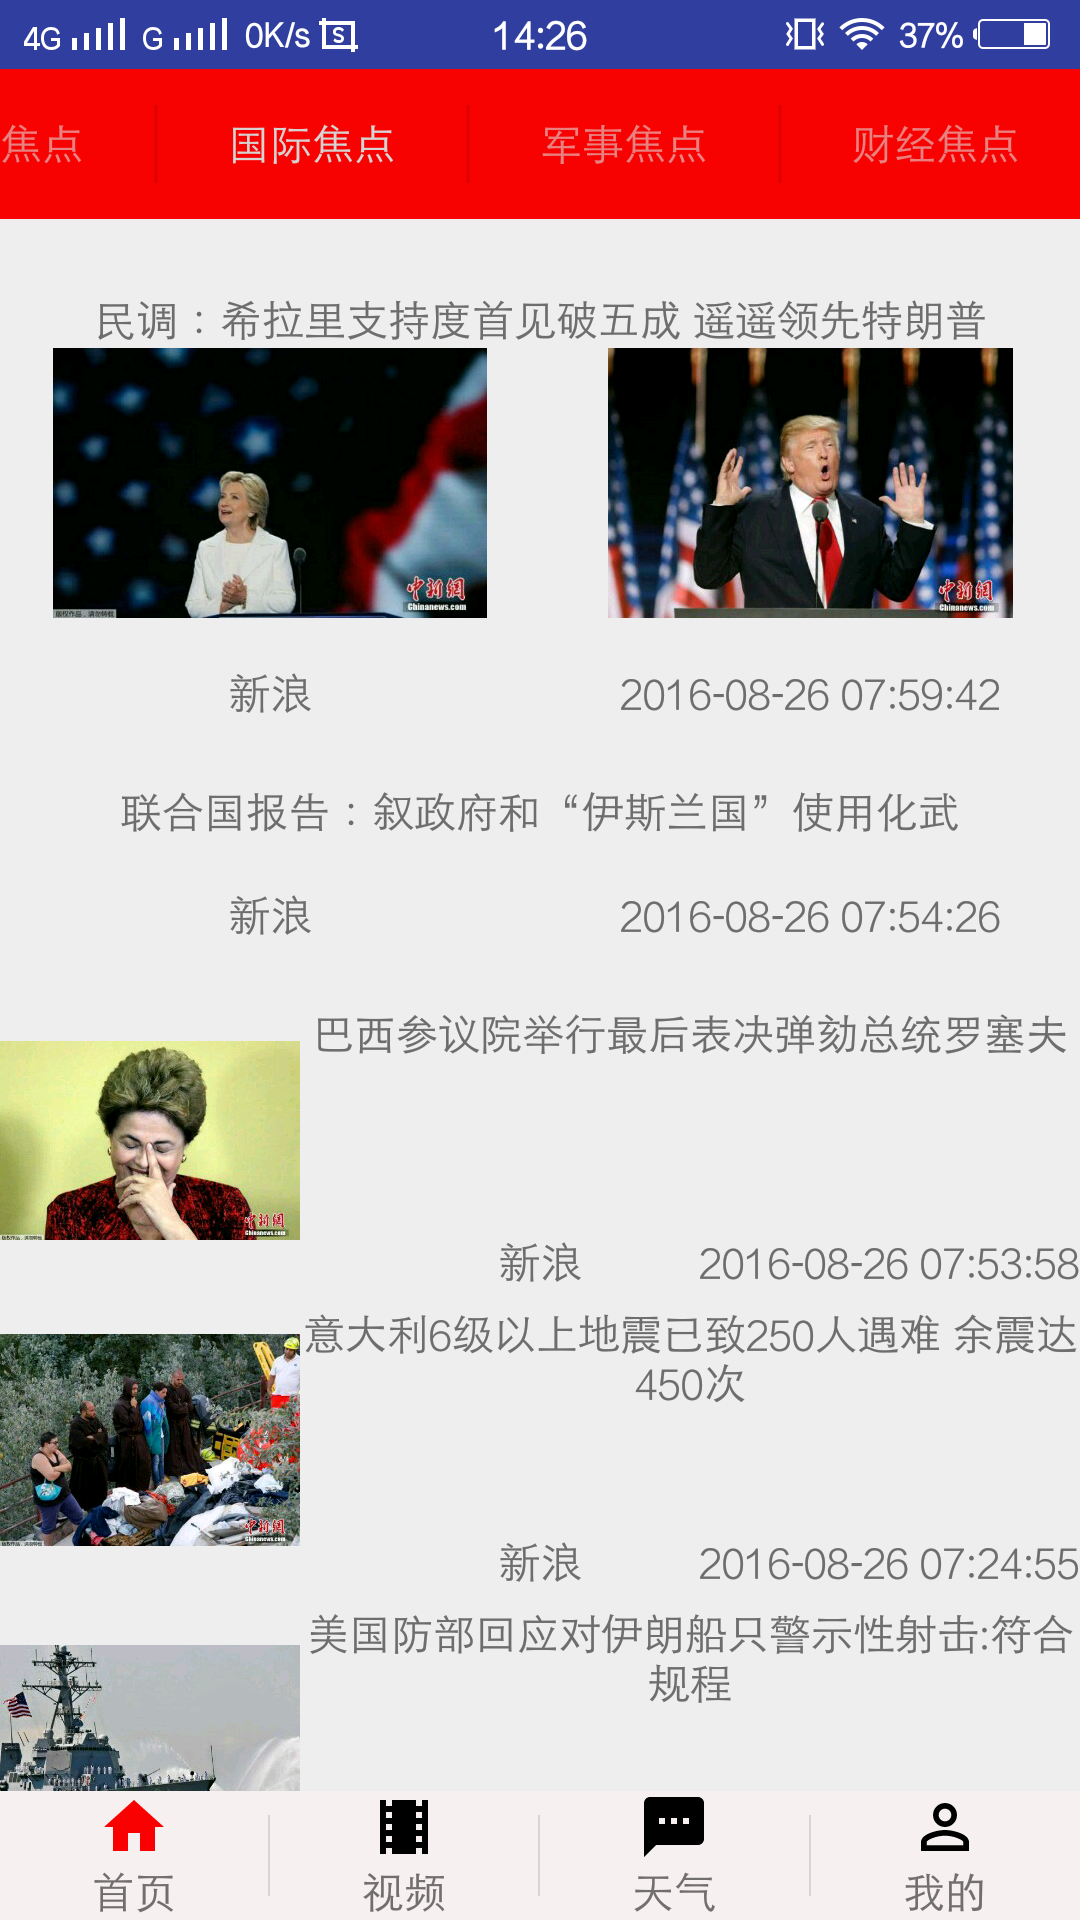 AndroidStudio——今日頭條(可以實時獲取數據的app)