編輯:關於Android編程
 Android進程通信之兩種序列化方式分析
2月下旬辭職了,去海南度假到現在,領略了一把三亞風情也算任性和然而這樣任性帶來的後果就是。。不行了我必須吐槽一句。。沒畢業的找工作就這麼難嘛!投了57家一家面試機會都沒有
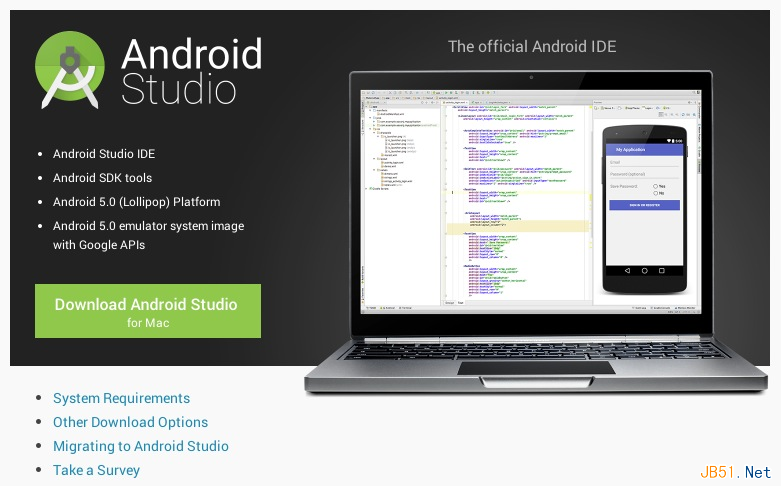
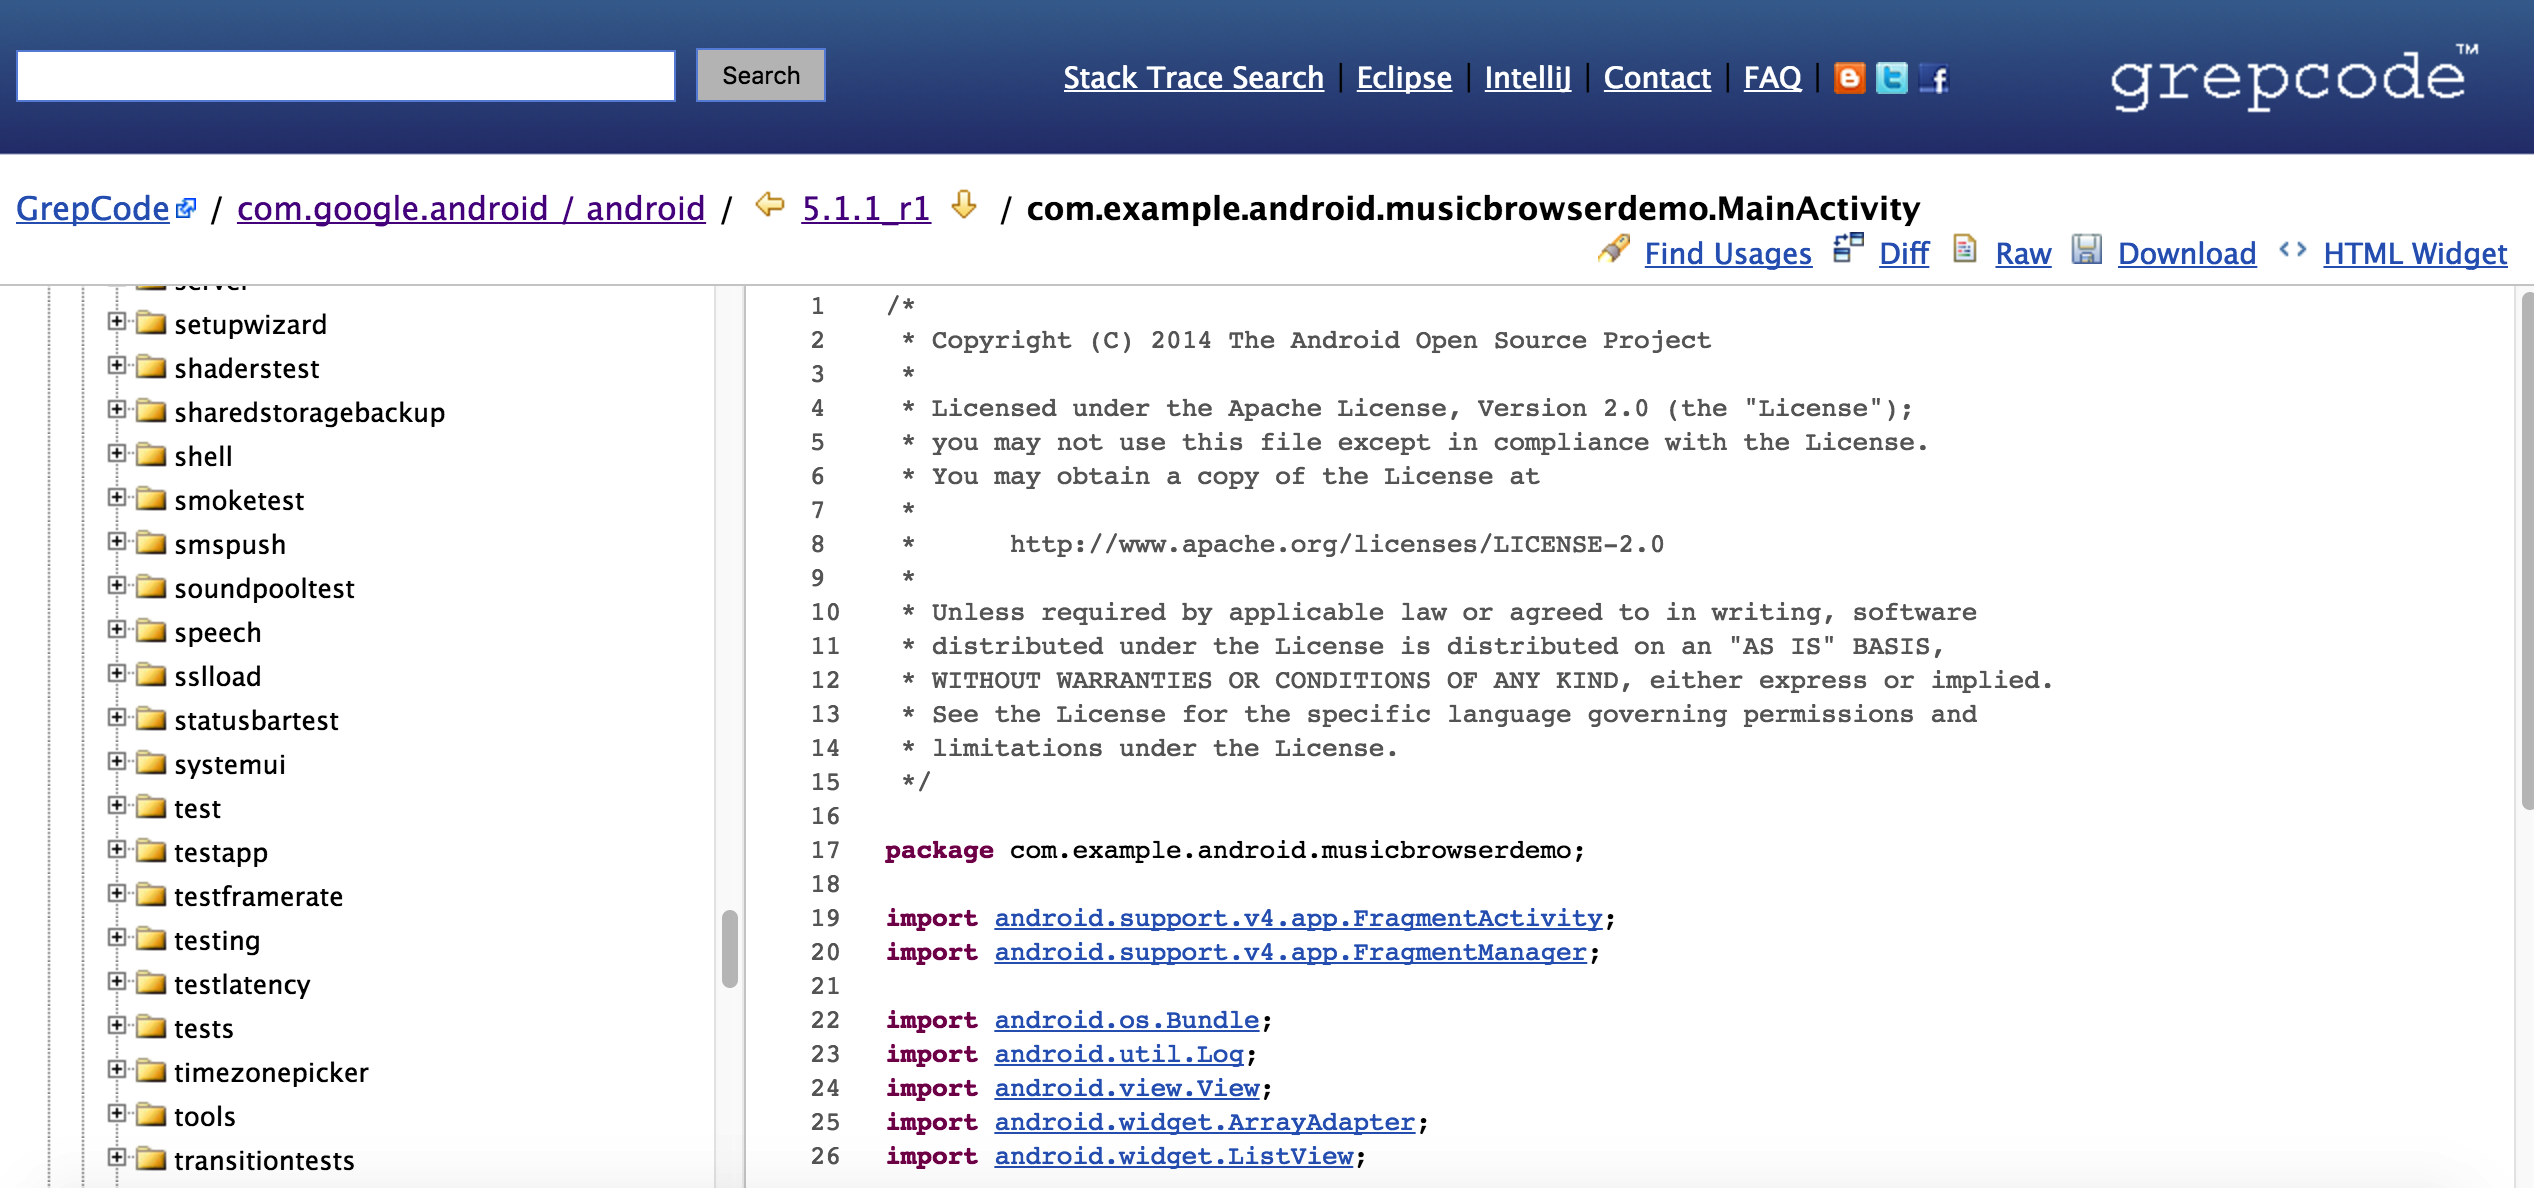 在線看Android系統源碼,那些相見恨晚的幾種方案
前言:最近在研究MediaCodec,u盤壞了,之前下載的源碼也就自然沒有了,真是個難過的事情,不能因為沒有源碼了,就阻擋我的計劃了呀,於是就是今天一文,在線看Andro
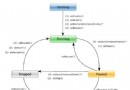 Android四大基本組件之Activity與BroadcastReceive廣播接收器
Android四大基本組件分別是Activity,Service服務,Content Provider內容提供者,BroadcastReceiver廣播接收器。一、Act
 Android動畫之3D翻轉效果實現函數分析
Android中的翻轉動畫效果的實現,首先看一下運行效果如上圖所示. Android中並沒有提供直接做3D翻轉的動畫,所以關於3D翻轉的動畫效果需要我們自己實現,那麼我們