編輯:關於Android編程
要是做復雜的OpenGL應用程序,一定會用到紋理技術。紋理說白了就是把圖片或者視頻圖像繪制到OpenGL空間中。
因此紋理也有坐標系,稱ST坐標,或者UV
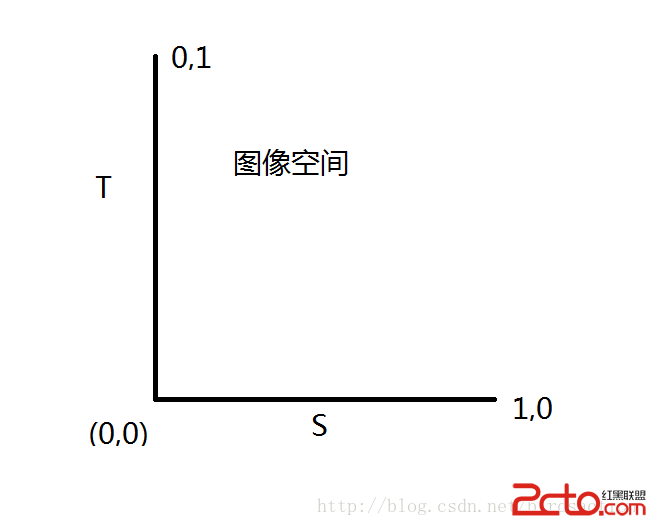
上面是紋理坐標空間,但沒有固定的方向
下面演示加載一張image作為紋理貼圖。
public class TextureUtils {

	public static int createTexture(InputStream ins) {
		int[] textures = new int[1];
		GLES20.glGenTextures(1, textures, 0);//生成一個紋理


		int textureId = textures[0];
		GLES20.glBindTexture(GLES20.GL_TEXTURE_2D, textureId);
		GLES20.glTexParameterf(GLES20.GL_TEXTURE_2D, GLES20.GL_TEXTURE_MIN_FILTER,GLES20.GL_NEAREST);
		GLES20.glTexParameterf(GLES20.GL_TEXTURE_2D,GLES20.GL_TEXTURE_MAG_FILTER,GLES20.GL_LINEAR);
		GLES20.glTexParameterf(GLES20.GL_TEXTURE_2D, GLES20.GL_TEXTURE_WRAP_S,GLES20.GL_CLAMP_TO_EDGE);
		GLES20.glTexParameterf(GLES20.GL_TEXTURE_2D, GLES20.GL_TEXTURE_WRAP_T,GLES20.GL_CLAMP_TO_EDGE);
		//上面是紋理貼圖的取樣方式,包括拉伸方式,取臨近值和線性值
		Bitmap bitmap = BitmapFactory.decodeStream(ins);
		GLUtils.texImage2D(GLES20.GL_TEXTURE_2D, 0, bitmap, 0);//讓圖片和紋理關聯起來,加載到OpenGl空間中
		Log.d(OPENGL,bitmap: + bitmap);
		bitmap.recycle();//不需要,可以釋放
		return textureId;
	}

}
public class MyRenderer implements Renderer {

	public static float[] projMatrix = new float[16];// 投影
	public static float[] viewMatrix = new float[16];// 相機
	public static float[] mViewPjMatrix;// 總變換矩陣
	public static float[] matrixs = new float[16];
	public static int textureId = -1;
	Context context;
	MyDrawModel drawModel;

	public MyRenderer(Context context) {
		this.context = context;
	}

	@Override
	public void onDrawFrame(GL10 arg0) {
		GLES20.glClear( GLES20.GL_DEPTH_BUFFER_BIT | GLES20.GL_COLOR_BUFFER_BIT);
		Log.e(, textureId: + textureId);
		drawModel.drawFrame(textureId);
	}

	@Override
	public void onSurfaceChanged(GL10 arg0, int w, int h) {
		GLES20.glViewport(0, 0, w, h);
		float ratio = (float) w / h;
		Matrix.frustumM(projMatrix, 0, -ratio, ratio, -1, 1, 1, 10);//投影矩陣設置
		Matrix.setLookAtM(viewMatrix, 0, 0, 0, 3, 0, 0, 0, 0.0f, 1.0f, 0.0f);//攝像機坐標設置
	}

	@Override
	public void onSurfaceCreated(GL10 g, EGLConfig eglConfig) {
		GLES20.glClearColor(0.5f,0.5f,0.5f, 1.0f);
		GLES20.glEnable(GLES20.GL_DEPTH_TEST);
		InputStream ins = null;
		drawModel = new MyDrawModel();
		drawModel.init();
		try {
			ins = context.getAssets().open(house.jpg);
			textureId = TextureUtils.createTexture(ins);
			Log.e(, textureId: + textureId);
		} catch (IOException e) {
			e.printStackTrace();
		} finally {
			try {
				ins.close();
			} catch (IOException e) {
				e.printStackTrace();
			}
		}
		GLES20.glDisable(GLES20.GL_CULL_FACE);
	}

}
public class MyDrawModel {

	private int programId;
	private int mVPMatrixHandle; // 總變換矩陣引用id
	private int positionHandle; // 頂點位置id
	private int texCoorHandle; // 頂點紋理坐標id

	private FloatBuffer vertexBuffer;
	private FloatBuffer texCoorBuffer;

	public MyDrawModel() {
	}

	public void init() {
		initData();
		int vertexsharder = GLHelper.compileScript(GLES20.GL_VERTEX_SHADER,
				GLScript.vertex2);
		int fragmentsharder = GLHelper.compileScript(GLES20.GL_FRAGMENT_SHADER,
				GLScript.fragment2);
		programId = GLHelper.linkAttach(vertexsharder, fragmentsharder);
		boolean isOK = GLHelper.checkProgram(programId);
		positionHandle = GLES20.glGetAttribLocation(programId, aPosition);
		texCoorHandle = GLES20.glGetAttribLocation(programId, aTexCoor);
		mVPMatrixHandle = GLES20.glGetUniformLocation(programId, uMVPMatrix);

		Log.d(OPENGL, positionHandle: + positionHandle + ;texCoorHandle:
				+ texCoorHandle + ;mVPMatrixHandle: + mVPMatrixHandle + ;
				+ isOK);
	}

	private void initData() {

		//X,Y,Z,繪畫的頂點
		float vertices[] = new float[] {
		           0,     0, 0,
			   -1.8f, -1f, 0,
			   1.8f, -1f, 0,
			   1.8f,  1f, 0,
			   -1.8f,  1f, 0,
			   -1.8f, -1f, 0
		   };

		ByteBuffer vb = ByteBuffer.allocateDirect(vertices.length * 4);
		vb.order(ByteOrder.nativeOrder());
		vertexBuffer = vb.asFloatBuffer();
		vertexBuffer.put(vertices);
		vertexBuffer.position(0);

		//紋理空間坐標 S,T
		float texCoor[] = new float[] {
				0.5f, 0.5f,
				0f,     1f,
				1f,     1f,
				1f,     0f,
				0f,     0f,
				0f,     1f
			};

		ByteBuffer cb = ByteBuffer.allocateDirect(texCoor.length * 4);
		cb.order(ByteOrder.nativeOrder());
		texCoorBuffer = cb.asFloatBuffer();
		texCoorBuffer.put(texCoor);
		texCoorBuffer.position(0);
	}

	public void drawFrame(int textureId) {

		 GLES20.glUseProgram(programId);

		 // // 初始化矩陣
		 Matrix.setRotateM(MyRenderer.matrixs, 0, 0, 1, 0, 0);
		 Matrix.translateM(MyRenderer.matrixs, 0, 0, 0, 1);

		 //矩陣轉換 ,投影矩陣,攝像機矩陣,模型矩陣
		 MyRenderer.mViewPjMatrix = new float[16];
		 Matrix.multiplyMM(MyRenderer.mViewPjMatrix, 0, MyRenderer.viewMatrix,0, MyRenderer.matrixs, 0);
		 Matrix.multiplyMM(MyRenderer.mViewPjMatrix, 0, MyRenderer.projMatrix,0, MyRenderer.mViewPjMatrix, 0);
		 GLES20.glUniformMatrix4fv(mVPMatrixHandle, 1, false, MyRenderer.mViewPjMatrix, 0);

		 GLES20.glVertexAttribPointer(positionHandle, 3, GLES20.GL_FLOAT, false, 3 * 4, vertexBuffer);
		 GLES20.glVertexAttribPointer(texCoorHandle,  2, GLES20.GL_FLOAT, false, 2 * 4, texCoorBuffer);

		 GLES20.glEnableVertexAttribArray(positionHandle);
		 GLES20.glEnableVertexAttribArray(texCoorHandle);

		 GLES20.glActiveTexture(GLES20.GL_TEXTURE0);
		 GLES20.glBindTexture(GLES20.GL_TEXTURE_2D, textureId);
		 GLES20.glDrawArrays(GLES20.GL_TRIANGLE_FAN, 0, 6);//六個定點,繪制三角形

	}

}
public class GLScript {

	public GLScript() {
	}

	public static final String vertex1 = attribute vec4 mPosition;
 +
            void main()
 +
            {
 +
                gl_Position=mPosition;
  +
            }
;

    public static final String fragment1 = precision mediump float;
 +
            uniform vec4 mColor;
 +
            void main(){ gl_FragColor=mColor;
};

    public static final String vertex2 = uniform mat4 uMVPMatrix;

    		 + attribute vec3 aPosition;

    		 + attribute vec2 aTexCoor;

    		 + varying vec2 vTextureCoord;

    		 + void main() {

    		 + gl_Position = uMVPMatrix * vec4(aPosition,1);

    		 + vTextureCoord = aTexCoor;

    		 + }

    		;

    public static final String fragment2 = precision mediump float;

    		+ varying vec2 vTextureCoord;

    		+ uniform sampler2D sTexture;

    		+ void main() {

    		+ vec2 coord =  vTextureCoord;

    		+ coord.s =  coord.s * 0.5;
 //其實是去圖像的一半,向量縮小了
    		+ gl_FragColor = texture2D(sTexture, coord);

    		+ }

    		;

}
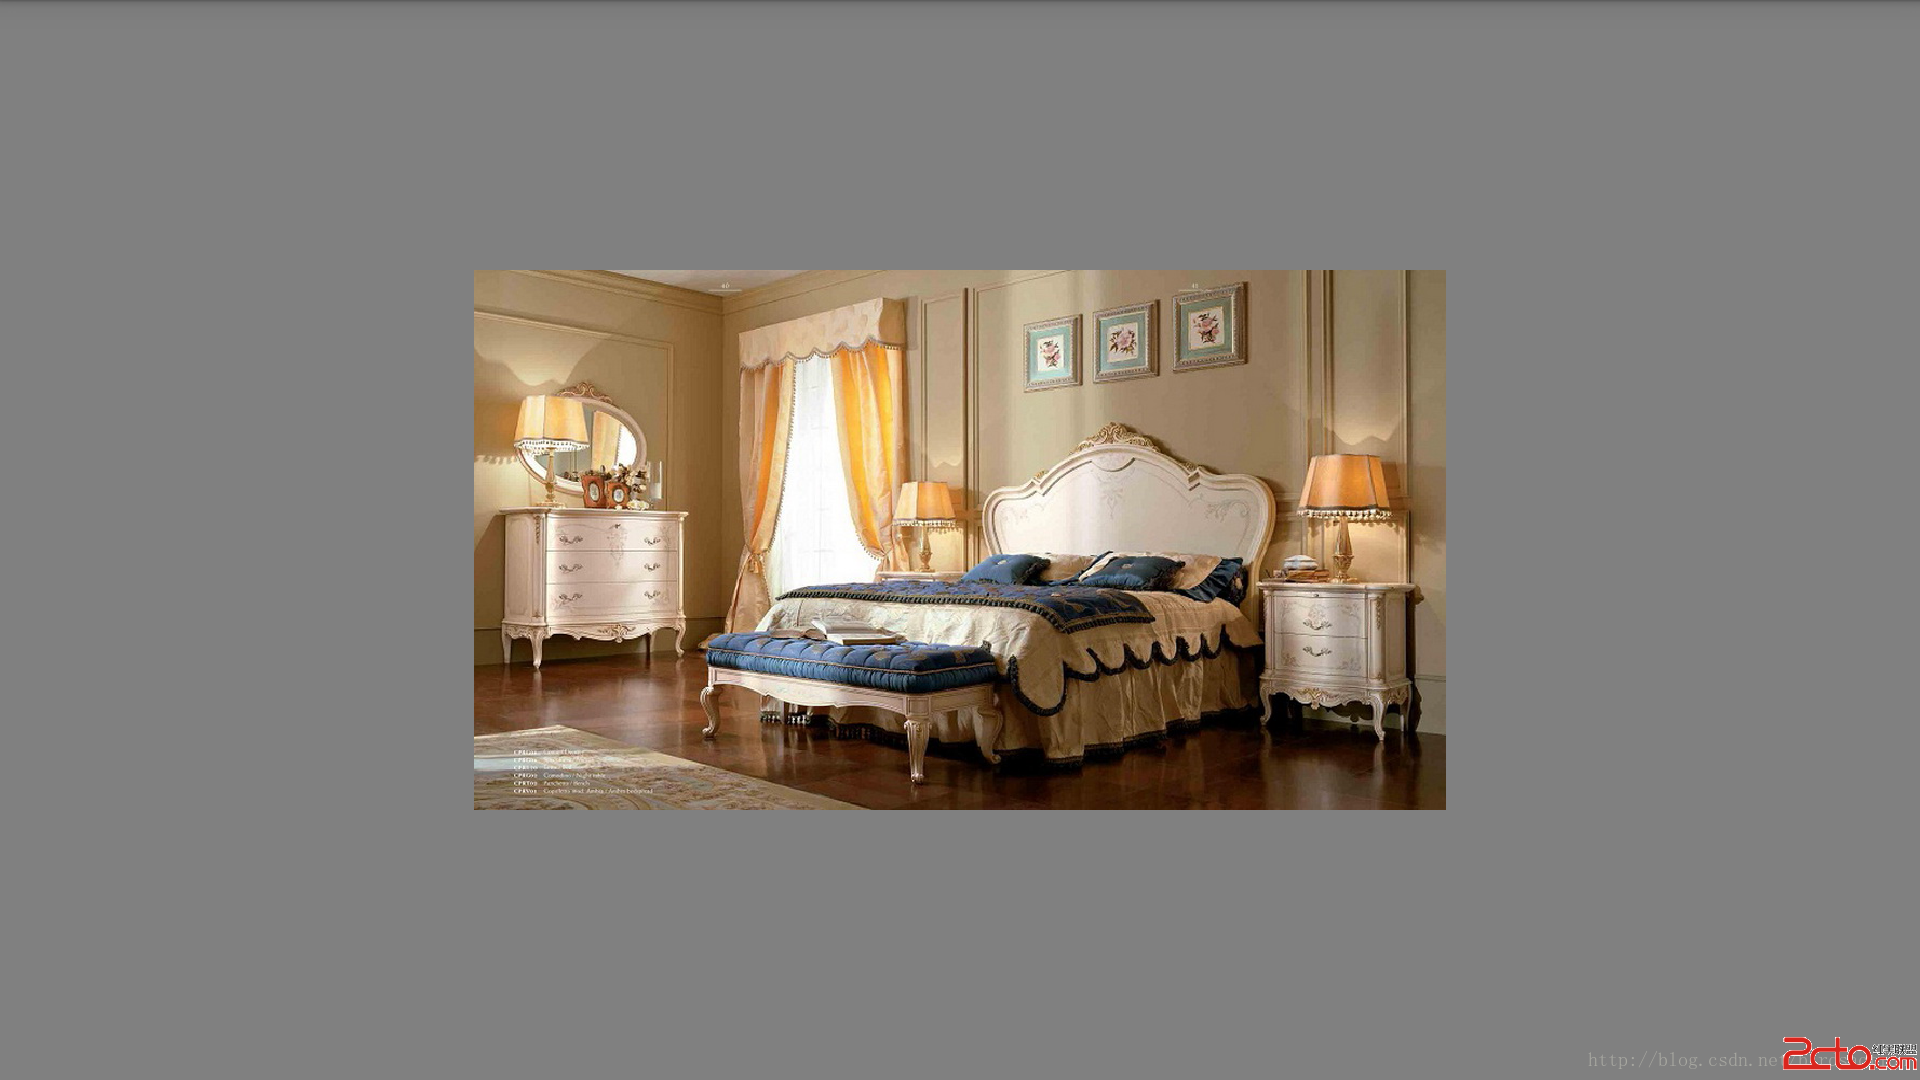
coord.s = coord.s * 0.5;這樣是取紋理圖像的一半,顯示到界面上也就是圖片的前半部分內容
其它的工具類和上一篇文章一樣。
內容顯示
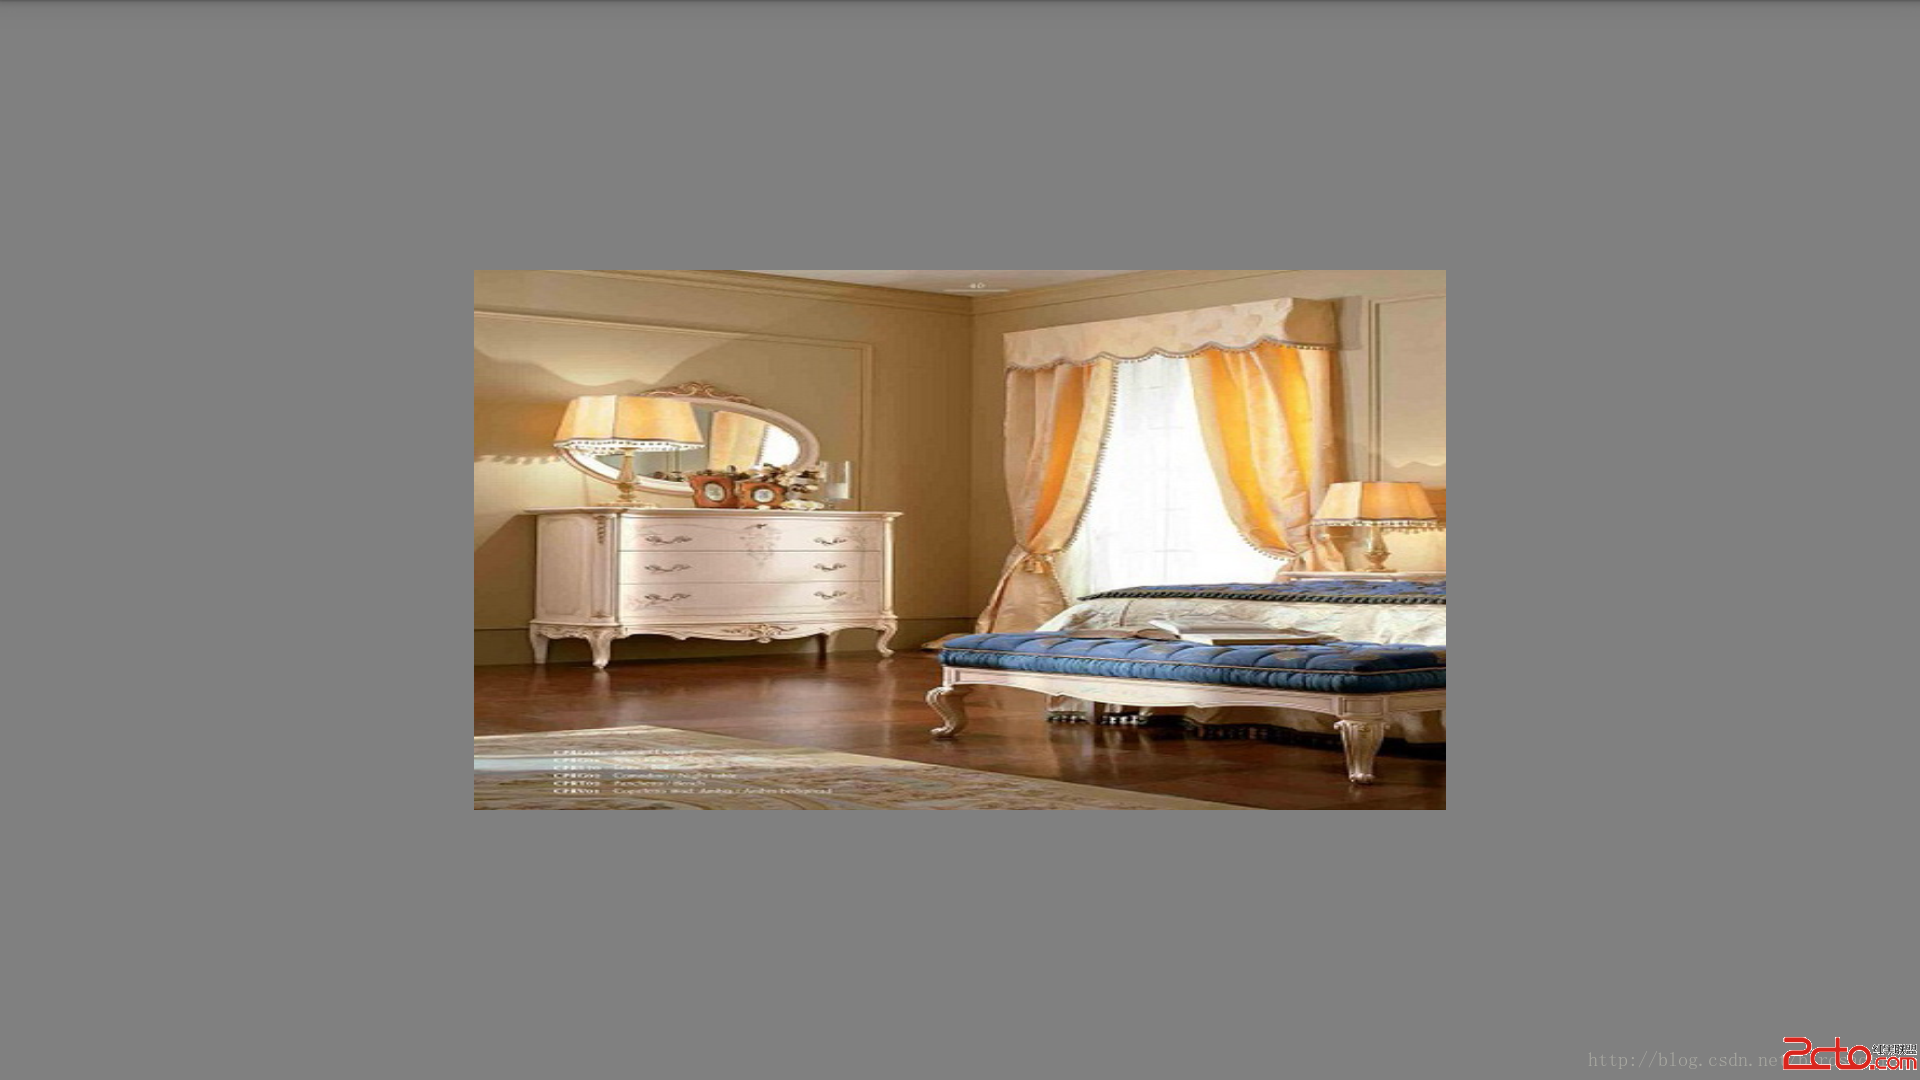
原圖:
 微信公眾平台手機版怎麼用 有什麼功能
微信團隊推送了一條消息,大家期待已久的微信公眾平台手機版正式上線,當然目前還僅限HTML5的操作,暫無客戶端下載。那麼對於要運營微信公眾號的人來說,這個微信
 手機浏覽器哪個省流量
流量是小編最苦惱的一個問題,小編在愉快的工作上網之余小編總是要關注一下自己的流量損耗程度。所以說中國的手機用戶無疑是全世界最“悲催”
 深入淺析Android消息機制
在Android中,線程內部或者線程之間進行信息交互時經常會使用消息,這些基礎的東西如果我們熟悉其內部的原理,將會使我們容易、更好地架構系統,避免一些低級的錯誤。每一個A
 通過android XML 創建圖行,減少對美工的依賴
在開發中總會需要自定義各種View的樣式,如果總是依賴美工作圖弄出需要的UI樣式圖片(比如:一個按鈕要選中和默認兩張圖片),不但時間上會浪費、往往也會有適配問題。雖然可以