編輯:關於Android編程
Button bt1 = (Button) findViewById(R.id.button_1);
bt1.setOnClickListener(new View.OnClickListener() {
   @Override
   public void onClick(View view) {
        Toast.makeText(MainActivity.this, "您點擊了按鈕1", Toast.LENGTH_SHORT).show();
    }
});
findViewById()方法用於獲得布局文件文件中的元素,值通過屬性Id指定。(該返回值是View對象,需要轉成Button對象)
setOnClickListener()方法是用於注冊監聽器,點擊執行
makeText()方法需要三個參數,第一個是context(toast要求的上下文,活動本身就是一個context),第二個是顯示的內容,第三個是顯示的時常。
運行結果如下: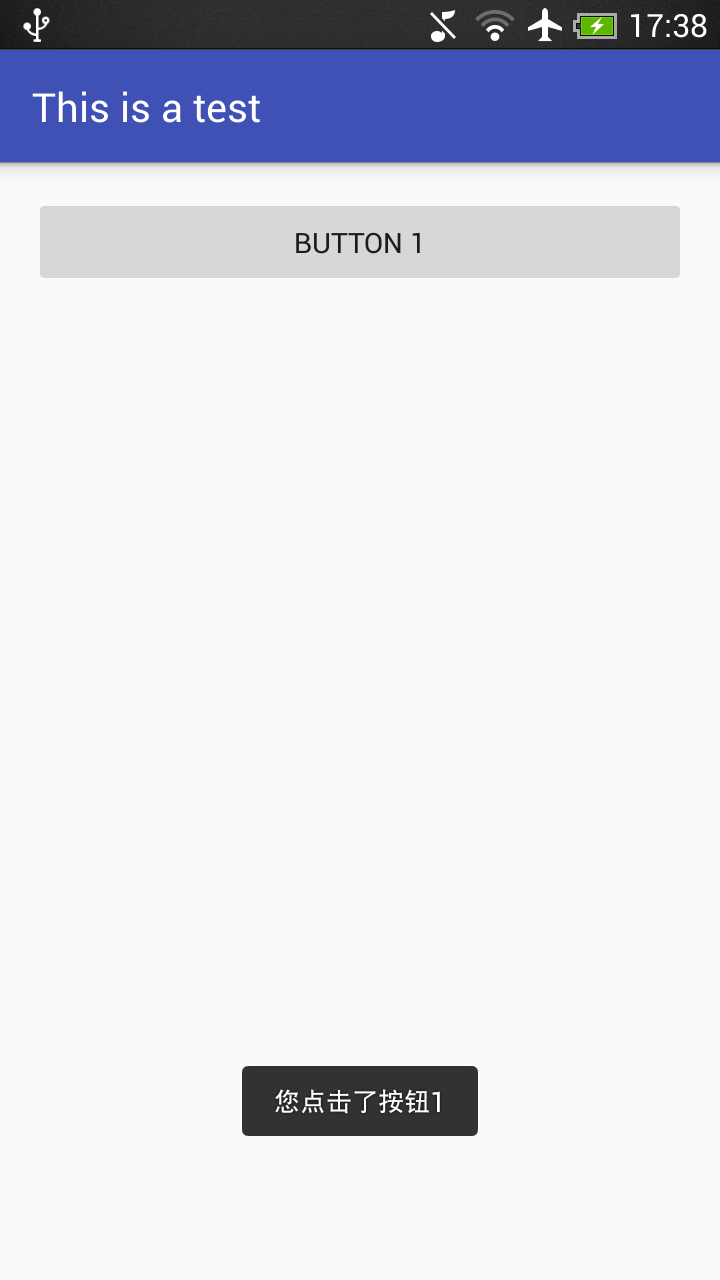 2.Menu菜單
首先在res目錄下創建一個menu文件夾,並在文件內創建一個xml文件,命名為main
main.xml文件中代碼如下:
2.Menu菜單
首先在res目錄下創建一個menu文件夾,並在文件內創建一個xml文件,命名為main
main.xml文件中代碼如下:
每個item標簽為定義一個菜單中的選項 在MainActivity中添加如下代碼,重寫onCreatOptionsMenu()方法
public boolean onCreateOptionsMenu(Menu menu){
   super.onCreateOptionsMenu(menu);
    getMenuInflater().inflate(R.menu.main,menu);
   return true;
}
getMenuInflater()方法能夠得到MenuInflater對象,再調用inflate()方法可以給當前活動創建菜單。inflate()方法需要兩個參數,第一個是從哪個資源文件來創建菜單,第二個用於指定菜單項添加到哪個Menu對象中。(返回值true用於將菜單顯示出來)
運行結果如下: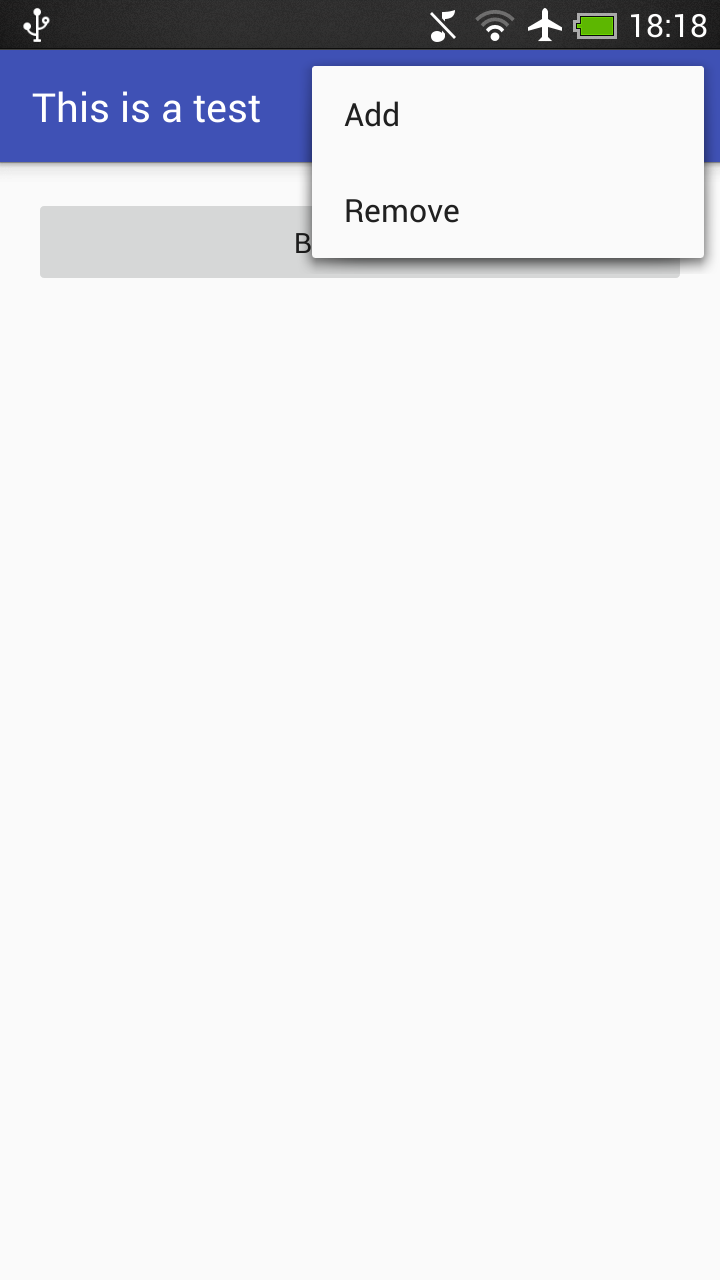 3.為Menu菜單添加監聽器
在MainActivity中添加如下代碼,重寫onOptionsItemSelected()方法
3.為Menu菜單添加監聽器
在MainActivity中添加如下代碼,重寫onOptionsItemSelected()方法
public boolean onOptionsItemSelected(MenuItem item){
   switch(item.getItemId()){
       case R.id.add_item:
            Toast.makeText(this, "您點擊了Add按鈕", Toast.LENGTH_SHORT).show();
           break;
       case R.id.remove_item:
            Toast.makeText(this, "您點擊了Remove按鈕", Toast.LENGTH_SHORT).show();
           break;
       default:
    }
   return true;
}
通過item.getItemId()方法來判斷點擊的是哪個菜單項。
運行結果如下(點擊Add):
 4.顯式Intent
首先再創建一個Activity,命名為SecondActivity
4.顯式Intent
首先再創建一個Activity,命名為SecondActivity
public class SecondActivity extends AppCompatActivity{
    protected void onCreate(Bundle savedInstanceState){
       super.onCreate(savedInstanceState);
        setContentView(R.layout.activity_second);
    }
}
在layout中再創建一個xml,命名為activity_second
為了能夠使用第二個活動,將MainActivity中的button的監聽器改為:
Button bt1 = (Button) findViewById(R.id.button_1);
bt1.setOnClickListener(new View.OnClickListener() {
   @Override
   public void onClick(View view) {
        Intent intent = new Intent(MainActivity.this,SecondActivity.class);
        startActivity(intent);
    }
});
程序運行結果如下(點擊按鈕Button 1):
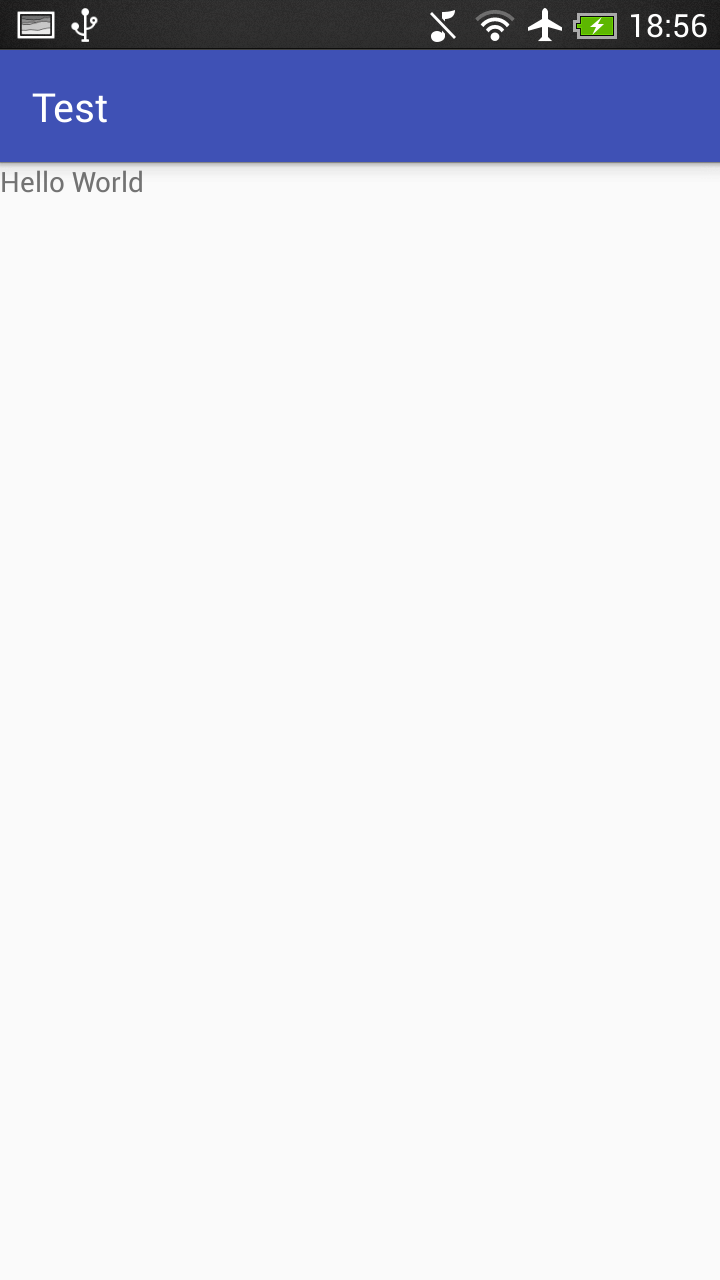 Intent()方法需要兩個參數,第一個參數context要求提供各一個啟動活動的上下文,第二個參數class則是指定想要啟動的活動目標。
startActivity()方法用於啟動活動,來執行這個Intent。
5.隱式Intent
首先在AndroidManifest中修改剛才注冊的SecondActivity:
Intent()方法需要兩個參數,第一個參數context要求提供各一個啟動活動的上下文,第二個參數class則是指定想要啟動的活動目標。
startActivity()方法用於啟動活動,來執行這個Intent。
5.隱式Intent
首先在AndroidManifest中修改剛才注冊的SecondActivity:
然後修改MainActivity中的按鈕監聽器:
Button bt1 = (Button) findViewById(R.id.button_1);
bt1.setOnClickListener(new View.OnClickListener() {
   @Override
   public void onClick(View view) {
        Intent intent = new Intent("bistu.com.test.ACTION_START");
        startActivity(intent);
    }
});
然後運行這個程序,跟剛才的顯式效果一樣。
會發現在監聽器中並沒有指定category,實際上默認為DEFAULT。
如果在監聽器中加上一句“intent.addCategory("bistu.com.test.MY_CATEGORY")”,則會報錯,只需要在活動注冊中,添加“<categoryandroid:name="bistu.com.test.MY_CATEGORY"/>”即可。
6.更多隱式Intent用法
①.將按鈕改為點擊打開網頁,將MainActivity中的監聽器修改為:
bt1.setOnClickListener(new View.OnClickListener() {
   @Override
   public void onClick(View view) {
        Intent intent = new Intent(Intent.ACTION_VIEW);
        intent.setData(Uri.parse("http://www.baidu.com"));
        startActivity(intent);
    }
});
運行結果如下:
 (點擊Button後,用浏覽器打開了百度的網站)
通過Uri.parse()方法將王志字符串解析成一個Uri對象,調用Insert的setData()方法將這個Uri對象傳遞進去。
②.在①的基礎上,讓這個程序適配網頁
修改注冊代碼為:
(點擊Button後,用浏覽器打開了百度的網站)
通過Uri.parse()方法將王志字符串解析成一個Uri對象,調用Insert的setData()方法將這個Uri對象傳遞進去。
②.在①的基礎上,讓這個程序適配網頁
修改注冊代碼為:
點擊按鈕後:
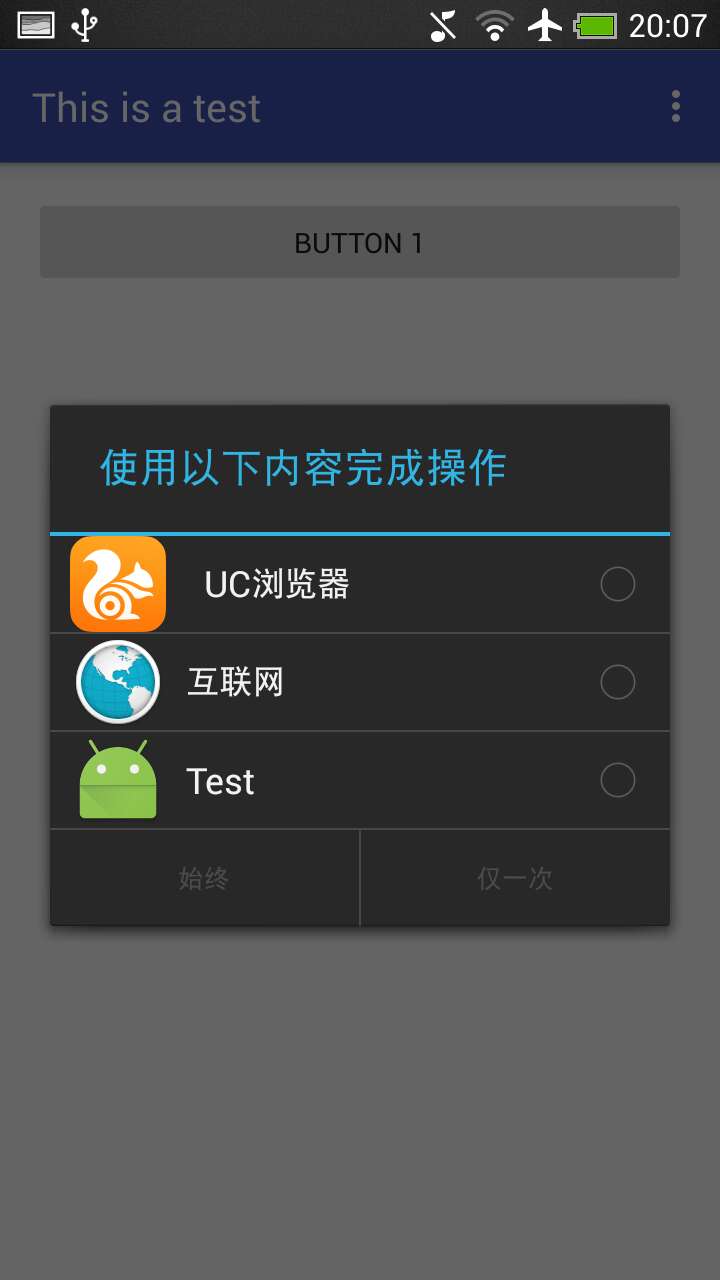 可以選擇用該軟件來適配網頁(但是不能使用)
③.調用系統撥號界面
將按鈕的監聽器改為:
可以選擇用該軟件來適配網頁(但是不能使用)
③.調用系統撥號界面
將按鈕的監聽器改為:
bt1.setOnClickListener(new View.OnClickListener() {
   @Override
   public void onClick(View view) {
        Intent intent = new Intent(Intent.ACTION_DIAL);
        intent.setData(Uri.parse("tel:10086"));
        startActivity(intent);
    }
});
點擊button後如下: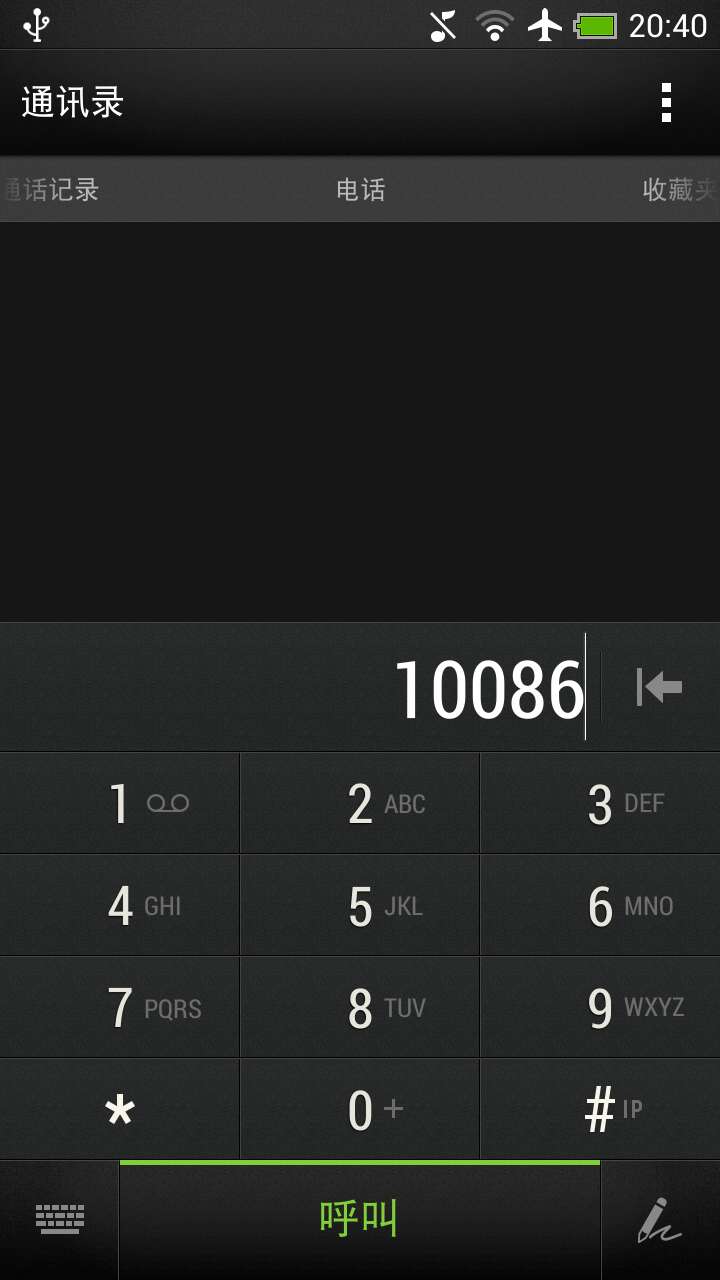
 Android下拉刷新SwipeRefreshLayout控件使用方法
我們知道現在的material design十分的流行,而SwipeRefreshLayout 就是原生的一個效果(也是Facebook下拉刷新效果)SwipeRefre
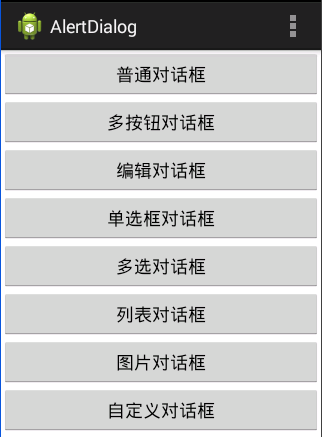 Android:對話框(警告對話框&進度條對話框&日期對話框&時間對話框)
對話框以下四種:AlertDialog:警告對話框。ProgressDialog:進度條對話框。DatePickerDialog:日期對話框。TimePickerDial
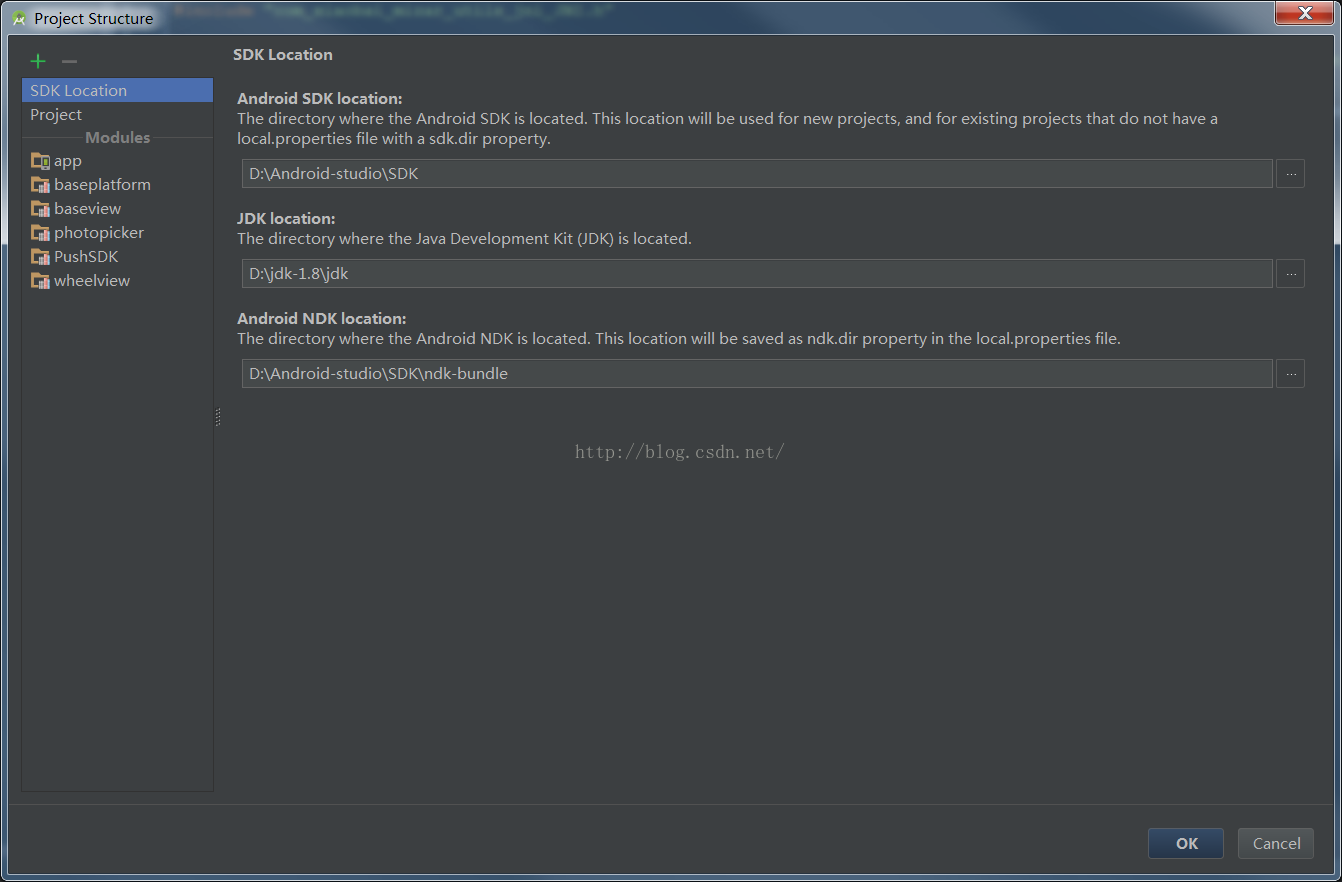 Android Studio NDK及so文件開發
前言什麼是NDK?NDK全稱是Native Development Kit,NDK提供了一系列的工具,幫助開發者快速開發C(或C++)的動態庫,並能自動將so和java應
 Android通過應用程序創建快捷方式的方法
本文實例講述了Android通過應用程序創建快捷方式的方法。分享給大家供大家參考。具體如下:Android 快捷方式是桌面最基本的組件。它用於直接啟動某一應用程序的某個組