編輯:關於Android編程
需求:Activity(fragment)跳轉的時候當前界面裂開,上下各自拉出手機屏幕,之後跳轉到相對應的Activity.整體效果圖如下
思路:
1,在當前Activity中截取當前手機的屏幕獲取到bitmap,然後根據具體位置(比如這裡是掃碼圖標中間裂開)計算獲取到,中間裂開距離手機上和下的距離,在傳遞給跳轉後的Activity
(跳轉前的Activity做兩件事情,1,截取屏幕獲取bitmap2,計算出具體裂開位置距離屏幕上下的距離,傳遞給第二個activity方便來切割真個截圖)
2,跳轉後的Activity執行動畫即可
(,(我上面分析的沒有帶上我截圖中自帶兩個view風別跟著上下圖已啟動的如果需要的話可以私密我))

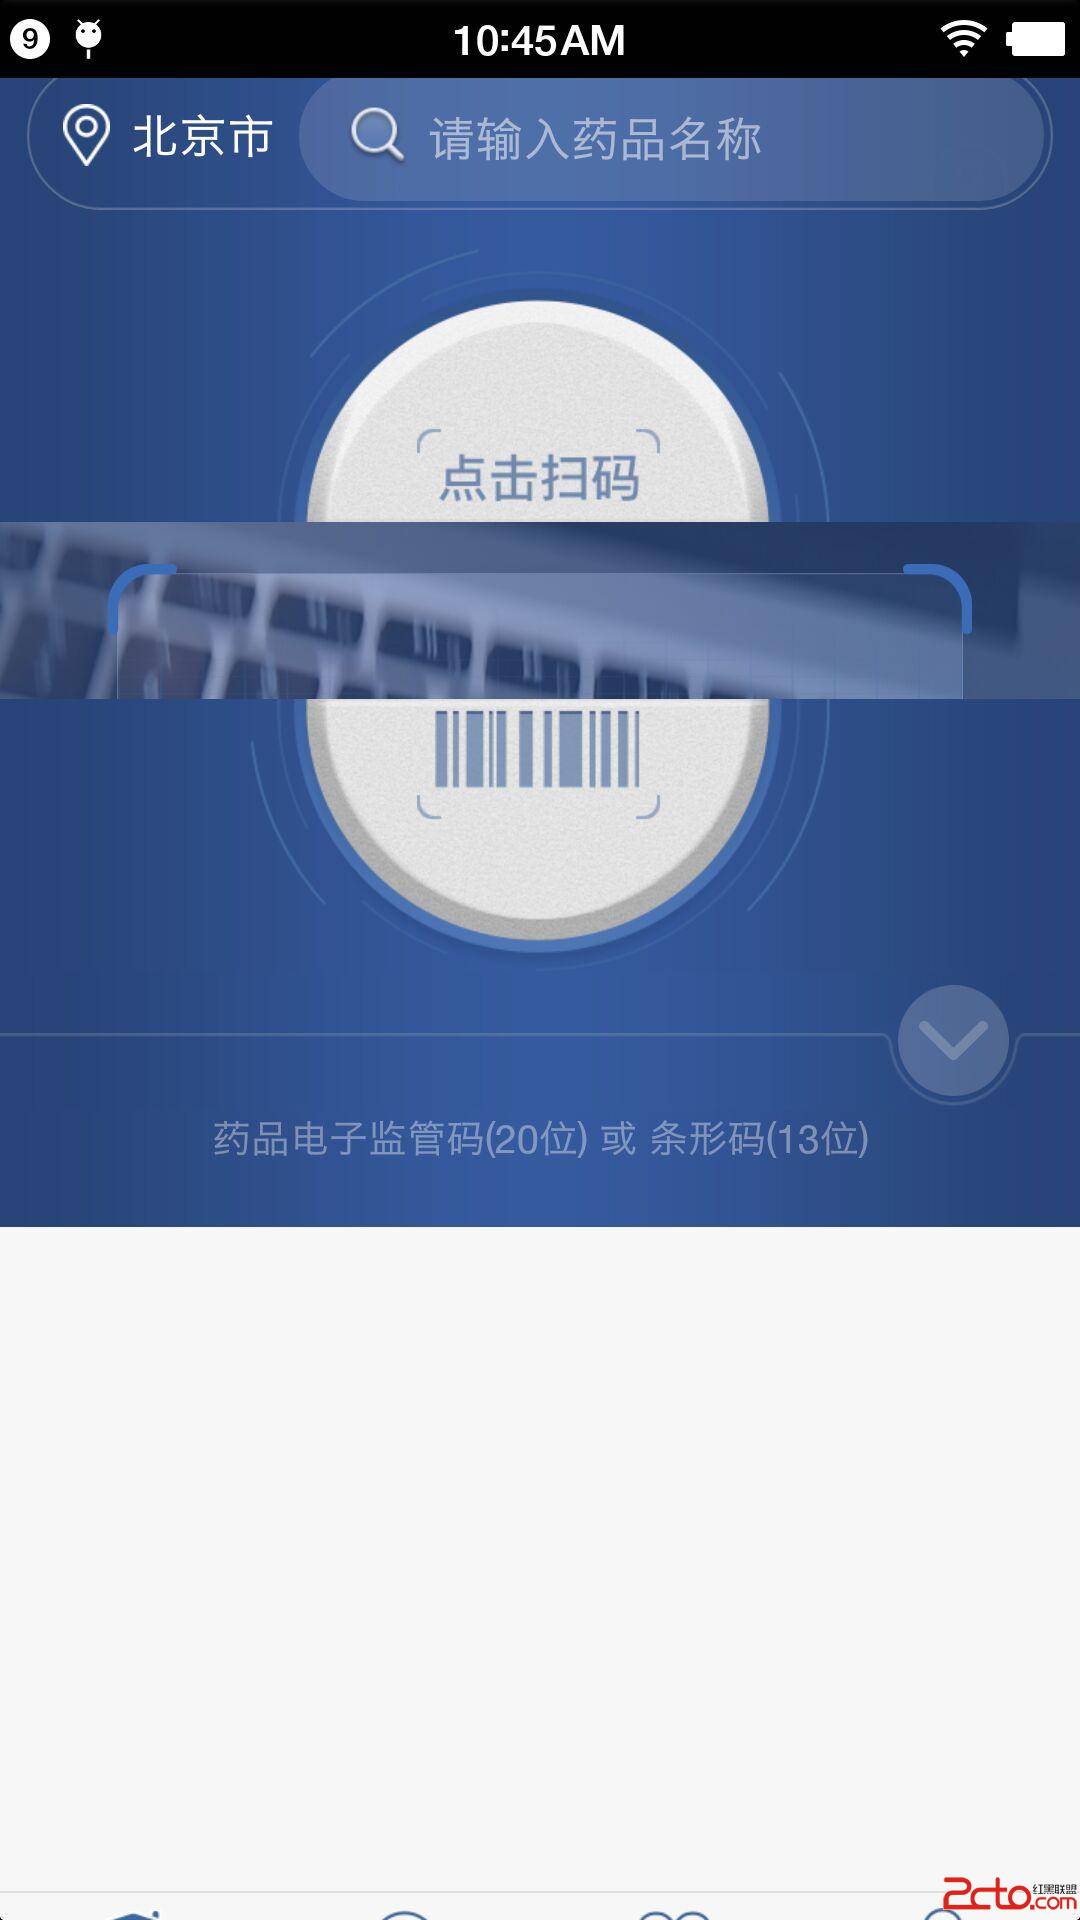

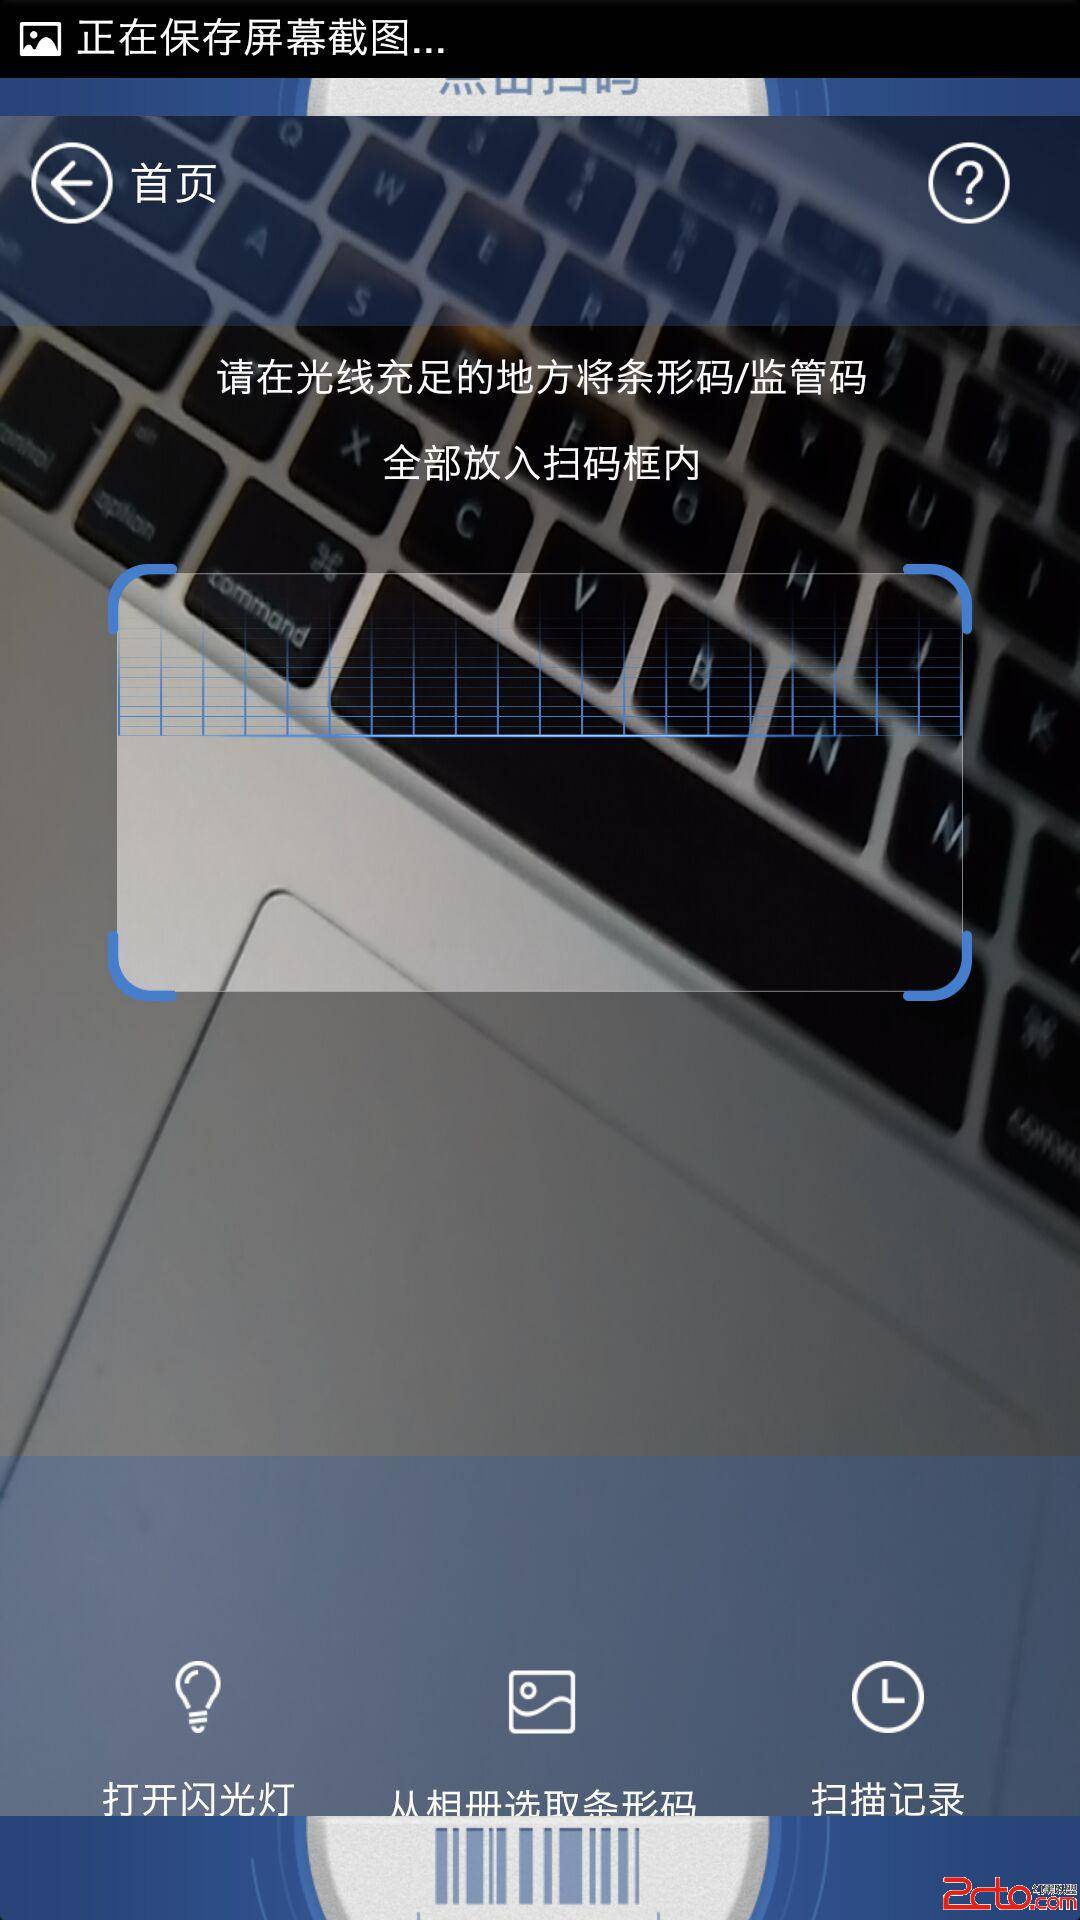
整體的效果就如上圖,1,點擊掃碼 2,中間裂開執行上線拉伸動畫,(這個時候是可以看見需要跳轉的Activity的)3,動畫結束
//這個bitmap我是用public static Bitmap bitmap;接受的方便第二個activity直接獲取
   bitmap = ScreenShot.takeScreenShot(getActivity());
**//這個是工具類直接調用就可以獲取到手機屏幕了
package com.lzyc.ybtappcal.util;

import android.app.Activity;
import android.graphics.Bitmap;
import android.graphics.Rect;
import android.view.View;

import com.lzyc.ybtappcal.activity.LoaddingSleepActivity;

import java.io.FileNotFoundException;
import java.io.FileOutputStream;
import java.io.IOException;
import java.util.ArrayList;
import java.util.List;

/**
 * Created by lovelin on 2016/7/20.
 */
public class ScreenShot {

    private static int mHiddenViewMeasureHeight;    //中間切割的高度
    private static int screenHeightPixels;          //屏幕高度

    // 獲取指定Activity的截屏,保存到png文件
    public static Bitmap takeScreenShot(Activity activity) {
        // View是你需要截圖的View
        View view = activity.getWindow().getDecorView();
        view.setDrawingCacheEnabled(true);
        view.buildDrawingCache();
        Bitmap b1 = view.getDrawingCache();

        // 獲取狀態欄高度
        Rect frame = new Rect();
        activity.getWindow().getDecorView().getWindowVisibleDisplayFrame(frame);
        int statusBarHeight = frame.top;
        LogUtil.e("TAG", "" + statusBarHeight);

        // 獲取屏幕長和高
        int width = activity.getWindowManager().getDefaultDisplay().getWidth();
        int height = activity.getWindowManager().getDefaultDisplay()
                .getHeight();
        // 去掉標題欄
        // Bitmap b = Bitmap.createBitmap(b1, 0, 25, 320, 455);
        Bitmap b = Bitmap.createBitmap(b1, 0, statusBarHeight, width, height
                - statusBarHeight);
        view.destroyDrawingCache();
        return b;
    }

    // 保存到sdcard
    private static void savePic(Bitmap b, String strFileName) {
        FileOutputStream fos = null;
        try {
            fos = new FileOutputStream(strFileName);
            if (null != fos) {
                b.compress(Bitmap.CompressFormat.PNG, 90, fos);
                fos.flush();
                fos.close();
            }
        } catch (FileNotFoundException e) {
            e.printStackTrace();
        } catch (IOException e) {
            e.printStackTrace();
        }
    }
    // 程序入口
    public static void shoot(Activity a) {
        // ScreenShot.savePic(ScreenShot.takeScreenShot(a), "sdcard/xx.png");

    }

}
private void getMessureHeight() {
        v.id_linea_top.getViewTreeObserver().addOnGlobalLayoutListener(new ViewTreeObserver.OnGlobalLayoutListener() {
            @TargetApi(Build.VERSION_CODES.JELLY_BEAN)
            @Override
            public void onGlobalLayout() {
                int imageHanlfHeight = (v.iv_fg_top.getBottom() - v.iv_fg_top.getTop()) / 2;    //image 的一半高度
                int bottom = v.iv_fg_top.getBottom();
                /**
                 *imageview掃描按鈕底部距離 - 按鈕本身一半的距離 = 距離手機頂部的距離(就是播放動畫需要截取的上半圖片的高度)
                 */
                midData = bottom - imageHanlfHeight;
                v.id_linea_top.getViewTreeObserver().removeOnGlobalLayoutListener(this);
            }
        });
    }
     Bundle mBundle = new Bundle();
                    mBundle.putInt(Contants.KEY_PAGE_SEARCH, Contants.VAL_PAGE_SEARCH_TOP);
                    mBundle.putInt("midData", midData);
                    mBundle.putInt("h", h);
                    mBundle.putInt("topSplitHeight", topSplitHeight);
                    openActivityNoAnim(CaptureActivity.class, mBundle);
    public void openActivityNoAnim(Class ActivityClass, Bundle b) {
        Intent intent = new Intent(mContext, ActivityClass);
        intent.setFlags(Intent.FLAG_ACTIVITY_NO_ANIMATION);
        intent.putExtras(b);
        startActivity(intent);
    }
    private void cutting() {
        // 切割第一個圖
        bitmapTop = Bitmap.createBitmap(TopFragment.bitmap, 0, 0, TopFragment.bitmap.getWidth(), this.midData);
        //且第二個圖
        bitmapBottom = Bitmap.createBitmap(TopFragment.bitmap, 0, this.midData, TopFragment.bitmap.getWidth(), TopFragment.bitmap.getHeight() - midData);
    }
<最外層有一個相對布局,這裡就不寫了只寫一個播放動畫的布局>
 /**
     * 播放動畫
     */
    private void startAnima() {
        cutting();
        final ImageView loading_iv_top = (ImageView) findViewById(R.id.loading_iv_top);
        final ImageView loading_iv_bottm = (ImageView) findViewById(R.id.loading_iv_bottm);
        id_linear_capture_top = (LinearLayout) findViewById(R.id.id_linear_capture_top);
        id_linear_capture_under = (LinearLayout) findViewById(R.id.id_linear_capture_under);
        final RelativeLayout id_relative_capture = (RelativeLayout) findViewById(R.id.id_relative_capture);
    //設置上下播放拉伸圖片
        loading_iv_top.setImageBitmap(this.bitmapTop);
        loading_iv_bottm.setImageBitmap(this.bitmapBottom);

        id_relative_capture.getViewTreeObserver().addOnGlobalLayoutListener(new ViewTreeObserver.OnGlobalLayoutListener() {
            @TargetApi(Build.VERSION_CODES.JELLY_BEAN)
            @Override
            public void onGlobalLayout() {
            //設置了圖片所以在這裡獲取他們兩個的高,就是執行動畫的距離
                topHeight = loading_iv_top.getHeight();   //id_linear_capture_top   id_linear_capture_under
                bottonHeight = loading_iv_bottm.getHeight();
                ObjectAnimator animator = ObjectAnimator.ofFloat(id_linear_capture_top, "translationY", 0, -topHeight);
                ObjectAnimator animator1 = ObjectAnimator.ofFloat(id_linear_capture_under, "translationY", 0, bottonHeight);
                  AnimatorSet animSet = new AnimatorSet();
                animSet.play(animator).with(animator1);
                animSet.setDuration(400);
                animSet.start();
                id_relative_capture.getViewTreeObserver().removeOnGlobalLayoutListener(this);
            }
        });
    }
 Android實現有道辭典查詢功能實例詳解
本文實例講述了Android實現有道辭典查詢功能的方法。分享給大家供大家參考,具體如下:這是我做的一個簡單的有道Android的DEMO,只是簡單的雛形。界面設計也有點丑
 Android基礎之——startActivityForResult啟動界面並返回數據,上傳頭像
在android應用的開發過程中,經常會出現啟動一個界面後填寫部分內容後帶著數據返回啟動前的界面,最典型的應用就是登錄過程。在很多應用程序的模塊中,都有“我的”這個模塊,
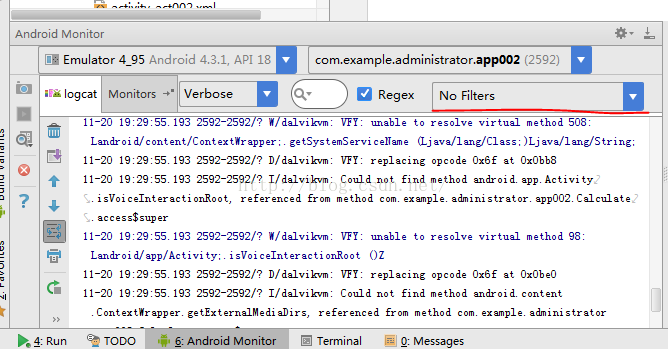 Android Studio 打印調試信息
之前開發單片機軟件還是上位機都習慣使用printf(),相信很多很會有和我一樣的習慣。開始學習安卓了,當然也很在意安卓的這個打印調試應該怎麼做呢?這裡使用的是日志記錄中添
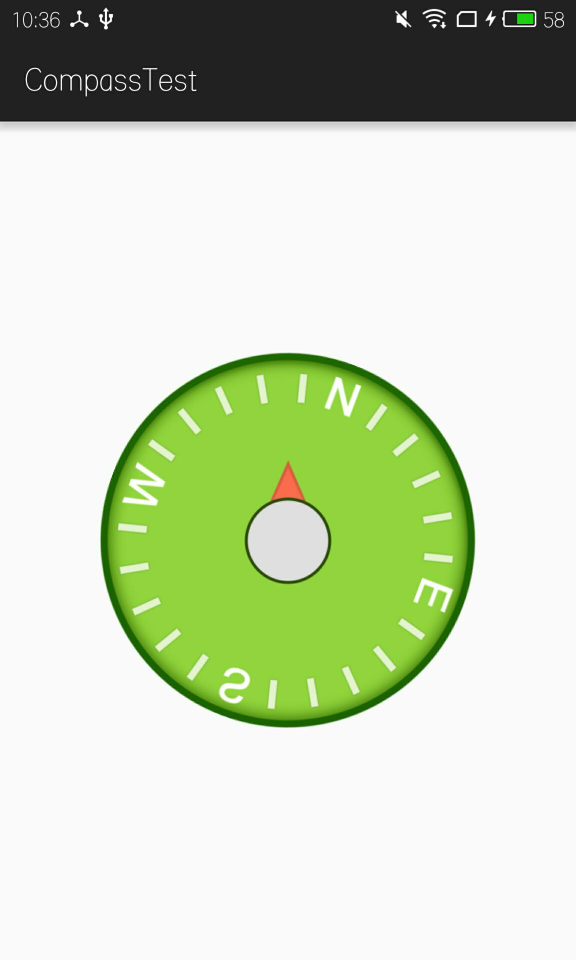 Android特色開發,使用傳感器
1、傳感器簡介手機中內置的傳感器是一種微型的物理設備,它能夠探測、感受到外界的信號,並按一定規律轉換成我們所需要的信息。Android手機通常都會支持多種類型的傳感器,如