編輯:關於Android編程
Activity 跳轉 都知道用startActivity(Intent)
但是如果下面情況呢?
Activity1 跳轉到 Activity2 但是還需要在Activity2 再回到 Activity1呢? 可能有人說: 那我在Activity2 再使用 startActivity() 不就可以了 是的 但是 startActivityForResult() 能夠直接完成這項工作
[示例]
Activity1: 有2個EditText 用於接收用戶輸入的2個字符串 要求把這2個字符串連接起來 我現在把連接的工作交給 Activity2 來做 並且把連接好後的字符串再返回給 Activity1 並由它負責顯示
[代碼]
1. 構建 Activity1 所需的界面
Java代碼
復制代碼 代碼如下:
<?xml version="1.0" encoding="utf-8"?>
<LinearLayout xmlns:android="http://schemas.android.com/apk/res/android"
android:orientation="vertical"
android:layout_width="fill_parent"
android:layout_height="fill_parent"
>
<EditText
android:id="@+id/first"
android:layout_width="fill_parent"
android:layout_height="wrap_content"
/>
<EditText
android:id="@+id/second"
android:layout_width="fill_parent"
android:layout_height="wrap_content"
/>
<Button
android:id="@+id/start"
android:layout_width="fill_parent"
android:layout_height="wrap_content"
android:text="start"
/>
<TextView
android:id="@+id/text"
android:layout_width="fill_parent"
android:layout_height="wrap_content"
android:text="...is waiting"
/>
</LinearLayout>
2. 得到2個EditText的用戶輸入
復制代碼 代碼如下:
first = (EditText) findViewById(R.id.first);
second = (EditText) findViewById(R.id.second);
3. 把字符串裝入Bundle 再放置於Intent 然後發送之
復制代碼 代碼如下:
Intent i = new Intent(this, Activity2.class);
Bundle b = new Bundle();
b.putString("first", first.getText().toString());
b.putString("second", second.getText().toString());
i.putExtras(b);
startActivityForResult(i,10);
補充:
復制代碼 代碼如下:
public void startActivityForResult (Intent intent, int requestCode)
Intent intent:系統會根據這個確定目的Activity
int requestCode:用於標識該Intent 回來後確定是不是想要的返回
4. 注冊View監聽器
復制代碼 代碼如下:
findViewById(R.id.start).setOnClickListener(new OnClickListener(){
public void onClick(View v) {
// TODO Auto-generated method stub
sendCalculate();
}
});
5. 構建 Activity2 的界面 把處理的結果返回
復制代碼 代碼如下:
<?xml version="1.0" encoding="utf-8"?>
<LinearLayout xmlns:android="http://schemas.android.com/apk/res/android"
android:orientation="vertical"
android:layout_width="fill_parent"
android:layout_height="fill_parent"
>
<Button
android:id="@+id/reply"
android:layout_width="fill_parent"
android:layout_height="wrap_content"
android:text="reply"
/>
</LinearLayout>
6. 得到傳入的Intent 以及傳過來的2個字符串 並連接之
復制代碼 代碼如下:
Intent i = this.getIntent();
Bundle b = i.getExtras();
String v1 = b.getString("first");
String v2 = b.getString("second");
value = v1 + v2;
7. 定義Intent 並存放返回結果 並返回之
復制代碼 代碼如下:
Intent i = new Intent();
Bundle b = new Bundle();
b.putString("CALCULATION", value);
i.putExtras(b);
this.setResult(RESULT_OK, i);
this.finish();
8. 事情完成了麼? 當然沒有 別忘了 Activity1 還要接收數據並顯示之
復制代碼 代碼如下:
protected void onActivityResult(int requestCode, int resultCode,
Intent data){
switch (resultCode){
case RESULT_OK:
Bundle b = data.getExtras();
String string = b.getString("CALCULATION");
updateText(string);
}
}
 Android Paint類介紹以及浮雕和陰影效果的設置
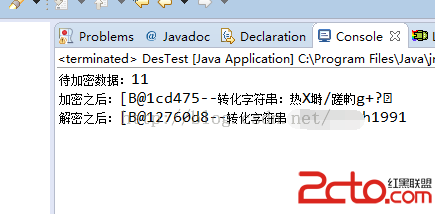
Paint類介紹Paint即畫筆,在繪制文本和圖形用它來設置圖形顏色, 樣式等繪制信息。1.圖形繪制setARGB(int a,int r,int g,int b);設置
 Android編程基礎之簡單Button事件響應綜合提示控件Toast應用示例
本文實例講述了Android簡單Button事件響應綜合提示控件Toast應用。分享給大家供大家參考,具體如下:前面講述了在main.xml裡定義了Button對象,這裡
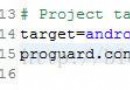 Android代碼混淆及反編譯
概述:如果你目前還是一名學生或是沒有在應用商店中上傳過應用,恐怕對此的感受不深。而在企業中對Java代碼的混淆卻是一步很重要的步驟,從安全的角度來說,代碼混淆,防止居心不
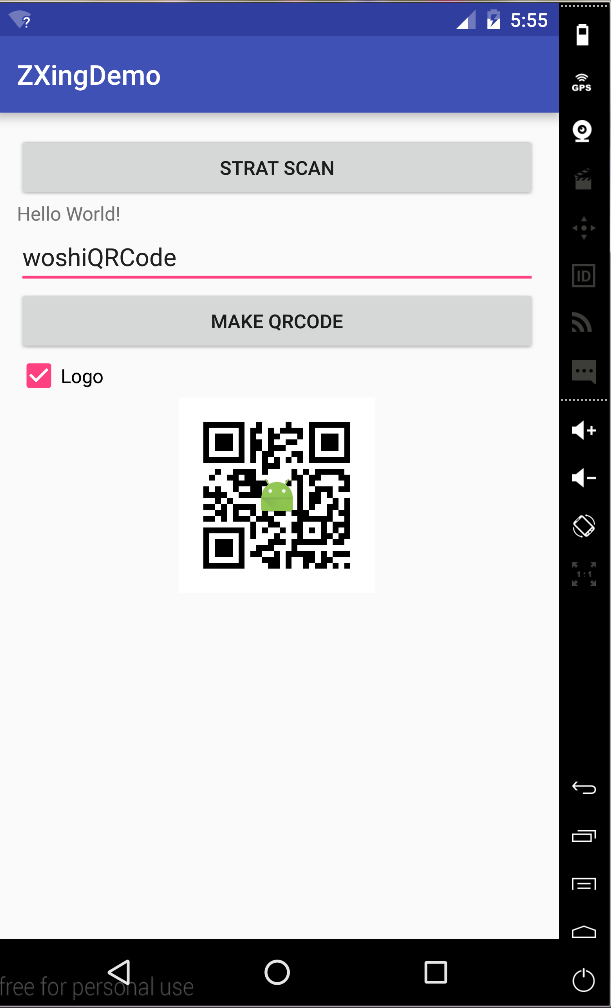 Android實現二維碼掃描和生成的簡單方法
這裡簡單介紹一下ZXing庫。ZXing是一個開放源碼的,用Java實現的多種格式的1D/2D條碼圖像處理庫,它包含了聯系到其他語言的端口。Zxing可以實現使用手機的內
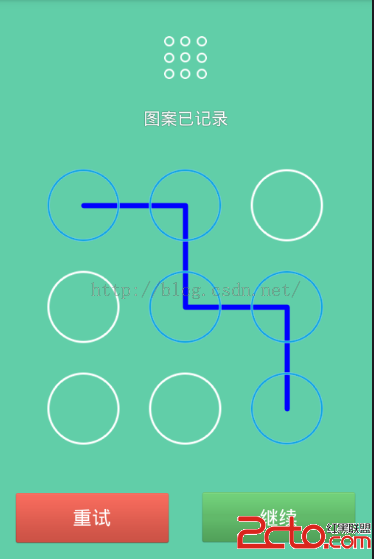 Android手勢密碼LockPatternView、LockPasswordUtils、LockPatternUtils等分析
Android手勢密碼LockPatternView、LockPassw