編輯:關於Android編程
原理
Android客戶端模擬一個HTTP的Post請求到服務器端,服務器端接收相應的Post請求後,返回響應信息給給客戶端。
背景
網上很多上傳到java服務器上的,找了好久,找到了上傳到php的了,思路跟我當初想的差不多,就是POST過去。廢話不多說,直接上圖看代碼。
php代碼
<?php
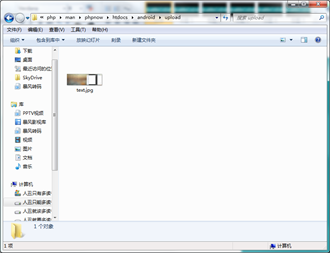
$target_path = "./upload/";//接收文件目錄
$target_path = $target_path . basename( $_FILES['uploadedfile']['name']);
if(move_uploaded_file($_FILES['uploadedfile']['tmp_name'], $target_path)) {
echo "The file ". basename( $_FILES['uploadedfile']['name']). " has been uploaded";
} else{
echo "There was an error uploading the file, please try again!" . $_FILES['uploadedfile']['error'];
}
?>
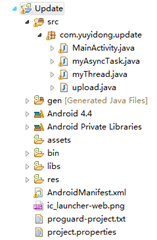
Android代碼
上傳的主要代碼:
private void uploadFile(String uploadUrl)
{
String end = "\r\n";
String twoHyphens = "--";
String boundary = "******";
try
{
URL url = new URL(uploadUrl);
HttpURLConnection httpURLConnection = (HttpURLConnection) url
.openConnection();//http連接
// 設置每次傳輸的流大小,可以有效防止手機因為內存不足崩潰
// 此方法用於在預先不知道內容長度時啟用沒有進行內部緩沖的 HTTP 請求正文的流。
httpURLConnection.setChunkedStreamingMode(128 * 1024);// 128K
// 允許輸入輸出流
httpURLConnection.setDoInput(true);
httpURLConnection.setDoOutput(true);
httpURLConnection.setUseCaches(false);
// 使用POST方法
httpURLConnection.setRequestMethod("POST");
httpURLConnection.setRequestProperty("Connection", "Keep-Alive");//保持一直連接
httpURLConnection.setRequestProperty("Charset", "UTF-8");//編碼
httpURLConnection.setRequestProperty("Content-Type",
"multipart/form-data;boundary=" + boundary);//POST傳遞過去的編碼
DataOutputStream dos = new DataOutputStream(
httpURLConnection.getOutputStream());//輸出流
dos.writeBytes(twoHyphens + boundary + end);
dos.writeBytes("Content-Disposition: form-data; name=\"uploadedfile\"; filename=\""
+ srcPath.substring(srcPath.lastIndexOf("/") + 1)
+ "\""
+ end);
dos.writeBytes(end);
FileInputStream fis = new FileInputStream(srcPath);//文件輸入流,寫入到內存中
byte[] buffer = new byte[8192]; // 8k
int count = 0;
// 讀取文件
while ((count = fis.read(buffer)) != -1)
{
dos.write(buffer, 0, count);
}
fis.close();
dos.writeBytes(end);
dos.writeBytes(twoHyphens + boundary + twoHyphens + end);
dos.flush();
InputStream is = httpURLConnection.getInputStream();//http輸入,即得到返回的結果
InputStreamReader isr = new InputStreamReader(is, "utf-8");
BufferedReader br = new BufferedReader(isr);
String result = br.readLine();
Toast.makeText(this, result, Toast.LENGTH_LONG).show();//將結果輸出
dos.close();
is.close();
} catch (Exception e)
{
e.printStackTrace();
setTitle(e.getMessage());
}
}
因為安卓4.0之後耗時間的操作要求都在非UI線程中操作,即將前面的AsyncTask拿來用了吧~
AsyncTask傳送門:http://www.jb51.net/article/77155.htm
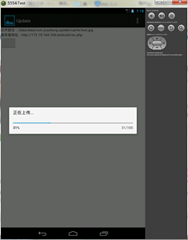
在這個類中,將上傳的操作放在doInBackground當中,可以有ProgressDialog顯示上傳了多少:
// Read file
bytesRead = fileInputStream.read(buffer, 0, bufferSize);
while (bytesRead > 0) {
outputStream.write(buffer, 0, bufferSize);
length += bufferSize;
progress = (int) ((length * 100) / totalSize);
publishProgress(progress);
bytesAvailable = fileInputStream.available();
bufferSize = Math.min(bytesAvailable, maxBufferSize);
bytesRead = fileInputStream.read(buffer, 0, bufferSize);
}
outputStream.writeBytes(lineEnd);
outputStream.writeBytes(twoHyphens + boundary + twoHyphens
+ lineEnd);
publishProgress(100);
還有就是,注意權限喲:
<uses-permission android:name="android.permission.INTERNET" />
以上內容給大家介紹了Android異步上傳圖片到PHP服務器,希望本文分享能夠給大家帶來幫助。
 Android學習之 Scroller的介紹與使用
類概述Android裡Scroller類是為了實現View平滑滾動的一個Helper類。通常在自定義的View時使用,在View中定義一個私有成員mScroller =
 Android編程實現為應用添加菜單的方法
本文實例講述了Android編程實現為應用添加菜單的方法。分享給大家供大家參考,具體如下:添加菜單的方法有很多,一般推薦用xml創建菜單。建立menu步驟:在res下建立
 Android 上使用 iconfont 的一種便捷方案
最近在學習AIOSO(Alibaba Internal Open Source Organization,即阿裡巴巴內部開源組織) 的一個子項目MMCherryUI,這是
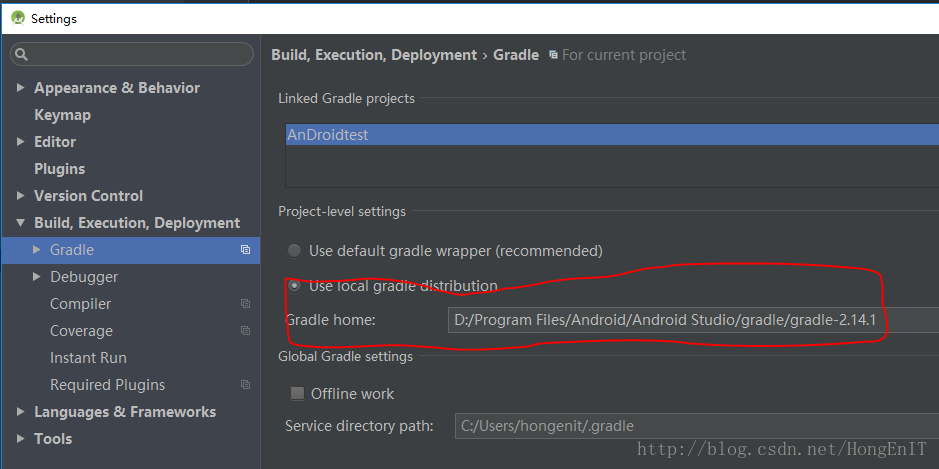 導入工程到Android Studio時出現Errorr HTTP/1.1 400 Bad Request
導入工程到Android Studio時,gradle出現如下錯誤。Error:Failed to complete Gradle execution.Cause:Una