編輯:關於Android編程
本文實例講述了Android編程實現3D旋轉效果的方法。分享給大家供大家參考,具體如下:
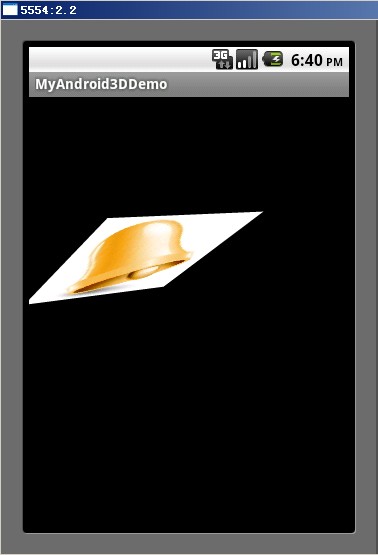
下面的示例是在Android中實現圖片3D旋轉的效果。
實現3D效果一般使用OpenGL,但在Android平台下可以不直接使用OpenGL,而是使用Camera實現,Camera中原理最終還是使用OpenGL,不過使用Camera比較方便。 Camera類似一個攝像機,當物體不動時,我們帶著攝像機四處移動,在攝像機裡面的畫面就會有立體感,就可以從其它的角度觀看這個物體。廢話不多說,直接看示例。
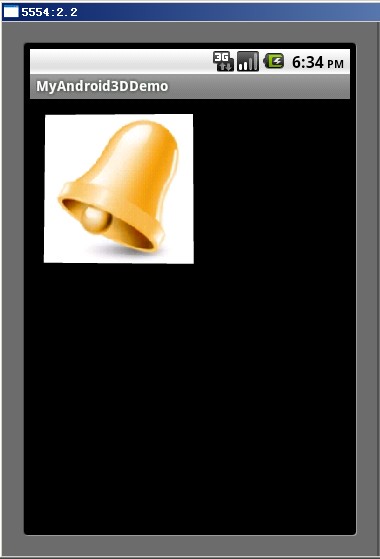
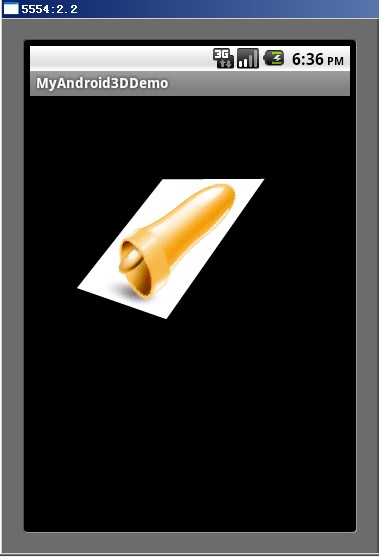
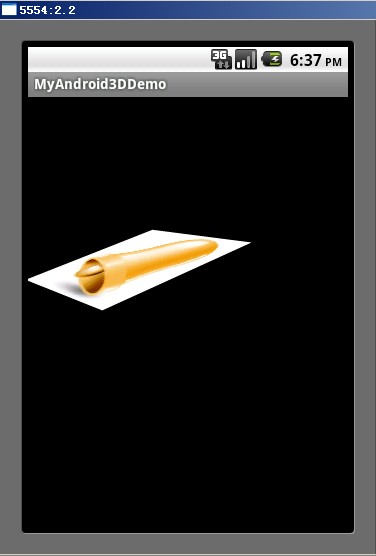
運行效果如下:
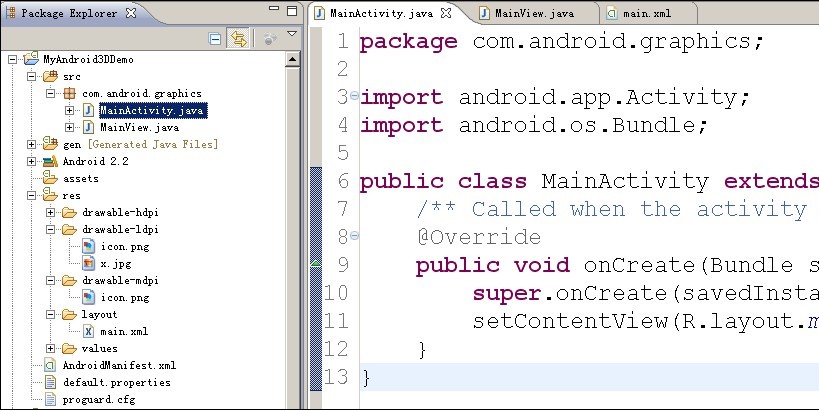
項目結構:
MainView.java中代碼:
package com.android.graphics;
import android.content.Context;
import android.graphics.Bitmap;
import android.graphics.BitmapFactory;
import android.graphics.Camera;
import android.graphics.Canvas;
import android.graphics.Matrix;
import android.graphics.Paint;
import android.util.AttributeSet;
import android.view.MotionEvent;
import android.view.View;
public class MainView extends View{
   //Camera類
   private Camera mCamera;
   private Bitmap face;
   private Matrix mMatrix = new Matrix();
   private Paint mPaint = new Paint();
   private int mLastMotionX, mLastMotionY;
   //圖片旋轉時的中心點坐標
   private int centerX, centerY;
   //轉動的總距離,跟度數比例1:1
   private int deltaX, deltaY;
   //圖片寬度高度
   private int bWidth, bHeight;
   public MainView(Context context,AttributeSet attributeSet) {
   super(context,attributeSet);
   setWillNotDraw(false);
   mCamera = new Camera();
   mPaint.setAntiAlias(true);
   face = BitmapFactory.decodeResource(getResources(), R.drawable.x);
   bWidth = face.getWidth();
   bHeight = face.getHeight();
   centerX = bWidth>>1;
   centerY = bHeight>>1;
   }
   void rotate(int degreeX, int degreeY) {
   deltaX += degreeX;
   deltaY += degreeY;
   mCamera.save();
   mCamera.rotateY(deltaX);
   mCamera.rotateX(-deltaY);
   mCamera.translate(0, 0, -centerX);
   mCamera.getMatrix(mMatrix);
   mCamera.restore();
   //以圖片的中心點為旋轉中心,如果不加這兩句,就是以(0,0)點為旋轉中心
   mMatrix.preTranslate(-centerX, -centerY);
   mMatrix.postTranslate(centerX, centerY);
   mCamera.save();
   postInvalidate();
   }
   @Override
   public boolean onTouchEvent(MotionEvent event) {
   int x = (int) event.getX();
   int y = (int) event.getY();
   switch(event.getAction()) {
   case MotionEvent.ACTION_DOWN:
    mLastMotionX = x;
    mLastMotionY = y;
    break;
   case MotionEvent.ACTION_MOVE:
    int dx = x - mLastMotionX;
    int dy = y - mLastMotionY;
    rotate(dx, dy);
    mLastMotionX = x;
    mLastMotionY = y;
    break;
   case MotionEvent.ACTION_UP:
    break;
   }
   return true;
   }
   @Override
   public void dispatchDraw(Canvas canvas) {
   super.dispatchDraw(canvas);
   canvas.drawBitmap(face, mMatrix, mPaint);
   }
}
main.xml中代碼:
<?xml version="1.0" encoding="utf-8"?>
<LinearLayout xmlns:android="http://schemas.android.com/apk/res/android"
  android:orientation="vertical"
  android:layout_width="fill_parent"
  android:layout_height="fill_parent"
  >
 <com.android.graphics.MainView
  android:id="@+id/cv"
  android:layout_width="fill_parent"
  android:layout_height="wrap_content"
 />
</LinearLayout>
希望本文所述對大家Android程序設計有所幫助。
 Android使用ViewPager實現自動輪播
很多APP中都實現了類似引導頁的自動輪播,不由得想到昨天的引導頁上修改一下代碼實現輪播。 其實大體上只需要添加一個線程循環執行就可以了。 項目已同步至:http
 教你輕松制作Android音樂播放器
欣賞一下我們清爽的界面吧~如果是只用activity來制作這樣的東西簡直是太小兒科了,此處我們當然用的是service首先我們先上service的代碼:1、如果我們要訪問
 Android性能優化以及數據優化方法
Android性能優化-布局優化今天,繼續Android性能優化 一 編碼細節優化。編碼細節,對於程序的運行效率也是有很多的影響的。今天這篇主題由於技術能力有限
 Android與設計模式——代理(Proxy)模式
在閻宏博士的《JAVA與模式》一書中開頭是這樣描述代理(Proxy)模式的: 代理模式是對象的結構模式。代理模式給某一個對象提供一個代理對象,並由代理對象控制對原對象