編輯:關於Android編程
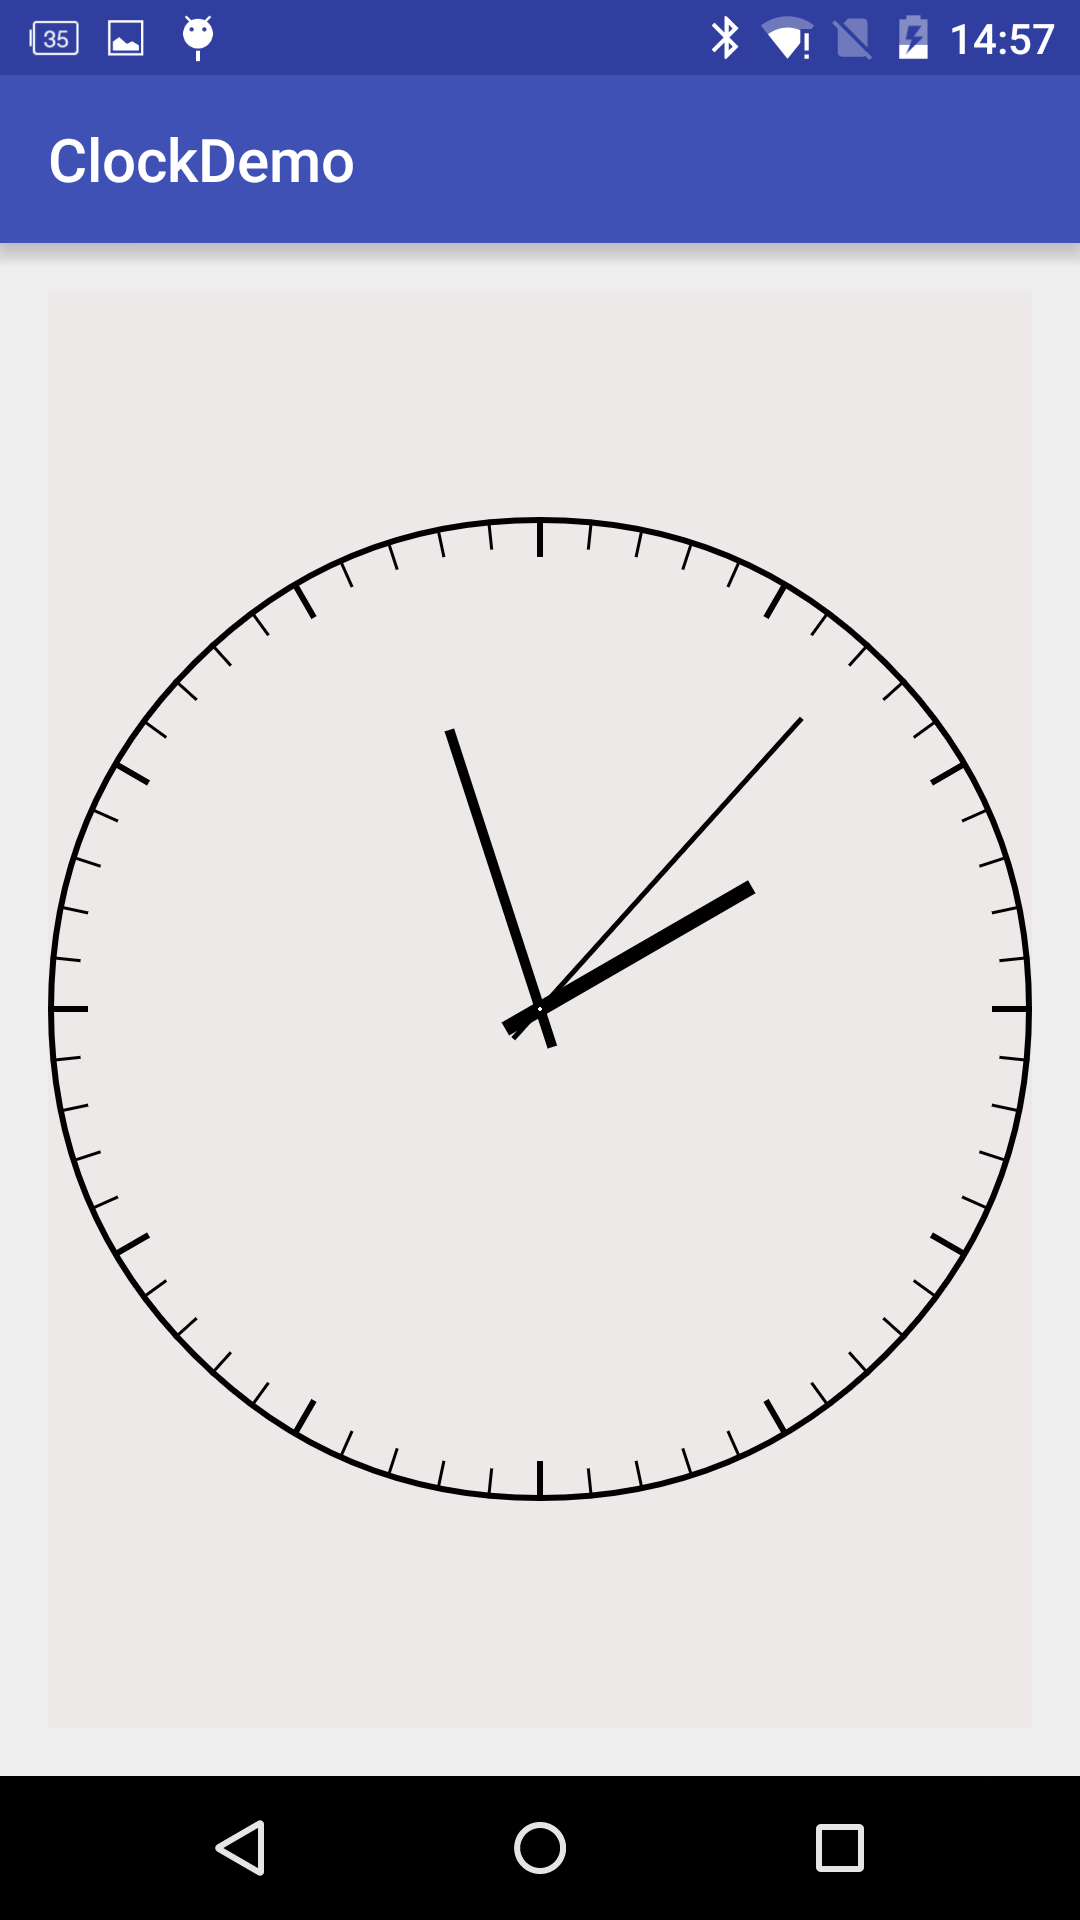
先看下最終的效果
開始實現
新建一個ClockView集成View
  public class ClockView extends View {

  }
先重寫onMeasure方法,這裡要先說一下View的測量模式,一共有三種:
1、EXACTLY
即精確值模式,當我們將控件的layout_width屬性或layout_height屬性指定為具體數值時,比如android:layout_width="100dp",或者指定為math_parent屬性時(占據父View的大小),系統使用的是EXACTLY模式。
2、AT_MOST
即最大值模式,當控件的layout_width屬性或layout_height屬性指定為wrap_content時,控件大小一般隨著控件的子控件或內容的變化而變化,此時控件的尺寸只要不超過父控件允許的最大尺寸即可。
3、UNSPECIFIED
這個屬性比較奇怪——它不指定其大小測量模式,View想多大就多大,通常情況下在繪制自定義View時才會使用。
因為View的onMeasure方法只支持EXACTLY模式,當layout_width和layout_height為wrap_content時,View的大小就顯得很奇怪了,如下圖。
所以我們重寫一下onMeasure方法可以指定View width、height的最小值
  /**
   * 當布局為wrap_content時設置默認長寬
   * @param widthMeasureSpec
   * @param heightMeasureSpec
   */
  @Override
  protected void onMeasure(int widthMeasureSpec, int heightMeasureSpec) {
    setMeasuredDimension(measure(widthMeasureSpec), measure(heightMeasureSpec));
  }

  private int measure(int origin){
    int result = DEFAULT_MIN_WIDTH;
    int specMode = MeasureSpec.getMode(origin);
    int specSize = MeasureSpec.getSize(origin);
    if(specMode == MeasureSpec.EXACTLY){
      result = specSize;
    }else{
      if(specMode == MeasureSpec.AT_MOST){
        result = Math.min(result, specSize);
      }
    }
    return result;
  }
下面就是最重要的重寫onDraw方法來繪制表盤、刻度、指針……,大致流程如下
1、畫表盤,用drawCircle繪制一個圓作為表盤, 圓心坐標為(getWidth()/2, getHeight()/2),半徑為Math.min(getHeight()/2, getWidth()/2)。
//畫外圓
float borderWidth = DEFAULT_BORDER_WIDTH;
Paint paintCircle = new Paint();
paintCircle.setStyle(Paint.Style.STROKE);
paintCircle.setAntiAlias(true);
paintCircle.setStrokeWidth(borderWidth);
canvas.drawCircle(getWidth() / 2, getHeight() / 2, Math.min(getHeight() / 2, getWidth() / 2) - borderWidth / 2, paintCircle);
2、畫刻度線,在這裡我們可以利用一個`canvas.rotate'方法就可以不用計算角度了
//畫刻度線
float degreeLength = 0f;
Paint paintDegree = new Paint();
paintDegree.setAntiAlias(true);
for(int i=0;i<60;i++){
  if(i % 5 == 0){
    paintDegree.setStrokeWidth(6);
    degreeLength = DEFAULT_LONG_DEGREE_LENGTH;
  }else{
    paintDegree.setStrokeWidth(3);
    degreeLength = DEFAULT_SHORT_DEGREE_LENGTH;
  }
  canvas.drawLine(getWidth()/2, Math.abs(getWidth()/2 - getHeight()/2), getWidth()/2, Math.abs(getWidth()/2 - getHeight()/2) + degreeLength, paintDegree);
  canvas.rotate(360/60, getWidth()/2, getHeight()/2);
}
3、畫刻度上的數字
//刻度數字
int degressNumberSize = 30;
canvas.translate(getWidth() / 2, getHeight() / 2);
Paint paintDegreeNumber = new Paint();
paintDegreeNumber.setTextAlign(Paint.Align.CENTER);
paintDegreeNumber.setTextSize(degressNumberSize);
paintDegreeNumber.setFakeBoldText(true);
for(int i=0;i<12;i++){
  float[] temp = calculatePoint((i+1)*30, r - DEFAULT_LONG_DEGREE_LENGTH - degressNumberSize/2 - 15);
  canvas.drawText((i+1)+"", temp[2], temp[3] + degressNumberSize/2-6, paintDegreeNumber);
}

/**
 * 根據角度和長度計算線段的起點和終點的坐標
 * @param angle
 * @param length
 * @return
 */
private float[] calculatePoint(float angle, float length){
  float[] points = new float[4];
  if(angle <= 90f){
    points[0] = -(float) Math.sin(angle*Math.PI/180) * DEFAULT_POINT_BACK_LENGTH;
    points[1] = (float) Math.cos(angle*Math.PI/180) * DEFAULT_POINT_BACK_LENGTH;
    points[2] = (float) Math.sin(angle*Math.PI/180) * length;
    points[3] = -(float) Math.cos(angle*Math.PI/180) * length;
  }else if(angle <= 180f){
    points[0] = -(float) Math.cos((angle-90)*Math.PI/180) * DEFAULT_POINT_BACK_LENGTH;
    points[1] = -(float) Math.sin((angle-90)*Math.PI/180) * DEFAULT_POINT_BACK_LENGTH;
    points[2] = (float) Math.cos((angle-90)*Math.PI/180) * length;
    points[3] = (float) Math.sin((angle-90)*Math.PI/180) * length;
  }else if(angle <= 270f){
    points[0] = (float) Math.sin((angle-180)*Math.PI/180) * DEFAULT_POINT_BACK_LENGTH;
    points[1] = -(float) Math.cos((angle-180)*Math.PI/180) * DEFAULT_POINT_BACK_LENGTH;
    points[2] = -(float) Math.sin((angle-180)*Math.PI/180) * length;
    points[3] = (float) Math.cos((angle-180)*Math.PI/180) * length;
  }else if(angle <= 360f){
    points[0] = (float) Math.cos((angle-270)*Math.PI/180) * DEFAULT_POINT_BACK_LENGTH;
    points[1] = (float) Math.sin((angle-270)*Math.PI/180) * DEFAULT_POINT_BACK_LENGTH;
    points[2] = -(float) Math.cos((angle-270)*Math.PI/180) * length;
    points[3] = -(float) Math.sin((angle-270)*Math.PI/180) * length;
  }
  return points;
}
4、畫指針
//畫指針
Paint paintHour = new Paint();
paintHour.setAntiAlias(true);
paintHour.setStrokeWidth(15);
Paint paintMinute = new Paint();
paintMinute.setAntiAlias(true);
paintMinute.setStrokeWidth(10);
Paint paintSecond = new Paint();
paintSecond.setAntiAlias(true);
paintSecond.setStrokeWidth(5);
Calendar now = Calendar.getInstance();
float[] hourPoints = calculatePoint(now.get(Calendar.HOUR_OF_DAY)%12/12f*360, hourPointerLength);
canvas.drawLine(hourPoints[0], hourPoints[1], hourPoints[2], hourPoints[3], paintHour);
float[] minutePoints = calculatePoint(now.get(Calendar.MINUTE)/60f*360, minutePointerLength);
canvas.drawLine(minutePoints[0], minutePoints[1], minutePoints[2], minutePoints[3], paintMinute);
float[] secondPoints = calculatePoint(now.get(Calendar.SECOND)/60f*360, secondPointerLength);
canvas.drawLine(secondPoints[0], secondPoints[1], secondPoints[2], secondPoints[3], paintSecond);
5、畫圓心
//畫圓心
Paint paintCenter = new Paint();
paintCenter.setColor(Color.WHITE);
canvas.drawCircle(0, 0, 2, paintCenter);
最後只要啟動一個無限循環的線程,每隔1秒針重繪一下View就能讓指針動起來了
private Thread timeThread = new Thread() {
  @Override
  public void run() {
    try {
      while(true){
        updateHandler.sendEmptyMessage(0);
        Thread.sleep(1000);
      }
    } catch (InterruptedException e) {
      e.printStackTrace();
    }
  }
};

private Handler updateHandler = new Handler() {
  @Override
  public void handleMessage(Message msg) {
    invalidate();
  }
};
以上就是教大家如何利用Android畫個時鐘的詳細步驟代碼,希望對大家的學習Android軟件編程有所幫助。
 [Android]仿京東手機端類別頁
[Android]仿京東手機端類別頁京東手機端的類別標簽頁, 是一個左側滑動可選擇類別, 右側一個類別明細的列表聯動頁面. 當用戶選擇左側選項, 可在右側顯示更多選項來選
 靠譜助手一直反復啟動怎麼辦
1.先確認靠譜助手安裝檢測有沒有問題(以下幾項:顏色是否32位,opengl2.0是否支持,net framework 2.0 sp2是否安裝,C盤空間是否
 Android 緩存淺談(一)
Android開發本質上就是手機和web服務器之間進行通信,從服務端需要獲取數據,但是當訪問的數據比較大,比較多,並且是重復數據時,會極大影響性能,甚至應用崩潰,手機卡死
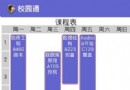 Android動態生成課程表 詳解
根據提供的課程信息,動態生成課程表。不同於網上流傳的課表形式,課程節數是固定,本課表的課程節數不固定。1、效果圖每天共有12節課,上課節數每天都不同。2、布局文件代碼周一