編輯:關於Android編程
今年春節晚會沒看盡興,被支付寶集福給添了一段插曲,朋友們都在那數定時間段不停的咻一咻,哇,我咻到一個敬業福,不可能的,哈哈。那麼咻一咻功能基於程序代碼是怎麼實現的呢?下面本站小編給大家分享本教程幫助大家學習Android波紋擴散效果之仿支付寶咻一咻功能實現波紋擴散特效,具體內容如下所示:
先來看看這個效果

這是我的在Only上添加的效果,說實話,Only現在都還只是半成品,台面都上不了,怪自己技術不行,也太懶了
PS:這個view也是我模仿了人家的效果,參考了人家的思路寫的,不是純手撸,罪過罪過,網上應該也能找到很多這樣的效果,我只是加入了一些自己的需求在裡面
我麼新建一個工程——Whew
RoundImageView
這個之前講過網上 的粒子,把頭像變成圓形的,這裡就不多說了,直接撸代碼吧!
package com.lgl.whew;

/**
* 圓形頭像
* Created by LGL on 2016/1/12.
*/
import android.content.Context;
import android.content.res.TypedArray;
import android.graphics.Bitmap;
import android.graphics.Canvas;
import android.graphics.Paint;
import android.graphics.PorterDuff;
import android.graphics.PorterDuffXfermode;
import android.graphics.Rect;
import android.graphics.drawable.BitmapDrawable;
import android.graphics.drawable.Drawable;
import android.graphics.drawable.NinePatchDrawable;
import android.util.AttributeSet;
import android.widget.ImageView;
/**
* 圓形ImageView,可設置最多兩個寬度不同且顏色不同的圓形邊框。
*
* 設置顏色在xml布局文件中由自定義屬性配置參數指定
*/
public class RoundImageView extends ImageView {
private int mBorderThickness = 0;
private Context mContext;
private int defaultColor = 0xFFFFFFFF;
// 如果只有其中一個有值,則只畫一個圓形邊框
private int mBorderOutsideColor = 0;
private int mBorderInsideColor = 0;
// 控件默認長、寬
private int defaultWidth = 0;
private int defaultHeight = 0;
public RoundImageView(Context context) {
super(context);
mContext = context;
}
public RoundImageView(Context context, AttributeSet attrs) {
super(context, attrs);
mContext = context;
setCustomAttributes(attrs);
}
public RoundImageView(Context context, AttributeSet attrs, int defStyle) {
super(context, attrs, defStyle);
mContext = context;
setCustomAttributes(attrs);
}
private void setCustomAttributes(AttributeSet attrs) {
TypedArray a = mContext.obtainStyledAttributes(attrs,
R.styleable.roundedimageview);
mBorderThickness = a.getDimensionPixelSize(
R.styleable.roundedimageview_border_thickness, 0);
mBorderOutsideColor = a
.getColor(R.styleable.roundedimageview_border_outside_color,
defaultColor);
mBorderInsideColor = a.getColor(
R.styleable.roundedimageview_border_inside_color, defaultColor);
}
@Override
protected void onDraw(Canvas canvas) {
Drawable drawable = getDrawable();
if (drawable == null) {
return;
}
if (getWidth() == 0 || getHeight() == 0) {
return;
}
this.measure(0, 0);
if (drawable.getClass() == NinePatchDrawable.class)
return;
Bitmap b = ((BitmapDrawable) drawable).getBitmap();
Bitmap bitmap = b.copy(Bitmap.Config.ARGB_8888, true);
if (defaultWidth == 0) {
defaultWidth = getWidth();
}
if (defaultHeight == 0) {
defaultHeight = getHeight();
}
int radius = 0;
if (mBorderInsideColor != defaultColor
&& mBorderOutsideColor != defaultColor) {// 定義畫兩個邊框,分別為外圓邊框和內圓邊框
radius = (defaultWidth < defaultHeight ? defaultWidth
: defaultHeight) / 2 - 2 * mBorderThickness;
// 畫內圓
drawCircleBorder(canvas, radius + mBorderThickness / 2,
mBorderInsideColor);
// 畫外圓
drawCircleBorder(canvas, radius + mBorderThickness
+ mBorderThickness / 2, mBorderOutsideColor);
} else if (mBorderInsideColor != defaultColor
&& mBorderOutsideColor == defaultColor) {// 定義畫一個邊框
radius = (defaultWidth < defaultHeight ? defaultWidth
: defaultHeight) / 2 - mBorderThickness;
drawCircleBorder(canvas, radius + mBorderThickness / 2,
mBorderInsideColor);
} else if (mBorderInsideColor == defaultColor
&& mBorderOutsideColor != defaultColor) {// 定義畫一個邊框
radius = (defaultWidth < defaultHeight ? defaultWidth
: defaultHeight) / 2 - mBorderThickness;
drawCircleBorder(canvas, radius + mBorderThickness / 2,
mBorderOutsideColor);
} else {// 沒有邊框
radius = (defaultWidth < defaultHeight ? defaultWidth
: defaultHeight) / 2;
}
Bitmap roundBitmap = getCroppedRoundBitmap(bitmap, radius);
canvas.drawBitmap(roundBitmap, defaultWidth / 2 - radius, defaultHeight
/ 2 - radius, null);
}
/**
* 獲取裁剪後的圓形圖片
*/
public Bitmap getCroppedRoundBitmap(Bitmap bmp, int radius) {
Bitmap scaledSrcBmp;
int diameter = radius * 2;
// 為了防止寬高不相等,造成圓形圖片變形,因此截取長方形中處於中間位置最大的正方形圖片
int bmpWidth = bmp.getWidth();
int bmpHeight = bmp.getHeight();
int squareWidth = 0, squareHeight = 0;
int x = 0, y = 0;
Bitmap squareBitmap;
if (bmpHeight > bmpWidth) {// 高大於寬
squareWidth = squareHeight = bmpWidth;
x = 0;
y = (bmpHeight - bmpWidth) / 2;
// 截取正方形圖片
squareBitmap = Bitmap.createBitmap(bmp, x, y, squareWidth,
squareHeight);
} else if (bmpHeight < bmpWidth) {// 寬大於高
squareWidth = squareHeight = bmpHeight;
x = (bmpWidth - bmpHeight) / 2;
y = 0;
squareBitmap = Bitmap.createBitmap(bmp, x, y, squareWidth,
squareHeight);
} else {
squareBitmap = bmp;
}
if (squareBitmap.getWidth() != diameter
|| squareBitmap.getHeight() != diameter) {
scaledSrcBmp = Bitmap.createScaledBitmap(squareBitmap, diameter,
diameter, true);
} else {
scaledSrcBmp = squareBitmap;
}
Bitmap output = Bitmap.createBitmap(scaledSrcBmp.getWidth(),
scaledSrcBmp.getHeight(),
Bitmap.Config.ARGB_8888);
Canvas canvas = new Canvas(output);
Paint paint = new Paint();
Rect rect = new Rect(0, 0, scaledSrcBmp.getWidth(),
scaledSrcBmp.getHeight());
paint.setAntiAlias(true);
paint.setFilterBitmap(true);
paint.setDither(true);
canvas.drawARGB(0, 0, 0, 0);
canvas.drawCircle(scaledSrcBmp.getWidth() / 2,
scaledSrcBmp.getHeight() / 2,
scaledSrcBmp.getWidth() / 2,
paint);
paint.setXfermode(new PorterDuffXfermode(PorterDuff.Mode.SRC_IN));
canvas.drawBitmap(scaledSrcBmp, rect, rect, paint);
bmp = null;
squareBitmap = null;
scaledSrcBmp = null;
return output;
}
/**
* 邊緣畫圓
*/
private void drawCircleBorder(Canvas canvas, int radius, int color) {
Paint paint = new Paint();
/* 去鋸齒 */
paint.setAntiAlias(true);
paint.setFilterBitmap(true);
paint.setDither(true);
paint.setColor(color);
/* 設置paint的 style 為STROKE:空心 */
paint.setStyle(Paint.Style.STROKE);
/* 設置paint的外框寬度 */
paint.setStrokeWidth(mBorderThickness);
canvas.drawCircle(defaultWidth / 2, defaultHeight / 2, radius, paint);
}
}
這裡值得注意的是,要使用這個必須自定義一些屬性,我們在values下新建一個attr.xml
<?xml version="1.0" encoding="utf-8"?>
<resources>
<declare-styleable name="roundedimageview">
<attr name="border_thickness" format="dimension" />
<attr name="border_inside_color" format="color" />
<attr name="border_outside_color" format="color"></attr>
</declare-styleable>
</resources>
然後在xml文件中引入命名空間
xmlns:imagecontrol=http://schemas.android.com/apk/res-auto
我們直接看layout_mian.xml吧
layout_mian.xml
就一些布局咯
<?xml version="1.0" encoding="utf-8"?>
<LinearLayout xmlns:android="http://schemas.android.com/apk/res/android"
xmlns:imagecontrol="http://schemas.android.com/apk/res-auto"
android:layout_width="match_parent"
android:layout_height="match_parent"
android:orientation="vertical" >
<RelativeLayout
android:layout_width="match_parent"
android:layout_height="wrap_content" >
<com.lgl.whew.WhewView
android:id="@+id/wv"
android:layout_width="match_parent"
android:layout_height="match_parent" />
<com.lgl.whew.RoundImageView
android:id="@+id/my_photo"
android:layout_width="100dp"
android:layout_height="100dp"
android:layout_centerInParent="true"
android:src="@drawable/myphoto"
imagecontrol:border_inside_color="#bc0978"
imagecontrol:border_outside_color="#ba3456"
imagecontrol:border_thickness="1dp" />
</RelativeLayout>
</LinearLayout>
這樣你就可以使用圓形圖片了,我們接下來看波紋的繪制
WhewView
package com.lgl.whew;
import java.util.ArrayList;
import java.util.List;
import android.content.Context;
import android.graphics.Canvas;
import android.graphics.Color;
import android.graphics.Paint;
import android.util.AttributeSet;
import android.view.View;
/**
* 模仿咻一咻
*
* @author LGL
*
*/
public class WhewView extends View {
private Paint paint;
private int maxWidth = 255;
// 是否運行
private boolean isStarting = false;
private List<String> alphaList = new ArrayList<String>();
private List<String> startWidthList = new ArrayList<String>();
public WhewView(Context context, AttributeSet attrs, int defStyleAttr) {
super(context, attrs, defStyleAttr);
// TODO Auto-generated constructor stub
init();
}
public WhewView(Context context, AttributeSet attrs) {
super(context, attrs);
// TODO Auto-generated constructor stub
init();
}
public WhewView(Context context) {
super(context);
// TODO Auto-generated constructor stub
init();
}
private void init() {
paint = new Paint();
// 設置博文的顏色
paint.setColor(0x0059ccf5);
alphaList.add("255");// 圓心的不透明度
startWidthList.add("0");
}
@Override
public void onDraw(Canvas canvas) {
super.onDraw(canvas);
setBackgroundColor(Color.TRANSPARENT);// 顏色:完全透明
// 依次繪制 同心圓
for (int i = 0; i < alphaList.size(); i++) {
int alpha = Integer.parseInt(alphaList.get(i));
// 圓半徑
int startWidth = Integer.parseInt(startWidthList.get(i));
paint.setAlpha(alpha);
// 這個半徑決定你想要多大的擴散面積
canvas.drawCircle(getWidth() / 2, getHeight() / 2, startWidth + 50,
paint);
// 同心圓擴散
if (isStarting && alpha > 0 && startWidth < maxWidth) {
alphaList.set(i, (alpha - 1) + "");
startWidthList.set(i, (startWidth + 1) + "");
}
}
if (isStarting
&& Integer
.parseInt(startWidthList.get(startWidthList.size() - 1)) == maxWidth / 5) {
alphaList.add("255");
startWidthList.add("0");
}
// 同心圓數量達到10個,刪除最外層圓
if (isStarting && startWidthList.size() == 10) {
startWidthList.remove(0);
alphaList.remove(0);
}
// 刷新界面
invalidate();
}
// 執行動畫
public void start() {
isStarting = true;
}
// 停止動畫
public void stop() {
isStarting = false;
}
// 判斷是都在不在執行
public boolean isStarting() {
return isStarting;
}
}
這裡我們看到,對外有幾個方法,一個開始動畫,一個停止動畫,一個檢測是否正在運行
MainActivity
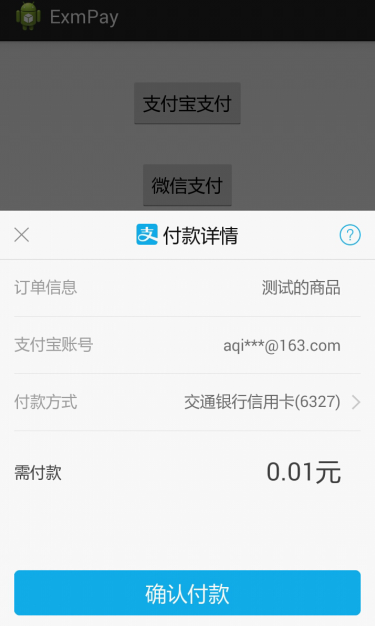
這裡就是我們的需求了,我反編譯了一下支付寶的APK,並沒有找到他的咻一咻的音效,就在他的raw目錄下隨便找了一個,我們現在是需要這樣一個需求
點擊圖片執行動畫,並且每隔五分鐘響一次
再次點擊圖片,停止動畫,停止音效
我們先新建一個raw文件夾把音效拷貝進去吧
package com.lgl.whew;
import android.app.Activity;
import android.media.AudioManager;
import android.media.SoundPool;
import android.os.Bundle;
import android.os.Handler;
import android.view.View;
import android.view.View.OnClickListener;
public class MainActivity extends Activity {
private WhewView wv;
private RoundImageView my_photo;
private static final int Nou = 1;
// 聲明一個SoundPool
private SoundPool sp;
// 定義一個整型用load();來設置suondIDf
private int music;
private Handler handler = new Handler() {
public void handleMessage(android.os.Message msg) {
if (msg.what == Nou) {
// 每隔10s響一次
handler.sendEmptyMessageDelayed(Nou, 5000);
sp.play(music, 1, 1, 0, 0, 1);
}
}
};
@Override
protected void onCreate(Bundle savedInstanceState) {
super.onCreate(savedInstanceState);
setContentView(R.layout.activity_main);
initView();
}
private void initView() {
// 第一個參數為同時播放數據流的最大個數,第二數據流類型,第三為聲音質量
sp = new SoundPool(10, AudioManager.STREAM_SYSTEM, 5);
// 把你的聲音素材放到res/raw裡,第2個參數即為資源文件,第3個為音樂的優先級
music = sp.load(this, R.raw.hongbao_gq, 1);
wv = (WhewView) findViewById(R.id.wv);
my_photo = (RoundImageView) findViewById(R.id.my_photo);
my_photo.setOnClickListener(new OnClickListener() {
@Override
public void onClick(View v) {
if(wv.isStarting()){
//如果動畫正在運行就停止,否則就繼續執行
wv.stop();
//結束進程
handler.removeMessages(Nou);
}else{
// 執行動畫
wv.start();
handler.sendEmptyMessage(Nou);
}
}
});
}
}
相信這裡的邏輯不是很難吧,對了,我們在結束activity的時候也是要銷毀這個進程的,不然…你懂的
@Override
protected void onDestroy() {
// TODO Auto-generated method stub
super.onDestroy();
handler.removeMessages(Nou);
}
我們運行一下,想聽效果的可以下載Demo運行一下,我們這裡做一個簡單的演示
 Android實現界面左右滑動切換功能
相信大家一定都使用過手機QQ和微信之類的軟件,當我們使用時不難發現其界面的切換不僅可以通過點擊頁標簽來實現,還可以通過左右滑動來實現的,耗子君剛開始學Android時就覺
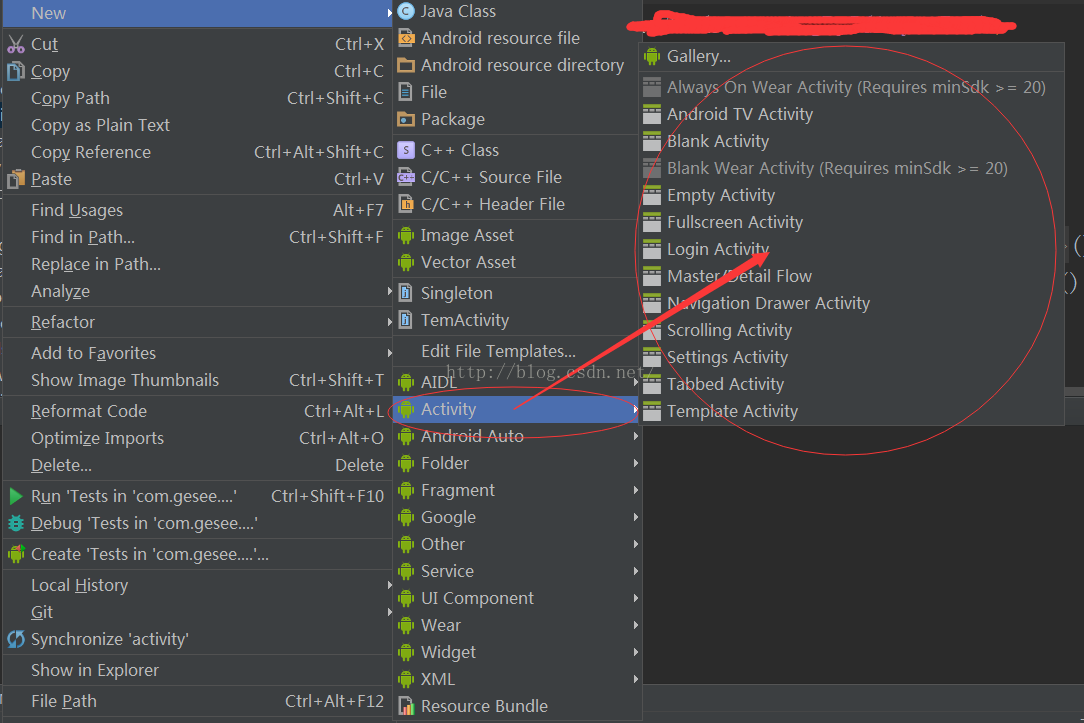 Android Sdudio 模板文件的新建。
?今天在新建一個Activity的時候, 隨手就創建了一個空的activity,而且, AS 還會給你自動生成xml文件, 跟一些activity裡默認的代碼。?到這裡,
 Android編程之SMS讀取短信並保存到SQLite的方法
本文實例講述了Android編程之SMS讀取短信並保存到SQLite的方法。分享給大家供大家參考,具體如下:Android 之 SMS 短信在Android系統中是保存在
 Android Camera預覽過程數據流淺析
硬件平台:Atmel SAMA5D3 SoC + OV2640 Camera Sensor Android版本:4.2.2 mediaserver進程是Cam