編輯:關於Android編程
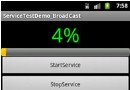
對於android開發來說自定義View還是一個比較重要的技能,所以在這裡寫一篇自定義View入門的文章,也是實現一個相對簡單的隨機產生驗證碼的功能:
自定義View主要也就分為幾步
1.自定義View的屬性
2.在我們的自定義的布局中獲取自定義屬性
3.重寫onMesure方法
4.重寫onDraw方法
好現在我們就一步一步的來,首先創建我們的View屬性
在valuse目錄下創建一個attrs.xml的文件,然後:
<?xml version="1.0" encoding="utf-8"?>
<resources>
 <attr name="textColor" format="color"/>
 <attr name="textContent" format="string"/>
 <attr name="textSize" format="dimension"/>

 <declare-styleable name="VerificationCodeView">
 <attr name="textContent" />
 <attr name="textColor" />
 <attr name="textSize" />
 </declare-styleable>
</resources>
我們總共定義了三個屬性,一個是顏色,內容,大小
然後我們去建立我們的自定義類
public class VerificationCodeView extends View {
/**
* 文本
*/
private String mTitleText;
/**
* 文本的顏色
*/
private int mTextColor;
/**
* 文本的大小
*/
private int mTextSize;
/**
* 繪制時控制文本繪制的范圍
*/
private Rect mBound;
/**
* 初始化畫筆
*/
private Paint mTextPaint;
private Paint mPointPaint;
private Paint mPathPaint;
/**
* 干擾點坐標的集合
*/
private ArrayList<PointF> mPoints = new ArrayList<PointF>();
/**
* 繪制貝塞爾曲線的路徑集合
*/
private ArrayList<Path> mPaths = new ArrayList<Path>();
public VerificationCodeView(Context context) {
this(context, null);
}
public VerificationCodeView(Context context, AttributeSet attributeSet) {
this(context, attributeSet, 0);
}
public VerificationCodeView(Context context, AttributeSet attributeSet, int defStyle) {
super(context, attributeSet, defStyle);
TypedArray typedArray = context.getTheme().obtainStyledAttributes(attributeSet, R.styleable.VerificationCodeView, defStyle, 0);
int size = typedArray.getIndexCount();
for (int i = 0; i < size; i++) {
int content = typedArray.getIndex(i);
switch (content) {
case R.styleable.VerificationCodeView_textContent:
mTitleText = typedArray.getString(content);
break;
case R.styleable.VerificationCodeView_textColor:
mTextColor = typedArray.getColor(content, Color.BLACK);
break;
case R.styleable.VerificationCodeView_textSize:
// 默認設置為16sp,TypeValue也可以把sp轉化為px
mTextSize = typedArray.getDimensionPixelSize(content, (int) TypedValue.applyDimension(
TypedValue.COMPLEX_UNIT_SP, 16, getResources().getDisplayMetrics()));
break;
}
}
typedArray.recycle();
//設置點擊事件變換數字
this.setOnClickListener(new OnClickListener() {
@Override
public void onClick(View v) {
mTitleText = randomText();
postInvalidate();
}
});
}
/**
* EXACTLY:一般是設置了明確的值或者是MATCH_PARENT
* AT_MOST:表示子布局限制在一個最大值內,一般為WARP_CONTENT
* UNSPECIFIED:表示子布局想要多大就多大,很少使用
*
* @param widthMeasureSpec
* @param heightMeasureSpec
*/
@Override
protected void onMeasure(int widthMeasureSpec, int heightMeasureSpec) {
super.onMeasure(widthMeasureSpec, heightMeasureSpec);
int widthMode = MeasureSpec.getMode(widthMeasureSpec);
int widthSize = MeasureSpec.getSize(widthMeasureSpec);
int heightMode = MeasureSpec.getMode(heightMeasureSpec);
int heightSize = MeasureSpec.getSize(heightMeasureSpec);
//用來設置要畫的布局的大小
if (widthMode != MeasureSpec.EXACTLY) {
widthSize = (int) (getPaddingLeft() + mBound.width() + getPaddingRight());
}
if (heightMode != MeasureSpec.EXACTLY) {
heightSize = (int) (getPaddingTop() + mBound.height() + getPaddingBottom());
}
setMeasuredDimension(widthSize, heightSize);
}
@Override
protected void onDraw(Canvas canvas) {
//生成隨機的背景顏色
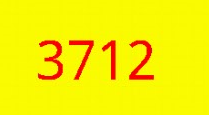
mTextPaint.setColor(Color.YELLOW);
canvas.drawRect(0, 0, getMeasuredWidth(), getMeasuredHeight(), mTextPaint);
//生成隨機的文字顏色
mTextPaint.setColor(mTextColor);
//將文字畫在布局的中間
canvas.drawText(mTitleText, getWidth() / 2 - mBound.width() / 2, getHeight() / 2 + mBound.height() / 2, mTextPaint);
}
/**
* 生成隨機的四位數字驗證碼
*
* @return
*/
private String randomText() {
Random random = new Random();
Set<Integer> set = new HashSet<Integer>();
while (set.size() < 4) {
int randomInt = random.nextInt(10);
set.add(randomInt);
}
StringBuffer sb = new StringBuffer();
for (Integer i : set) {
sb.append("" + i);
}
return sb.toString();
}
}
以上代碼就是自定義的類,繼承了View他有三個構造方法,我們要獲取它的屬性,所以一定要走第三個,但是默認是第二個,所以我們要在每一個裡面調用第三個,以確保做了初始化工作 注意調用的時候用的是this的構造方法,而不是super
當我們的這個類出來之後,後面的就很簡單了
<?xml version="1.0" encoding="utf-8"?>
<RelativeLayout xmlns:android="http://schemas.android.com/apk/res/android"
 xmlns:verification="http://schemas.android.com/apk/res-auto"
 android:layout_width="match_parent"
 android:layout_height="match_parent"
 android:gravity="center"
 >

 <com.example.aotuman.verification.view.VerificationCodeView
 android:layout_width="wrap_content"
 android:layout_height="wrap_content"
 android:paddingTop="10dp"
 android:paddingBottom="10dp"
 android:paddingLeft="10dp"
 android:paddingRight="10dp"
 verification:textContent="3712"
 verification:textColor="#ff0000"
 verification:textSize="40sp" />
</RelativeLayout>
在布局裡面應用它就可以了, xmlns:verification=”http://schemas.android.com/apk/res-auto”是必須要的,要不找不到自定義的屬性。
好了到這為止就實現了最簡單的
接下來我們就是實現繪制一些散點和曲線,修改我們的自定義類的onDraw()方法
@Override
 protected void onDraw(Canvas canvas) {
 initData();
 Random mRandom = new Random();
 //生成隨機的背景顏色
 mTextPaint.setARGB(255, mRandom.nextInt(200) + 20, mRandom.nextInt(200) + 20, mRandom.nextInt(200) + 20);
 canvas.drawRect(0, 0, getMeasuredWidth(), getMeasuredHeight(), mTextPaint);
 //生成隨機的文字顏色
 mTextPaint.setARGB(255, mRandom.nextInt(200) + 20, mRandom.nextInt(200) + 20, mRandom.nextInt(200) + 20);
 //將文字畫在布局的中間
 canvas.drawText(mTitleText, getWidth() / 2 - mBound.width() / 2, getHeight() / 2 + mBound.height() / 2, mTextPaint);

 // 產生干擾效果1 -- 干擾點
 for (PointF pointF : mPoints) {
  mPointPaint.setARGB(255, mRandom.nextInt(200) + 20, mRandom.nextInt(200) + 20, mRandom.nextInt(200) + 20);
  canvas.drawPoint(pointF.x, pointF.y, mPointPaint);
 }
 // 產生干擾效果2 -- 干擾線
 for (Path path : mPaths) {
  mPathPaint.setARGB(255, mRandom.nextInt(200) + 20, mRandom.nextInt(200) + 20, mRandom.nextInt(200) + 20);
  canvas.drawPath(path, mPathPaint);
 }

 private void initData() {
 Random mRandom = new Random();
 // 獲取控件的寬和高,此時已經測量完成
 int mHeight = getHeight();
 int mWidth = getWidth();
 mPoints.clear();
 // 生成干擾點坐標
 for (int i = 0; i < 150; i++) {
  PointF pointF = new PointF(mRandom.nextInt(mWidth) + 10, mRandom.nextInt(mHeight) + 10);
  mPoints.add(pointF);
 }
 mPaths.clear();
 // 生成干擾線坐標
 for (int i = 0; i < 2; i++) {
  Path path = new Path();
  int startX = mRandom.nextInt(mWidth / 3) + 10;
  int startY = mRandom.nextInt(mHeight / 3) + 10;
  int endX = mRandom.nextInt(mWidth / 2) + mWidth / 2 - 10;
  int endY = mRandom.nextInt(mHeight / 2) + mHeight / 2 - 10;
  path.moveTo(startX, startY);
  path.quadTo(Math.abs(endX - startX) / 2, Math.abs(endY - startY) / 2, endX, endY);
  mPaths.add(path);
 }
 }

 private void init() {
 // 初始化文字畫筆
 /**
  * 獲得繪制文本的寬和高
  */
 mTextPaint = new Paint();
 mTextPaint.setTextSize(mTextSize);

 mBound = new Rect();
 //獲取到的存在mBound裡面
 mTextPaint.getTextBounds(mTitleText, 0, mTitleText.length(), mBound);
 // 初始化干擾點畫筆
 mPointPaint = new Paint();
 mPointPaint.setStrokeWidth(6);
 mPointPaint.setStrokeCap(Paint.Cap.ROUND); // 設置斷點處為圓形
 // 初始化干擾線畫筆
 mPathPaint = new Paint();
 mPathPaint.setStrokeWidth(5);
 mPathPaint.setColor(Color.GRAY);
 mPathPaint.setStyle(Paint.Style.STROKE); // 設置畫筆為空心
 mPathPaint.setStrokeCap(Paint.Cap.ROUND); // 設置斷點處為圓形
 }
init()方法請自行加在構造方法裡面
OK到這為止就完成了,以後我們用到只要移植就可以了,怎麼樣,也很簡單吧

以上就是本文的全部內容,希望對大家的學習有所幫助,也希望大家多多支持本站。
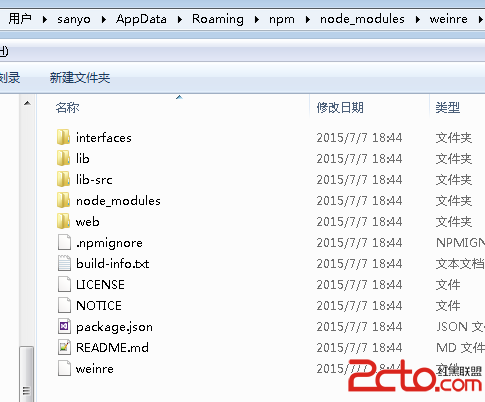
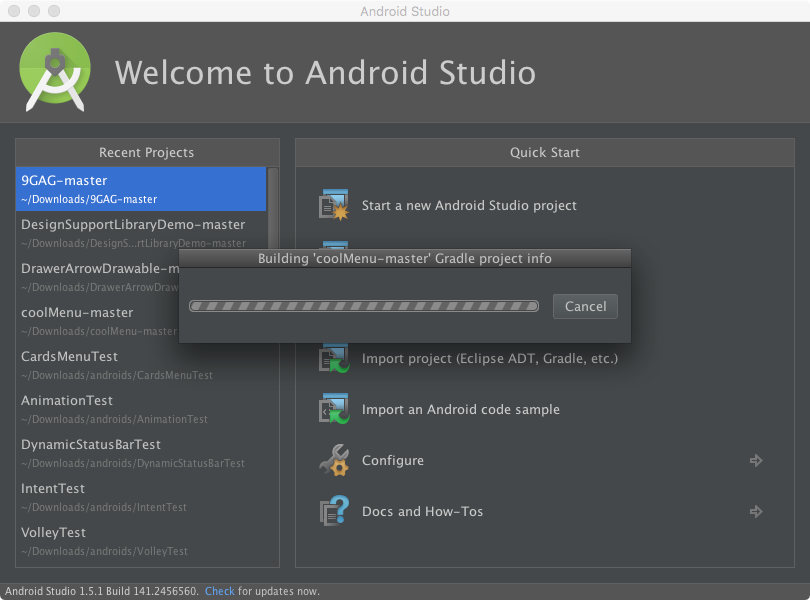 解決Android Studio導入項目非常慢的辦法
前言大家都知道Android Studio目前已經更新到2.0 Preview 6了,作為Google大力推崇的開發工具,相對於Eclipse ADT有著不可比擬的優勢。
 Android應用《撕開美女衣服》的實現過程及源代碼
現在很多Android市場中都能找到關於美女的應用,比如 撕開美女衣服、吹裙子等。 這些應用的下載量挺大的,作為Android的開發人員或者一名技術人員我們不能只局限在欣
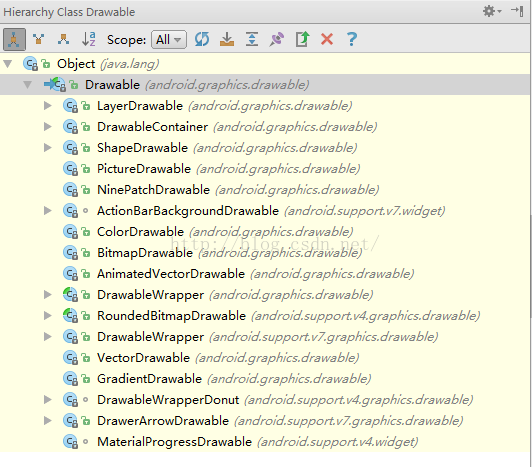 玩轉Android之Drawable的使用
Drawable天天用,可你是否對Drawable家族有一個完整的認知?今天我們就來系統的學習一下Drawable的使用。1.概述用過Drawable的筒子都知道Draw
 android 如何調用WPS顯示工作文件
以下是指定使用WPS中文版打開文檔的代碼示例(WPS不同語言版的包名略有不同,請注意紅色標記部分哦): <打開文件>&nbs