編輯:關於Android編程
可能我們在開發中會時常用到計時器這玩意兒,比如在錄像的時候,我們可能需要在右上角顯示一個計時器。這個東西其實實現起來非常簡單。
只需要用一個控件Chronometer,是的,就這麼簡單,我都不好意思講述一下了。
<Chronometer
android:layout_width="wrap_content"
android:layout_height="wrap_content"
android:format="%s"
android:id="@+id/timer"/>
是的,就這麼簡單。java代碼同樣
@Override
protected void onCreate(Bundle savedInstanceState) {
super.onCreate(savedInstanceState);
setContentView(R.layout.activity_main);
timer = (Chronometer) findViewById(R.id.timer);
}
public void btnClick(View view) {
timer.setBase(SystemClock.elapsedRealtime());//計時器清零
timer.start();
}
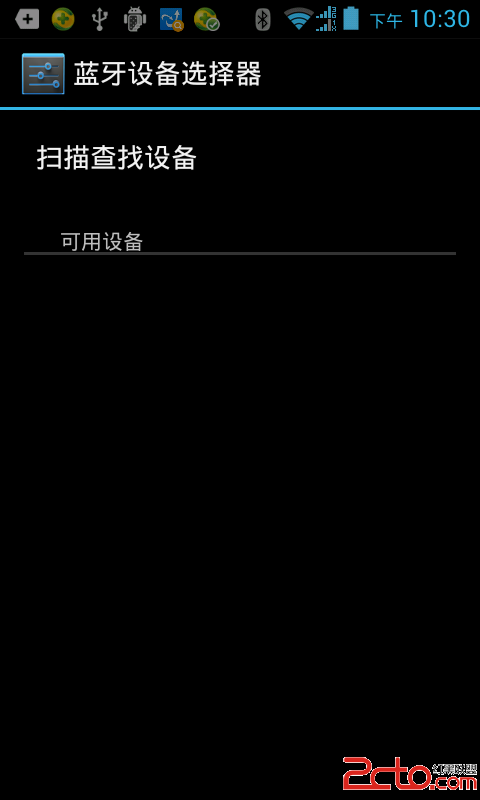
超簡單有木有?看看運行結果:
或許你會說,這個要是需要顯示上時間怎麼弄呢?不急不急,兩行代碼就能解決的事情。
public void btnClick(View view) {
timer.setBase(SystemClock.elapsedRealtime());//計時器清零
int hour = (int) ((SystemClock.elapsedRealtime() - timer.getBase()) / 1000 / 60);
timer.setFormat("0"+String.valueOf(hour)+":%s");
timer.start();
}
public void stopClick(View view) {
timer.stop();
}
恩,對,就是 這麼簡單,不過別忘了把xml的format改一下
<Chronometer
android:layout_width="match_parent"
android:layout_height="wrap_content"
android:format="00:00:00"
android:gravity="center"
android:id="@+id/timer"/>
是的,你沒有看錯,這樣就可以了,不信,你看!
就和你想象的錄像上方的時間一樣有木有?恩。你前面設置一個圓圈,再設置計時器顏色就和它一樣有逼格了。
而或許你並不喜歡用這種方式,當然用handler+timer+timerTask的方式也是可以的啦。由於太簡單,就直接上代碼了。
package com.example.nanchen.timerdemo;
import android.os.SystemClock;
import android.support.annotation.Nullable;
import android.support.v7.app.AppCompatActivity;
import android.os.Bundle;
import android.view.View;
import android.widget.Chronometer;
import android.widget.TextView;
import java.util.Locale;
import java.util.Timer;
import java.util.TimerTask;
public class MainActivity extends AppCompatActivity {
private Chronometer timer;
private Timer timer1;
private TextView textView;
private TimerTask timerTask;
@Override
protected void onCreate(@Nullable Bundle savedInstanceState) {
super.onCreate(savedInstanceState);
setContentView(R.layout.activity_main);
timer = (Chronometer) findViewById(R.id.timer);
textView = (TextView) findViewById(R.id.text);
timer1 = new Timer();
}
public void btnClick(View view) {
timer.setBase(SystemClock.elapsedRealtime());//計時器清零
int hour = (int) ((SystemClock.elapsedRealtime() - timer.getBase()) / 1000 / 60);
timer.setFormat("0"+String.valueOf(hour)+":%s");
timer.start();
}
public void stopClick(View view) {
timer.stop();
}
public void startClick(View view) {
timerTask = new TimerTask() {
int cnt = 0;
@Override
public void run() {
runOnUiThread(new Runnable() {
@Override
public void run() {
textView.setText(getStringTime(cnt++));
}
});
}
};
timer1.schedule(timerTask,0,1000);
}
private String getStringTime(int cnt) {
int hour = cnt/3600;
int min = cnt % 3600 / 60;
int second = cnt % 60;
return String.format(Locale.CHINA,"%02d:%02d:%02d",hour,min,second);
}
public void stopClick1(View view) {
if (!timerTask.cancel()){
timerTask.cancel();
timer1.cancel();
}
}
}
<?xml version="1.0" encoding="utf-8"?>
<LinearLayout
xmlns:android="http://schemas.android.com/apk/res/android"
xmlns:tools="http://schemas.android.com/tools"
android:layout_width="match_parent"
android:layout_height="match_parent"
android:orientation="vertical"
tools:context="com.example.nanchen.timerdemo.MainActivity">
<Chronometer
android:layout_width="match_parent"
android:layout_height="wrap_content"
android:format="00:00:00"
android:gravity="center"
android:id="@+id/timer"/>
<Button
android:layout_width="match_parent"
android:onClick="btnClick"
android:text="start"
android:layout_height="wrap_content"/>
<Button
android:layout_width="match_parent"
android:text="stop"
android:onClick="stopClick"
android:layout_height="wrap_content"/>
<View
android:layout_width="match_parent"
android:layout_height="1dp"
android:background="#959393"
android:layout_marginBottom="20dp"
android:layout_marginTop="20dp"/>
<TextView
android:layout_width="match_parent"
android:layout_height="wrap_content"
android:text="00:00:00"
android:gravity="center"
android:id="@+id/text"/>
<Button
android:layout_width="match_parent"
android:layout_height="wrap_content"
android:text="開始"
android:onClick="startClick"/>
<Button
android:layout_width="match_parent"
android:layout_height="wrap_content"
android:text="停止"
android:onClick="stopClick1"/>
</LinearLayout>
簡單運行下方用timer實現的效果:
想必大家到這樣都會有了自己的理解,android 官方的Chronometer方式只是為了做一個計時器,而我們采用自己用Timer和TimerTask方式可以更加自主,因為你可以想從什麼時間開始計時就從什麼時間開始計時,計時方式想順計時倒計時都不是難事兒,甚至各種浮誇的隔兩秒,隔三秒,隔n秒都是可以的,具體使用就看你選擇咯~~
以上所述是小編給大家介紹的Android時分秒計時器的兩種實現方法,希望對大家有所幫助,如果大家有任何疑問請給我留言,小編會及時回復大家的。在此也非常感謝大家對本站網站的支持!
 Android—基於微信開放平台v3SDK開發(微信支付填坑)
接觸微信支付之前聽說過這是一個坑,,,心裡已經有了准備。。。我以為我沒准跳坑出不來了,沒有想到我填上了,調用成功之後我感覺公司所有的同事都是漂亮的,隔著北京的大霧霾我仿佛
 Android自動檢測版本及自動升級
步驟: 1.檢測當前版本的信息AndroidManifest.xml-->manifest-->android:versionName。 2.從服務器獲取版本
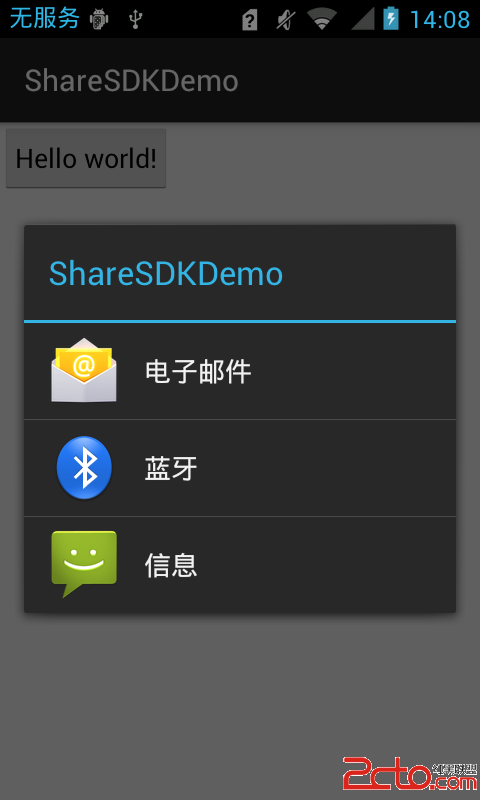 Android項目總結之社會化分享
Android項目總結之社會化分享隨著現在社交網絡的日益繁多,眾多的社交客戶端已占據了人們的大量時間,所以在我們的應用中具有一鍵分享的功能對提高我們產品的知名度有很大的幫
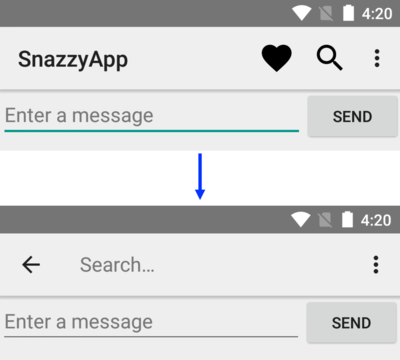 動作視圖和動作提供器(Action Views and Action Providers)
首先承認:這篇文章翻譯的有點不准確,因為這個action,我拿不准怎麼翻譯,不知道是翻譯成動詞還是名詞。所以我把有道詞典上的翻譯結果列在下面。action n. 行動;活