編輯:關於Android編程
本文實例講述了Android實現通過手勢控制圖片大小縮放的方法。分享給大家供大家參考,具體如下:
該程序實現的是通過手勢來縮放圖片,從左向右揮動圖片時圖片被放大,從右向左揮動圖片時圖片被縮小,揮動速度越快,縮放比越大。程序思路如下:在界面中定義一個ImageView來顯示圖片,使用一個GestureDetector來檢測用戶的手勢,並根據用戶的手勢在橫向的速度來縮放圖片。
在介紹這個實例前,先介紹一下Android中處理手勢觸摸事件的大概框架。
一、添加語句實現OnGestureListener手勢監聽器,代碼如下:
public classGestureZoom extends Activity implements OnGestureListener
二、定義一個手勢監聽器的全局實例,並在onCreate函數中對其進行初始化,代碼如下:
GestureDetector detector;
@Override
public void onCreate(Bundle savedInstanceState)
{
  ... ...
  detector = new GestureDetector(this);
}
三、重寫onTouchEvent函數,把本Activity的觸摸事件交給GestureDetector處理,代碼如下:
@Override
public boolean onTouchEvent(MotionEvent me)
{
  return detector.onTouchEvent(me);
}
四、重寫你需要監聽的手勢的函數,默認包括如下幾種手勢:
BooleanonDown(MotionEvent e):按下。
BooleanonFling(MotionEvent e1, MotionEvent e2, float velocityX, float velocityY):拖過、滑動。
abstract voidonLongPress(MotionEvent e):長按。
BooleanonScroll(MotionEvent e1, MotionEvent e2, float velocityX, float velocityY):滾動。
voidonShowPress(MotionEvent e):按下且未移動和松開。
BooleanonSingleTapUp(MotionEvent e):輕擊。
這幾種手勢是系統默認提供的,根據描述大家可能還是不太明確這幾種手勢,最好的方法就是大家可以實現一個簡單的程序實驗一下就明白了。當然,除了這些默認的手勢,也可以自行添加手勢,篇幅有限就不再贅述了。
接下來給出通過滑動來實現圖片縮放的實例,對比上面給出的基本框架,其實就是重寫了onFling函數,在其中定義了如何處理滑動事件。
首先定義除了手勢監聽器外一些全局對象,並在onCreate函數中做相應的初始化:
GestureDetectordetector;
ImageViewimageView;
Bitmap bitmap;//保存圖片資源
int width,height;// 記錄圖片的寬、高
floatcurrentScale = 1;// 記錄當前的縮放比
Matrix matrix;//控制圖片縮放的Matrix對象
@Override
public voidonCreate(Bundle savedInstanceState)
{
    super.onCreate(savedInstanceState);
    setContentView(R.layout.main);
    detector = new GestureDetector(this);
    imageView = (ImageView)findViewById(R.id.show);
    matrix = new Matrix();
    bitmap =BitmapFactory.decodeResource(this.getResources(), <你的圖片資源>);//獲取被縮放的源圖片,因為不能對原有圖片進行修改,所以必須轉化為位圖
    width = bitmap.getWidth();
    height = bitmap.getHeight();
    imageView.setImageBitmap(BitmapFactory.decodeResource(this.getResources(), <你的圖片資源>));//設置ImageView初始化時顯示的圖片
}
一、觸摸時間綁定手勢監聽器,和前面是一樣的,就不再貼代碼了。
二、重寫onFling函數:
@Override
publicboolean onFling(MotionEvent event1, MotionEvent event2
, float velocityX, float velocityY)
{
   velocityX = velocityX > 4000 ? 4000 :velocityX;
   velocityX = velocityX < -4000 ? -4000: velocityX;
   //根據手勢的速度來計算縮放比,如果velocityX>0,放大圖像,否則縮小圖像。
   currentScale += currentScale * velocityX/ 4000.0f;
   //保證currentScale不會等於0
   currentScale = currentScale > 0.01 ?currentScale : 0.01f;
   // 重置Matrix
   matrix.reset();
   // 縮放Matrix
   matrix.setScale(currentScale,currentScale , 160 , 200);
   BitmapDrawable tmp = (BitmapDrawable)imageView.getDrawable();
   //如果圖片還未回收,先強制回收該圖片
   if (!tmp.getBitmap().isRecycled())
   {
       tmp.getBitmap().recycle();
   }
   // 根據原始位圖和Matrix創建新圖片
   Bitmap bitmap2 =Bitmap.createBitmap(bitmap
       ,0, 0, width, height, matrix, true);
   // 顯示新的位圖
   imageView.setImageBitmap(bitmap2);
   return true;
}
布局文件僅僅添加了一個ImageView控件,大家自己畫一下。在這裡沒有截圖,因為截圖也看不出效果,大家就自己試試吧。好了,至此就實現了通過手勢滑動來實現圖片縮放,以上內容學習自瘋狂Android一書。
更多關於Android相關內容感興趣的讀者可查看本站專題:《Android圖形與圖像處理技巧總結》、《Android視圖View技巧總結》、《Android開發入門與進階教程》、《Android調試技巧與常見問題解決方法匯總》、《Android多媒體操作技巧匯總(音頻,視頻,錄音等)》、《Android基本組件用法總結》、《Android布局layout技巧總結》及《Android控件用法總結》
希望本文所述對大家Android程序設計有所幫助。
 Bash玩轉腳本4之搞一套完整的Android反編譯與分包工具
一、前言 正在搞IOS的微信支付和支付寶支付,焦頭爛額之時,天上掉下來一個Android分包工具的需求,覺得還蠻有意思,其實之前一直想搞一個類似的東西,正好趁著這次機會實
 Android事件分發機制-------View
當觸摸一個View時,首先會調用View的dispatchTouchEvent(MotionEvent event)方法,關乎著事件的分發,所以首先看看這個方法publi
 Android 實現藍牙客戶端與服務器端通信
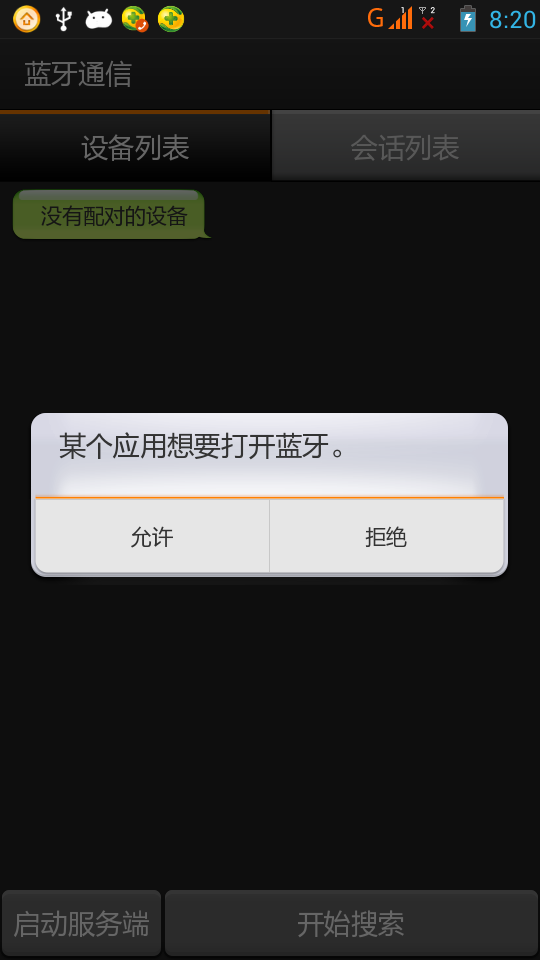
一、首先說明:藍牙通信必須用手機測試,因為avd裡沒有相關的硬件,會報錯!好了,看看最後的效果圖:二、概述:1.判斷是否支持BluetoothBluetoothAdapt
 Android安卓破解之逆向分析SO常用的IDA分析技巧
1、結構體的創建及導入,結構體指針等。以JniNativeInterface, DexHeader為例。解析Dex的函數如下: F5後如下:&nbs