編輯:Android編程入門
前言:
每當我們app測試的時候,測試人員總是對我們說這裡崩潰了,那裡掛掉了!我們只能默默接受,然後嘗試著重現bug,更可悲的是有時候bug很難復現,為了解決這種現狀所以我們要嘗試這建立一個自己的bug日志系統。
實現原理:
Java為我們提供了一個機制,用來捕獲並處理在一個線程對象中拋出的未檢測異常,以避免程序終止。我們可以通過UncaughtExceptionHandler來實現這種機制。
具體實現:
public class CrashManager implements UncaughtExceptionHandler {
    public static final String TAG = "CrashHandler";
    // CrashHandler實例
    private static CrashManager instance;
    // 程序的Context對象
    private Application application;
    // 系統默認的UncaughtException處理類
    private UncaughtExceptionHandler mDefaultHandler;

    /**
     * 保證只有一個CrashHandler實例
     */
    private CrashManager(Context context) {
        application = (Application) context.getApplicationContext();
        mDefaultHandler = Thread.getDefaultUncaughtExceptionHandler();
        Thread.setDefaultUncaughtExceptionHandler(this);
    }

    /**
     * 獲取CrashHandler實例 ,單例模式
     */
    public static CrashManager getInstance(Context context) {
        CrashManager inst = instance;
        if (inst == null) {
            synchronized (CrashManager.class) {
                inst = instance;
                if (inst == null) {
                    inst = new CrashManager(context.getApplicationContext());
                    instance = inst;
                }
            }
        }
        return inst;
    }

    /**
     * 當UncaughtException發生時會轉入該函數來處理
     */
    @Override
    public void uncaughtException(Thread thread, Throwable ex) {
        TaskManager.getInstance(application).saveErrorLog(ex);
        mDefaultHandler.uncaughtException(thread, ex);
    }

}
日志寫入sdcard代碼:
public class SaveErrorTask<T> extends Task<Object, Object, Void> {
    private SimpleDateFormat formatter = new SimpleDateFormat("yyyy-MM-dd-HH-mm-ss", Locale.CHINA);
    private Context context;
    private Throwable ex;

    public SaveErrorTask(Context context, Throwable ex) {
        setPriority(TaskPriority.UI_LOW);
        this.context = context;
        this.ex = ex;
    }

    @Override
    protected Void doInBackground(Object... arg0) {
        Writer writer = new StringWriter();
        PrintWriter printWriter = new PrintWriter(writer);
        ex.printStackTrace(printWriter);
        Throwable cause = ex.getCause();
        while (cause != null) {
            cause.printStackTrace(printWriter);
            cause = cause.getCause();
        }
        printWriter.close();
        String result = writer.toString();
        String time = formatter.format(new Date());
        String fileName = time + ".txt";
        StringBuilder stringBuffer = new StringBuilder();
        DeviceInfo deviceInfo = Utils.getDeviceInfo(context);
        stringBuffer.append("\nsdkVersion:" + deviceInfo.sdkVersion);
        stringBuffer.append("\nmanufacturer:" + deviceInfo.manufacturer);
        stringBuffer.append("\nmodel:" + deviceInfo.model);
        stringBuffer.append("\nversion" + ConfigManager.getVersionName(context));
        stringBuffer.append("\nerrorStr:" + result);
        stringBuffer.append("\ntime:" + time);
        String filePath = CacheFileUtils.getLogPath(fileName);
        CacheFileUtils.saveErrorStr(filePath, stringBuffer.toString());
        return null;
    }
}
展望:我們也可以把日志再下次啟動的時候發送至我們自己的日志服務器,監控用戶錯誤信息
 Anfroid 在界面中顯示圖片 ImageView
ImageView1.什麼是ImageView是顯示圖片的一個控件2.ImageView屬性android:src ImageView的內容顏色 an
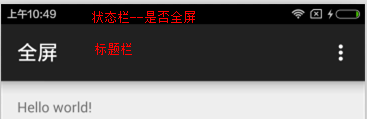 全屏 標題欄 狀態欄
requestWindowFeature(Window.FEATURE_NO_TITLE);getWindow().addFlags(WindowManager.Layo
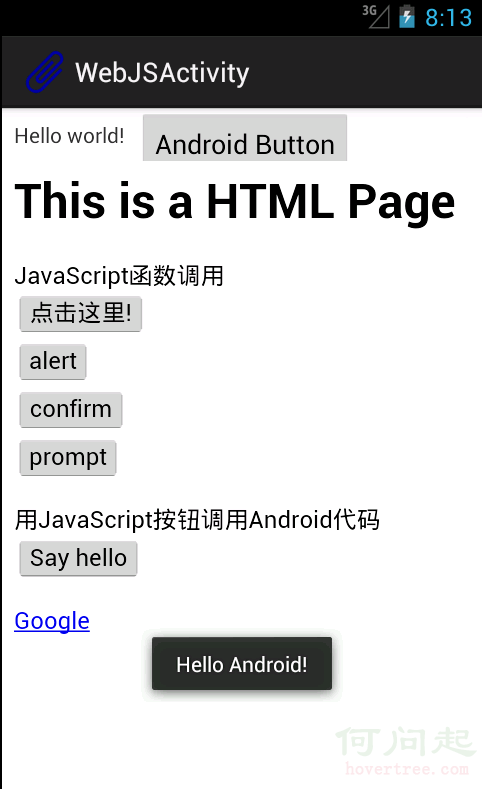 Android WebView中的JavaScript代碼使用
在WebView中使用JavaScript 如果你想要載入的頁面中用了JavaScript,你必須為你的WebView使能JavaScript。 一旦使能之後,你也可
 Android中的Semaphore
信號量,了解過操作系統的人都知道,信號量是用來做什麼的···在Android中,已經提供了Semaphore來幫助我們使用~那麼