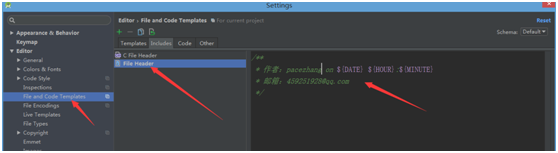
編輯:關於android開發
很多開發者一聽說Android終端的屏幕尺寸五花八門,屏幕分辨率千奇百怪,就覺得Android開發在屏幕適配方面是必定是一件頭疼的事情。因為在Android問世之前,廣大開發者知道的UI解決方案大致分為兩類:
上面兩種方案,無論哪種方案面對碎片化嚴重的Android終端,那都是一場噩夢。好在Android提供了另一套解決方案來應對嚴重的終端碎片化,這就是布局和9-patch。
這裡想來說說布局,在Android SDK剛剛問世的時候,Android提供了AbsoluteLayout,FrameLayout,LinearLayout,RelativeLayout和Tablelayout五大布局來應對終端碎片化問題。
但很快Android發現AbsoluteLayout是一個愚蠢的方案,在Android 1.5系統中就不再支持此布局,剩下的四個布局中,Tablelayout雖然依然被支持,但是由於Fragment以及新的TabLayout的出現,博主在此斷言,Tablelayout也命不久矣,被移除支持只是遲早的事兒。
所以,Android的五大基本布局現在只剩下三個(這裡說的是基本布局,在Android support包裡引入的新的布局不計入內),下面分別介紹一下這三個基本布局。
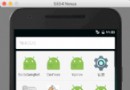
FrameLayout應該是Android系統中最簡單的布局了,在FrameLayout中的元素,默認都是以FrameLayout控件的坐上頂點作為基准點,一層一層的重疊起來,後加進來的元素覆蓋前面的元素。
下面先來一個演示,代碼如下:
<FrameLayout
    xmlns:android="http://schemas.android.com/apk/res/android"
    android:layout_width="match_parent"
    android:layout_height="match_parent">

    <View
        android:layout_width="200dp"
        android:layout_height="200dp"
        android:background="#ff0000"/>

    <View
        android:layout_width="200dp"
        android:layout_height="200dp"
        android:background="#000000"/>

    <View
        android:layout_width="200dp"
        android:layout_height="200dp"
        android:layout_margin="100dp"
        android:background="#00ff00"/>

</FrameLayout>
運行結果如下:
可以看到上面代碼裡添加了android:layout_gravity屬性,並且指定了兩個值,一個為bottom,一個為right,表示這個View將被放到FrameLayout的右下角。運行結果如下圖所示: 在代碼中,設置了LinearLayout的方向為縱向,並且對其方式居中對齊,於是運行結果如下圖所示: 先分析代碼,可以看到每一個View都被設置了一個id值,分別為red,black,green,gray和orange。然後通過代碼,可以看出black位於red的右邊和下面,green位於black的下面並且右對齊其父元素(即RelativeLayout),gray居中對齊父元素(即RelativeLayout), orange位於green的右邊同時位於gray的下面,運行結果如圖所示: ============================== 更多內容,歡迎查看本人博客:林彥君的博客 ==============================<View
android:layout_width="200dp"
android:layout_height="200dp"
android:layout_gravity="bottom|right"
android:background="#000000"/>
<LinearLayout
xmlns:android="http://schemas.android.com/apk/res/android"
android:layout_width="match_parent"
android:layout_height="match_parent"
android:orientation="vertical"
android:gravity="center">
<View
android:layout_width="100dp"
android:layout_height="100dp"
android:background="#ff0000"/>
<View
android:layout_width="100dp"
android:layout_height="100dp"
android:background="#000000"/>
<View
android:layout_width="100dp"
android:layout_height="100dp"
android:background="#00ff00"/>
</LinearLayout>
<RelativeLayout
xmlns:android="http://schemas.android.com/apk/res/android"
android:layout_width="match_parent"
android:layout_height="match_parent">
<View android:id="@+id/red"
android:layout_width="100dp"
android:layout_height="100dp"
android:background="#ff0000"/>
<View android:id="@+id/black"
android:layout_width="100dp"
android:layout_height="100dp"
android:layout_toRightOf="@id/red"
android:layout_below="@id/red"
android:background="#000000"/>
<View android:id="@+id/green"
android:layout_width="100dp"
android:layout_height="100dp"
android:layout_below="@id/black"
android:layout_alignParentRight="true"
android:background="#00ff00"/>
<View android:id="@+id/gray"
android:layout_width="100dp"
android:layout_height="100dp"
android:layout_centerInParent="true"
android:background="#888888"/>
<View android:id="@+id/orange"
android:layout_width="100dp"
android:layout_height="100dp"
android:layout_toRightOf="@id/green"
android:layout_below="@id/gray"
android:background="#ff8800"/>
</RelativeLayout>
點擊這裡
 Android自定義下拉刷新動畫--仿百度外賣下拉刷新
Android自定義下拉刷新動畫--仿百度外賣下拉刷新 好久沒寫博客了,小編之前一段時間一直在找工作,從天津來到了我們的大帝都,感覺還不錯。好了廢話不多說了,開始我們
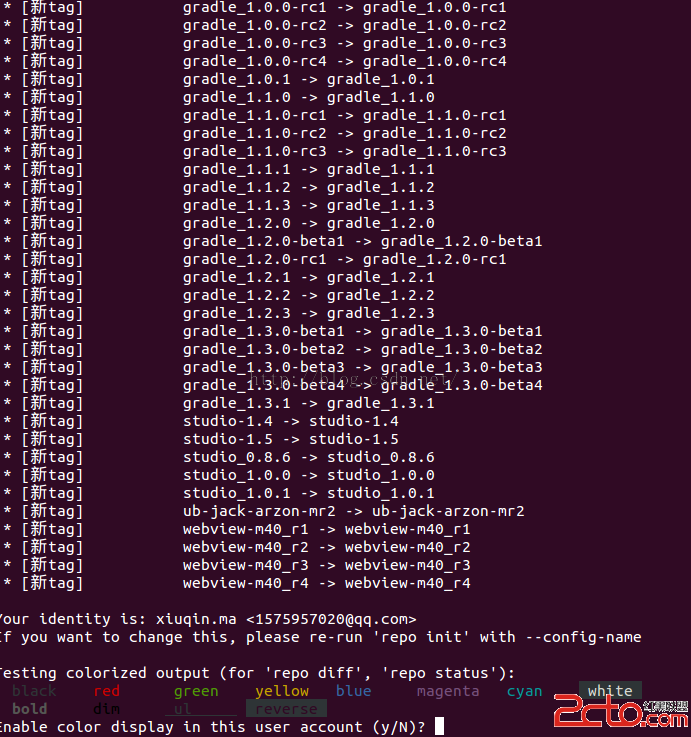 編譯android源碼4---ubuntu下載Android源代碼
編譯android源碼4---ubuntu下載Android源代碼 1.下載repo信息 mkdir ~/bin PATH=~/bin:$PATH //放到環境變量中
 修改Android系統關機動畫,android關機動畫
修改Android系統關機動畫,android關機動畫文件路徑:frameworks\base\services\core\java\com\android\server
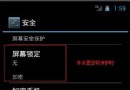 Android應用開發教程之二十四:屏幕鎖定詳解
最近在一個視頻項目中遇到了很多屏幕鎖定的問題,自己也在學習,網上找了下也沒太詳細的例子,看的資料書上也沒有有關屏幕鎖定程序的介紹,從之前寫的文章中抽