編輯:關於android開發
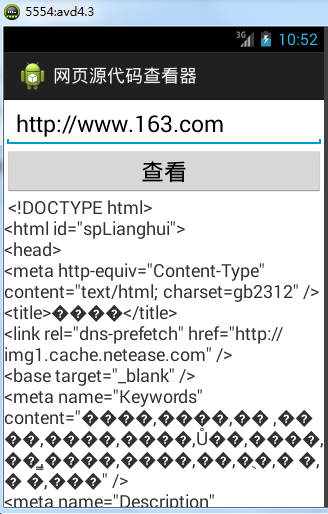
使用<EditText/><TextView><ImageButton/>組件xml中開發界面;使用findViewById、OnClickListener後台綁定事件:
使用<RadioGroup>,<RadioButton>組件實現單選框
具體代碼如下:
xml代碼:
<?xml version="1.0" encoding="utf-8"?><LinearLayout xmlns:android="http://schemas.android.com/apk/res/android"
android:layout_width="match_parent"
android:layout_height="match_parent"
android:orientation="vertical" >
<!-- 賬號輸入 -->
<TextView
android:id="@+id/text01"
android:layout_width="fill_parent"
android:layout_height="wrap_content"
android:text="@string/user"
/>
<EditText
android:id="@+id/edt01"
android:layout_width="fill_parent"
android:layout_height="wrap_content"
android:hint="@string/input"
android:textSize="15sp"
android:layout_marginTop="20dp"
/>
<!-- 密碼輸入 -->
<TextView
android:id="@+id/text02"
android:layout_width="fill_parent"
android:layout_height="wrap_content"
android:text="@string/password"
/>
<EditText
android:id="@+id/edt02"
android:layout_width="fill_parent"
android:layout_height="wrap_content"
android:hint="@string/passw"
android:textSize="15sp"
android:layout_marginTop="20dp"
android:inputType="numberPassword"
/>
<!-- 單選框應用 -->
<RadioGroup
android:id="@+id/group"
android:orientation="horizontal"
android:layout_width="wrap_content"
android:layout_height="wrap_content"
>
<RadioButton
android:id="@+id/rb1"
android:layout_width="wrap_content"
android:layout_height="wrap_content"
android:text="@string/man"
/>
<RadioButton
android:id="@+id/rb2"
android:layout_width="wrap_content"
android:layout_height="wrap_content"
android:text="@string/woman"
android:checked="true"
/>
</RadioGroup>
<!-- 登陸按鈕 -->
<Button
android:id="@+id/submit_btn"
android:layout_width="wrap_content"
android:layout_height="wrap_content"
android:text="@string/submit"
android:layout_gravity="center"
android:background="@drawable/anydo"
/>
</LinearLayout>
java代碼:
package com.example.login;
import android.os.Bundle;
import android.app.Activity;
import android.view.View;
import android.view.View.OnClickListener;
import android.widget.Button;
import android.widget.EditText;
import android.widget.Toast;
public class MainActivity extends Activity {
private EditText ed01;
private EditText ed02;
private Button submit;
private String results1;
private String results2;
@Override
protected void onCreate(Bundle savedInstanceState) {
super.onCreate(savedInstanceState);
setContentView(R.layout.main);
//獲取界布局文件中的輸入框、按鈕、文本框控件
ed01 = (EditText) this.findViewById(R.id.edt01);
ed02 = (EditText) this.findViewById(R.id.edt02);
submit = (Button) this.findViewById(R.id.submit_btn);
//為按鈕添加點擊事件
submit.setOnClickListener(new OnClickListener(){
public void onClick(View v){
//獲取輸入框中輸入的內容
results1 =ed01.getText().toString();
results2 = ed02.getText().toString();
//輸入的賬號密碼判等;
if(results1.equals("android")&&results2.equals("2016")){
Toast.makeText(MainActivity.this, R.string.login,Toast.LENGTH_LONG).show();
}else{
Toast.makeText(MainActivity.this, R.string.failed,Toast.LENGTH_LONG).show();
}
}
});
}
}
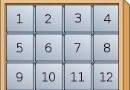 Android群英傳-拼圖游戲puzzle-6點吐槽
Android群英傳-拼圖游戲puzzle-6點吐槽 一、緣由 經常寫文章,混了一些C幣。最近在深入學習Android應用開發,就從商城裡買了一本《Android群英
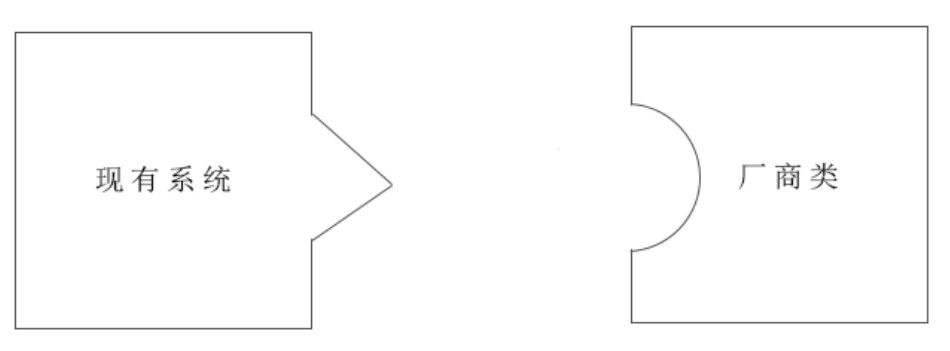 設計模式——適配器模式,設計模式適配器
設計模式——適配器模式,設計模式適配器 適配器模式的定義:將一個類的接口,轉換成客戶期望的另一個接口。適配器讓原本接口不兼容的類可以合作無間。 適配器模式其實也可以
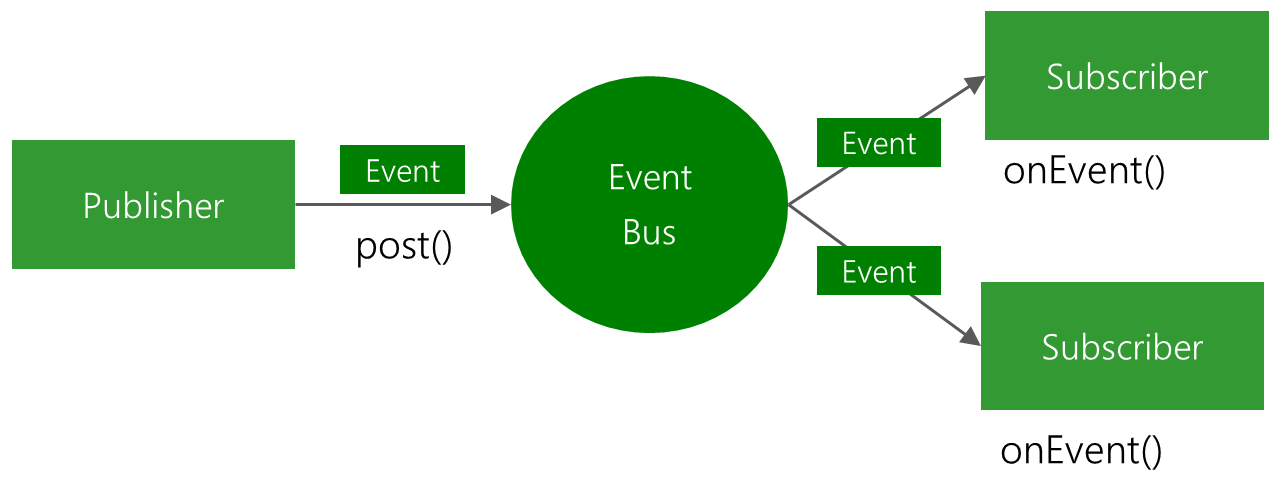 Android開發學習之路-EventBus使用,android-eventbus
Android開發學習之路-EventBus使用,android-eventbusEventBus是一個通過發布、訂閱事件實現組件間消息傳遞的工具。 它存在的目的,就是為
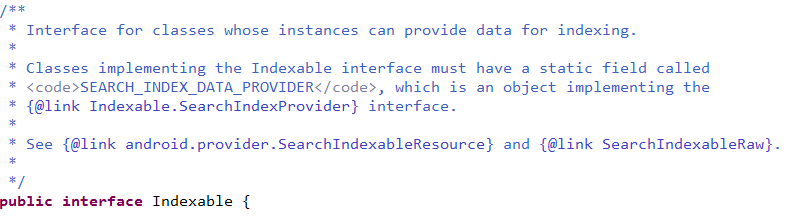 Android Quick Search in Settings,androidquick
Android Quick Search in Settings,androidquick歡迎大家加入群裡交流:429664282 基於:android-6.0.1_r1