編輯:關於android開發
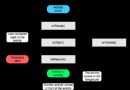
最近做項目的時候遇到一個卡劵的效果,由於自己覺得用圖片來做的話可以會出現適配效果不好,再加上自己自定義view方面的知識比較薄弱,所以想試試用自定義View來實現。先看設計圖效果
上面的圖片其實和普通的Linearlayout,RelativeLayout一樣,只是上下兩邊多了類似於半圓鋸齒的形狀。那麼只需要處理不同地方。可以在上下兩條線上畫一個個白色的小圓來實現這種效果。
假如我們上下線的半圓以及半圓與半圓之間的間距是固定的,那麼不同尺寸的屏幕肯定會畫出不同數量的半圓,那麼我們只需要根據控件的寬度來獲取能畫的半圓數。
大家觀察圖片,很容易發現,圓的數量總是圓間距數量-1,也就是,假設圓的數量是circleNum,那麼圓間距就是circleNum+1。
所以我們可以根據這個計算出circleNum. circleNum = (int) ((w-gap)/(2*radius+gap)); 這裡gap就是圓間距,radius是圓半徑,w是view的寬。
看代碼
public class CouponDisplayView extends LinearLayout {

    private Paint mPaint;
    /**
     * 圓間距
     */
    private float gap = 8;
    /**
     * 半徑
     */
    private float radius = 10;
    /**
     * 圓數量
     */
    private int circleNum;

    private float remain;


    public CouponDisplayView(Context context) {
        super(context);
    }

    public CouponDisplayView(Context context, AttributeSet attrs) {
        super(context, attrs);
        mPaint = new Paint(Paint.ANTI_ALIAS_FLAG);
        mPaint.setDither(true);
        mPaint.setColor(Color.WHITE);
        mPaint.setStyle(Paint.Style.FILL);
    }

    @Override
    protected void onSizeChanged(int w, int h, int oldw, int oldh) {
        super.onSizeChanged(w, h, oldw, oldh);
        if (remain==0){
            remain = (int)(w-gap)%(2*radius+gap);
        }
        circleNum = (int) ((w-gap)/(2*radius+gap));
    }


    public CouponDisplayView(Context context, AttributeSet attrs, int defStyleAttr) {
        super(context, attrs, defStyleAttr);
    }
上面定義了圓的半徑和圓間距,同時初始化了這些值並且獲取了需要畫的圓數量。 接下來只需要一個一個將圓畫出來就可以了。
 @Override
    protected void onDraw(Canvas canvas) {
        super.onDraw(canvas);
        for (int i=0;i<circleNum;i++){
            float x = gap+radius+remain/2+((gap+radius*2)*i);
            canvas.drawCircle(x,0,radius,mPaint);
            canvas.drawCircle(x,getHeight(),radius,mPaint);
        }
    }
簡單的根據circleNum的數量進行了圓的繪制。
這裡remain/2是因為,可以一些情況,計算出來的可以畫的數量不是剛好整除的。這樣就會出現右邊最後一個間距會比其它的間距都要寬。
所以我們在繪制第一個的時候加上了余下的間距的一半,即使是不整除的情況。至少也能保證第一個和最後一個間距寬度一致。
這樣就實現了。 看看效果
<?xml version="1.0" encoding="utf-8"?>
<FrameLayout
    xmlns:android="http://schemas.android.com/apk/res/android"
    android:layout_width="match_parent"
    android:layout_height="wrap_content"
    android:paddingLeft="16dp"
    android:paddingRight="16dp"
    android:paddingTop="20dp">
    <com.qiangyu.test.view.CouponDisplayView
        android:orientation="horizontal" android:layout_width="match_parent"
        android:layout_height="wrap_content"
        android:background="@color/indicator_color"
        android:padding="20dp">
        <ImageView
            android:layout_width="120dp"
            android:layout_height="match_parent"
            android:src="@drawable/goods_test"
            android:scaleType="centerCrop"/>
        <LinearLayout
            android:layout_width="match_parent"
            android:layout_height="wrap_content"
            android:orientation="vertical"
            android:paddingLeft="16dp">
            <TextView
                android:layout_width="wrap_content"
                android:layout_height="wrap_content"
                android:textSize="18dp"
                android:text="美食劵"
                />
            <TextView
                android:layout_width="wrap_content"
                android:layout_height="wrap_content"
                android:textSize="12dp"
                android:padding="5dp"
                android:text="編號:11223124123213131"
                />
            <TextView
                android:layout_width="wrap_content"
                android:layout_height="wrap_content"
                android:textSize="12dp"
                android:padding="5dp"
                android:text="編號:11223124123213131"
                />
            <TextView
                android:layout_width="wrap_content"
                android:layout_height="wrap_content"
                android:textSize="12dp"
                android:paddingLeft="5dp"
                android:paddingTop="5dp"
                android:text="截止日期:2001-09-07"
                />
        </LinearLayout>
    </com.qiangyu.test.view.CouponDisplayView>
</FrameLayout>
效果圖
覺得不錯,點贊評論一下呗。
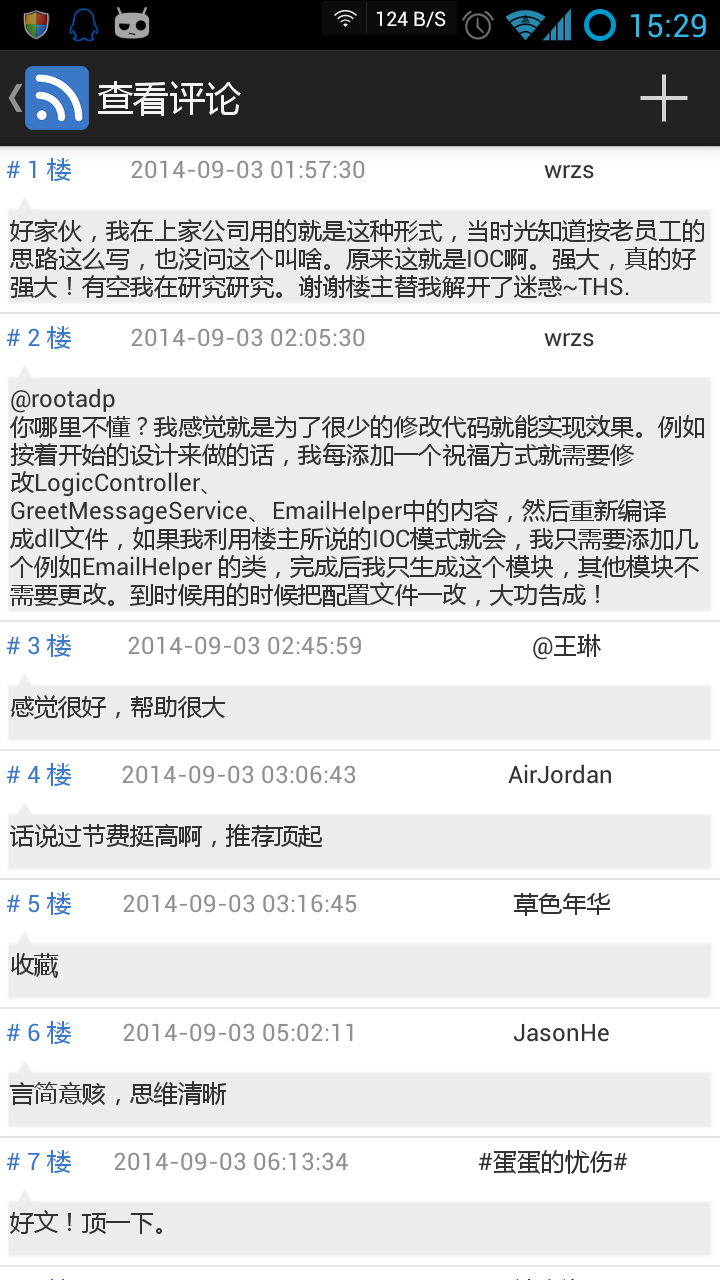 Android 博客園客戶端 (五) 查看評論、搜索博主,android查看評論
Android 博客園客戶端 (五) 查看評論、搜索博主,android查看評論項目地址:https://github.com/ZhangTingkuo/AndroidC
 Android 面試題--Activity,android--activity
Android 面試題--Activity,android--activity1、什麼是 Activity?Activity是Android組件中最基本也是最為常見用的四
 Kotlin的擴展函數:擴展Android框架(KAD 08),kotlinandroid
Kotlin的擴展函數:擴展Android框架(KAD 08),kotlinandroid作者:Antonio Leiva 時間:Jan 11, 2017 原文鏈接:ht
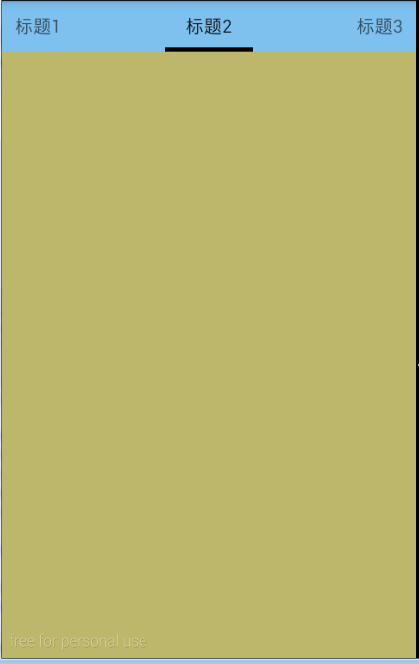 Android Tab,androidtab
Android Tab,androidtab原文地址:http://blog.csdn.net/crazy1235/article/details/42678877 效果