編輯:關於android開發
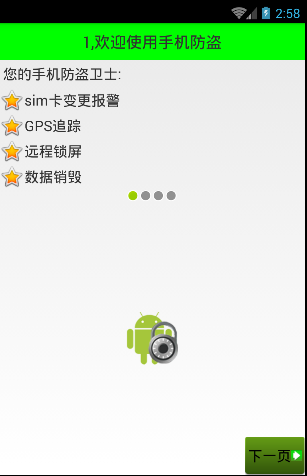
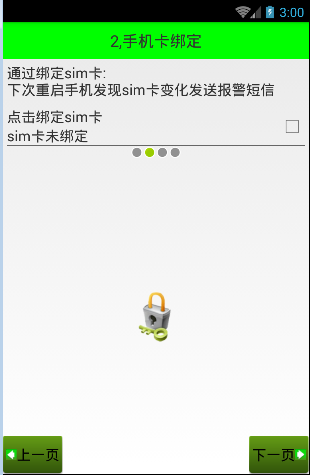
剛剛花了一點時間,將導航界面3、4的布局和相應的跳轉邏輯寫了一下:
Setup3Activity代碼如下:
/**
 * Created by wuyudong on 2016/10/10.
 */
public class Setup3Activity extends Activity{
    @Override
    protected void onCreate(Bundle savedInstanceState) {
        super.onCreate(savedInstanceState);
        setContentView(R.layout.activity_setup3);
    }
    public void nextPage(View view) {
        Intent intent = new Intent(getApplicationContext(), Setup4Activity.class);
        startActivity(intent);
        finish();
    }

    public void prePage(View view) {
        Intent intent = new Intent(getApplicationContext(), Setup2Activity.class);
        startActivity(intent);
        finish();
    }
}
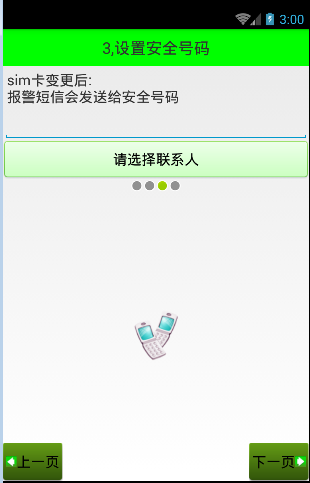
對應的布局文件activity_setup3.xml:
<?xml version="1.0" encoding="utf-8"?>
<LinearLayout xmlns:android="http://schemas.android.com/apk/res/android"
    android:layout_width="match_parent"
    android:layout_height="match_parent"
    android:orientation="vertical">

    <TextView
        style="@style/TitleStyle"
        android:text="3.設置安全號碼" />

    <TextView
        android:layout_width="wrap_content"
        android:layout_height="wrap_content"
        android:textColor="#000"
        android:textSize="18sp"
        android:layout_margin="5dp"
        android:text="sim卡變更後\n就會發送報警短信安全號碼" />
    <EditText
        android:layout_width="match_parent"
        android:layout_height="wrap_content"
        android:id="@+id/et_phone_number"
        android:hint="請輸入電話號碼"
        />
    <Button
        android:layout_width="match_parent"
        android:layout_height="wrap_content"
        android:id="@+id/bt_select_number"
        android:text="選擇聯系人"
        android:background="@drawable/selector_number_btn"
        />

    <!-- 讓內部點的空間水平居中 -->
    <LinearLayout
        android:layout_width="match_parent"
        android:layout_height="wrap_content"
        android:gravity="center_horizontal">

        <ImageView
            android:layout_width="wrap_content"
            android:layout_height="wrap_content"
            android:background="@android:drawable/presence_invisible" />
        <ImageView
            android:layout_width="wrap_content"
            android:layout_height="wrap_content"
            android:background="@android:drawable/presence_invisible" />
        <ImageView
            android:layout_width="wrap_content"
            android:layout_height="wrap_content"
            android:background="@android:drawable/presence_online" />

        <ImageView
            android:layout_width="wrap_content"
            android:layout_height="wrap_content"
            android:background="@android:drawable/presence_invisible" />
    </LinearLayout>

    <RelativeLayout
        android:layout_width="match_parent"
        android:layout_height="match_parent">

        <!-- 圖片選擇器,在選中和未選中的過程中,切換展示圖片 -->
        <Button style="@style/preBtn" />
        <Button style="@style/nextBtn" />

        <ImageView
            android:layout_width="wrap_content"
            android:layout_height="wrap_content"
            android:background="@drawable/phone"
            android:layout_centerVertical="true"
            android:layout_centerHorizontal="true" />

    </RelativeLayout>

</LinearLayout>
Setup4Activity代碼如下:
/**
 * Created by wuyudong on 2016/10/10.
 */
public class Setup4Activity extends Activity{
    @Override
    protected void onCreate(Bundle savedInstanceState) {
        super.onCreate(savedInstanceState);
        setContentView(R.layout.activity_setup4);
    }

   public void nextPage(View view) {
        Intent intent = new Intent(getApplicationContext(), SetupOverActivity.class);
        startActivity(intent);
        finish();
        SpUtil.putBoolean(this, ConstantValue.SETUP_OVER, true);
    }

    public void prePage(View view) {
        Intent intent = new Intent(getApplicationContext(), Setup3Activity.class);
        startActivity(intent);
        finish();
    }
}
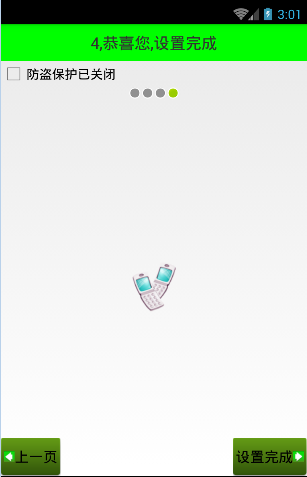
對應的布局文件activity_setup4.xml:
<?xml version="1.0" encoding="utf-8"?>
<LinearLayout xmlns:android="http://schemas.android.com/apk/res/android"
    android:layout_width="match_parent"
    android:layout_height="match_parent"
    android:orientation="vertical">

    <TextView
        style="@style/TitleStyle"
        android:text="4.恭喜您,設置完成" />

    <CheckBox
        android:layout_width="wrap_content"
        android:layout_height="wrap_content"
        android:text="防盜保護已關閉"
        />

    <!-- 讓內部點的空間水平居中 -->
    <LinearLayout
        android:layout_width="match_parent"
        android:layout_height="wrap_content"
        android:gravity="center_horizontal">

        <ImageView
            android:layout_width="wrap_content"
            android:layout_height="wrap_content"
            android:background="@android:drawable/presence_invisible" />

        <ImageView
            android:layout_width="wrap_content"
            android:layout_height="wrap_content"
            android:background="@android:drawable/presence_invisible" />

        <ImageView
            android:layout_width="wrap_content"
            android:layout_height="wrap_content"
            android:background="@android:drawable/presence_invisible" />
        <ImageView
            android:layout_width="wrap_content"
            android:layout_height="wrap_content"
            android:background="@android:drawable/presence_online" />
    </LinearLayout>

    <RelativeLayout
        android:layout_width="match_parent"
        android:layout_height="match_parent">

        <ImageView
            android:layout_width="wrap_content"
            android:layout_height="wrap_content"
            android:layout_centerInParent="true"
            android:background="@drawable/phone" />
        <!-- 圖片選擇器,在選中和未選中的過程中,切換展示圖片 -->
        <Button style="@style/preBtn" />
        <Button style="@style/nextBtn"
            android:text="設置完成"
            />

    </RelativeLayout>

</LinearLayout>
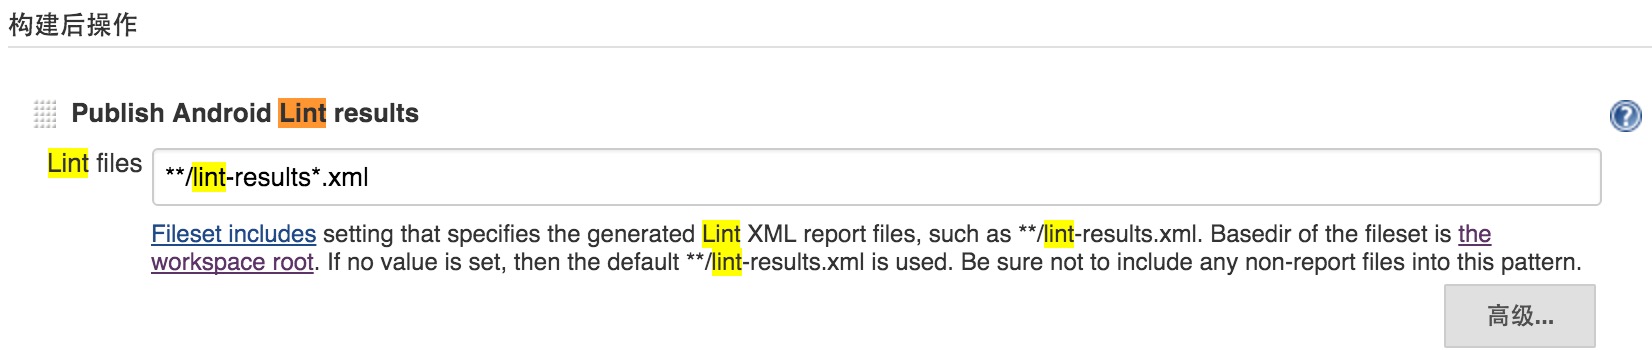 Jenkins 中運行Android lint和monkey
Jenkins 中運行Android lint和monkey 進入到相應job的配置頁面。 Lint: 1.在增加構建後操作中添加lint 2.在高級中添加lint
 Android的基本世界觀——系統簡介,組件邏輯及其他
Android的基本世界觀——系統簡介,組件邏輯及其他 前言 作為一個有半年余Android Developing折騰經驗的Android Developer(為什麼不說
 Android ViewPager滑動背景漸變,androidviewpager
Android ViewPager滑動背景漸變,androidviewpager原理
 你的應用是如何被替換的,App劫持病毒剖析,app劫持
你的應用是如何被替換的,App劫持病毒剖析,app劫持一.App劫持病毒介紹 App劫持是指執行流程被重定向,又可分為Activity劫持、安裝劫持、流量劫持、函數執行劫