編輯:關於android開發
先上官網
http://jakewharton.github.io/butterknife/ 和 https://github.com/JakeWharton/butterknife
在代碼開始之前 先要將庫加入依賴
去官網手工下載 jar 包, 放到 libs目錄 或者其他方式加入到 Build Path當中
菜單上 File -> Project Structure (或者直接點工具欄上的Project Structure) -> 左側 Modules下的 app -> 右側 Dependencies 標簽頁 -> +號 -> Library dependency 搜索 butterknife 選擇 com.jakewharton:butterknife:8.4.0 然後 OK, 版本號會變 , 反正選擇沒有 -compiler 這種帶尾巴的。
新的butterknife 增加了 annotationProcessor 這種方式無法添加, 所以最終還是要編輯 Gradle Script
打開 Module app的 build.gradle , 在dependencies 添加兩行
dependencies {
    ...
    compile 'com.jakewharton:butterknife:8.4.0'
    annotationProcessor 'com.jakewharton:butterknife-compiler:8.4.0'
   ...
}
省略號代表其他已有的 dependencies 。 添加之後 sync
開發環境配好後, 編碼開始
在 Activity中使用, 首先要啟動butterknife , 在 onCreate裡 setContentView 之後立即 ButterKnife.bind(this);
   protected void onCreate(Bundle savedInstanceState) {
        super.onCreate(savedInstanceState);
        setContentView(R.layout.activity_main);
        ButterKnife.bind(this);
    }
綁定View
是用@BindView 替代findViewById
public class MainActivity extends AppCompatActivity {

    @BindView(R.id.btnGet)
    Button mBtnGet;

    @BindView(R.id.tvResult)
    TextView mTvResult;

    @Override
    protected void onCreate(Bundle savedInstanceState) {
        super.onCreate(savedInstanceState);
        setContentView(R.layout.activity_main);
        ButterKnife.bind(this);

        mBtnGet.setText("do get");

    }
}
注意: 注解只能用在類成員上, 成員不能用 private 或 static 修飾, 不能用在方法中的局部變量上
綁定 資源
    @BindString(R.string.app_name)
    String appName;

    @BindColor(R.color.colorPrimary)
    int colorPrimary;

    @BindBool(R.bool.bool_name)
    boolean boolName;
還支持更多類型,就不一一列舉類
綁定 click 事件
不用聲明 view 也不用setOnClickListener , 參數是可有可無的, 如果不使用,不寫省事
    @OnClick(R.id.btnPost) void doPost() {
        mTvResult.setText("do post done");
    }
當然也可以像 onClickListener 一樣帶上參數
    @OnClick(R.id.btnPost) void doPost(View view) {
        Button btnPost = (Button)view;
        mTvResult.setText("do post done " + btnPost.getText().toString());
    }
還可以把強轉都省了,直接在參數上使用要轉的確切類型butterknife能幫你自動轉型
    @OnClick(R.id.btnPost) void doPost(Button btnPost) {
        mTvResult.setText("do post done " + btnPost.getText().toString());
    }
發
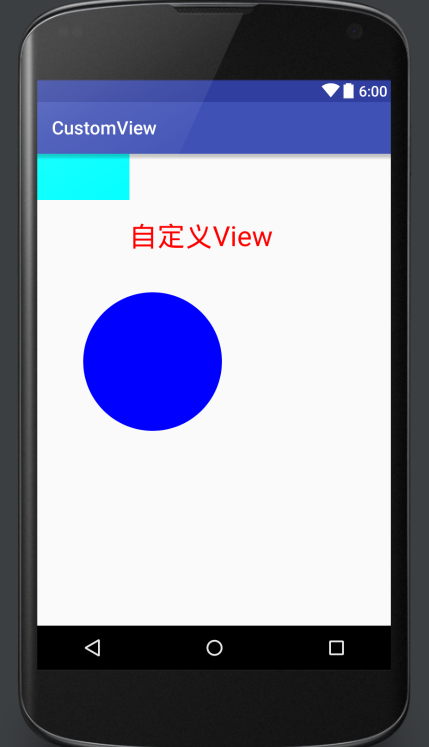 Android 自定義View之自繪控件,androidview繪控件
Android 自定義View之自繪控件,androidview繪控件首先要提前聲明一下,我對於自定義View的理解並不是很深,最近啃了幾天guolin博主寫的關於自定義
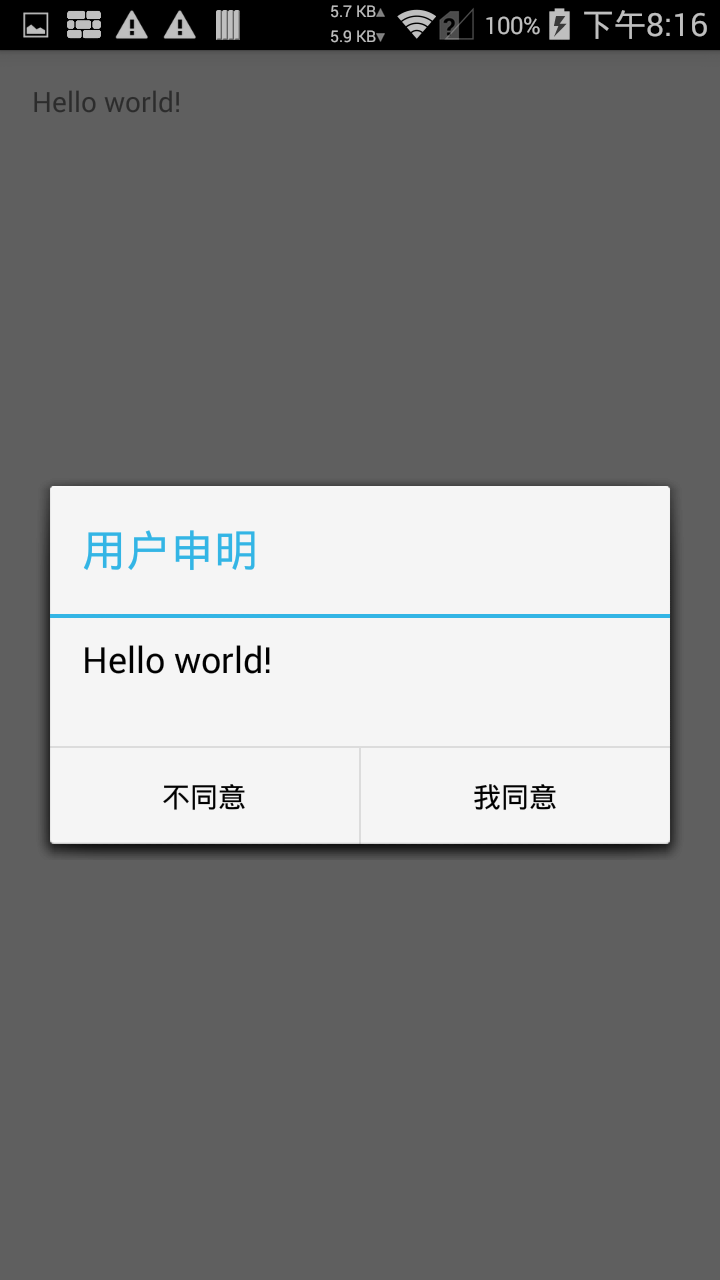 詳細解讀DialogFragment,解讀dialogfragment
詳細解讀DialogFragment,解讀dialogfragment原博客地址:http://www.cnblogs.com/tianzhijiexian/p/4161
 安卓應用的界面編程(4),安卓界面編程
安卓應用的界面編程(4),安卓界面編程第三組UI組件:ImageView及其子類 主要功能是顯示圖片,任何Drawable對象都可使用ImageView來顯
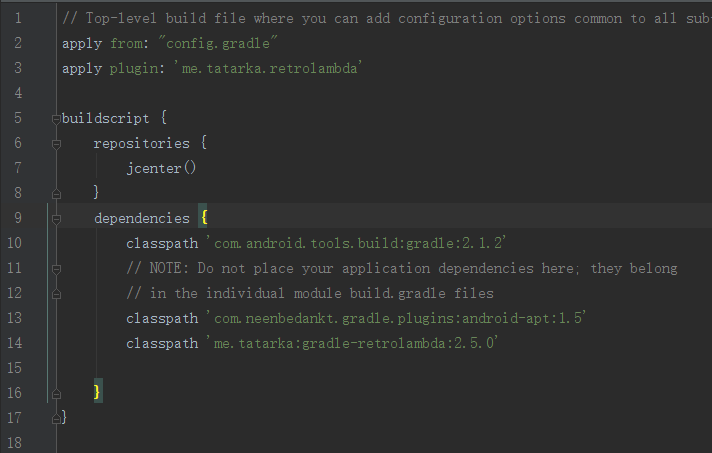 dagger2記錄篇,dagger2記錄
dagger2記錄篇,dagger2記錄作為一個碼農,什麼都不用多講,貼代碼 build project build module Application pub