安卓應用的界面編程(4),安卓界面編程
第三組UI組件:ImageView及其子類
主要功能是顯示圖片,任何Drawable對象都可使用ImageView來顯示。
1.圖片浏覽器
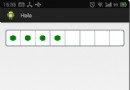
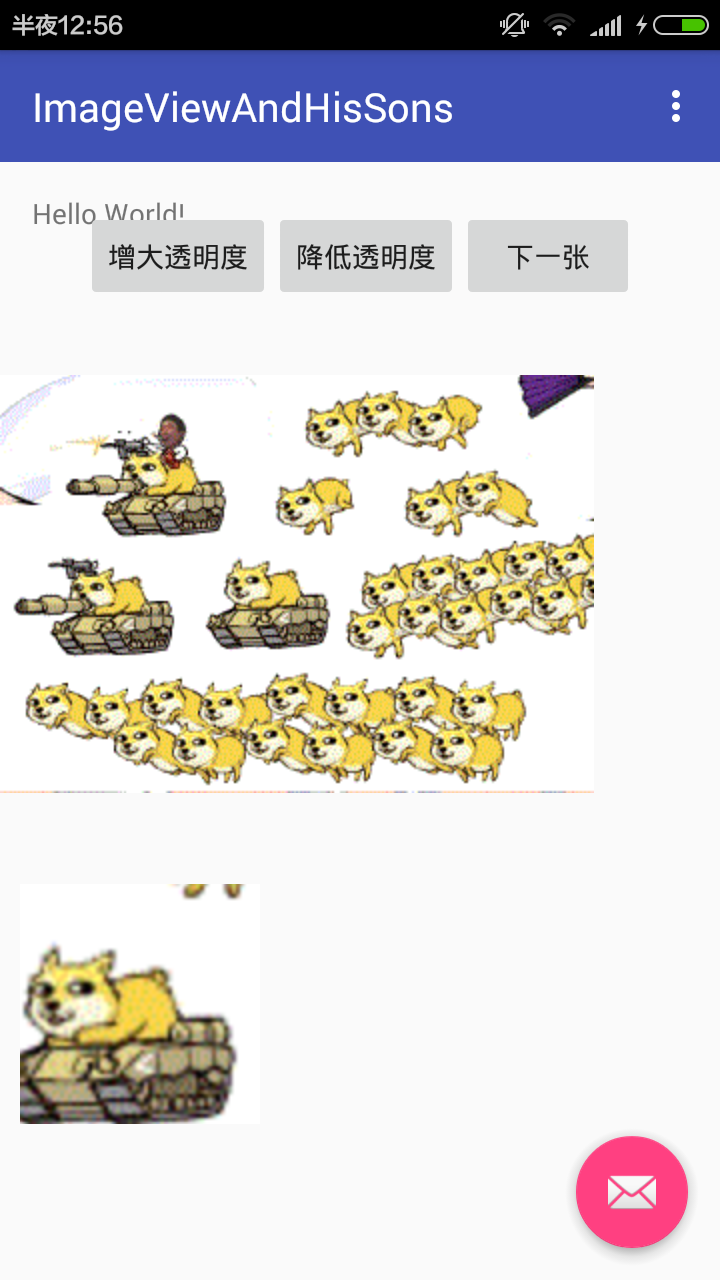
下面的圖片浏覽器可以改變所查看圖片的透明度,可通過調用ImageView的setImageAlpha()方法實現。還可以通過一個小區域查看圖片的原始大小。(兩個ImageView)
下面是布局文件

![]()
1 <LinearLayout xmlns:android="http://schemas.android.com/apk/res/android"
2 android:orientation="vertical"
3 android:layout_width="match_parent"
4 android:layout_height="match_parent">
5 <TextView
6 android:layout_width="match_parent"
7 android:layout_height="wrap_content"
8 android:layout_marginTop="120px"/>
9 <LinearLayout
10 android:orientation="horizontal"
11 android:layout_width="match_parent"
12 android:layout_height="wrap_content"
13 android:gravity="center">
14 <Button
15 android:layout_width="wrap_content"
16 android:layout_height="wrap_content"
17 android:text="增大透明度"
18 android:id="@+id/plus"/>
19 <Button
20 android:layout_width="wrap_content"
21 android:layout_height="wrap_content"
22 android:text="降低透明度"
23 android:id="@+id/minus"/>
24 <Button
25 android:layout_width="wrap_content"
26 android:layout_height="wrap_content"
27 android:text="下一張"
28 android:id="@+id/next"/>
29 </LinearLayout>
30 <!-- 定義顯示圖片整體的ImageView -->
31 <!-- 指定android:scaleType="fitCenter"表明 -->
32 <!-- ImageView顯示圖片時會保持縱橫比縮放,並將縮放後的圖片放在該ImageView的中央-->
33 <ImageView
34 android:id="@+id/image1"
35 android:layout_width="wrap_content"
36 android:layout_height="280dp"
37 android:src="@drawable/five"
38 android:scaleType="fitCenter"/>
39 <!-- 定義顯示圖片局部細節的ImageView -->
40 <ImageView
41 android:id="@+id/image2"
42 android:layout_width="120dp"
43 android:layout_height="120dp"
44 android:background="#00f"
45 android:layout_margin="10dp"/>
46 </LinearLayout>
View Code
為了能動態改變圖片的透明度,要為按鈕編寫事件監聽器,當用戶單擊按鈕時動態改變圖片的Alpha值。
為了能動態顯示圖片局部細節,程序為第一個ImageView添加OnTouchListener監聽器,
用戶在第一個ImageView上發生觸摸事件時,程序從原始圖片中讀取相應部分的圖片並顯示在第二個ImageView中
下面是java代碼及運行截圖,但是最後一張圖片的時候點擊圖片會閃退。。原因不明也沒有調試信息。。
![]()
1 public class MainActivity extends AppCompatActivity {
2
3 //定義一個訪問圖片的數組
4 int[] images = new int[]{
5 R.drawable.one,
6 R.drawable.two,
7 R.drawable.three,
8 R.drawable.four,
9 R.drawable.five,
10 };
11 //定義默認顯示的圖片
12 int currentImg = 4;
13 //定義圖片的初始透明度
14 private int alpha = 255;
15 @Override
16 protected void onCreate(Bundle savedInstanceState) {
17 super.onCreate(savedInstanceState);
18 setContentView(R.layout.activity_main);
19 final Button plus=(Button)findViewById(R.id.plus);
20 final Button minus=(Button)findViewById(R.id.minus);
21 final Button next=(Button)findViewById(R.id.next);
22 final ImageView image1=(ImageView)findViewById(R.id.image1);
23 final ImageView image2=(ImageView)findViewById(R.id.image2);
24 //定義查看下一張圖片的監聽器
25 next.setOnClickListener(new View.OnClickListener()
26 {
27 @Override
28 public void onClick(View v)
29 {
30 //控制ImageView顯示下一張圖片
31 image1.setImageResource(images[++currentImg%images.length]);
32 }
33 });
34 //定義改變圖片透明度的方法
35 View.OnClickListener listener=new View.OnClickListener()
36 {
37 @Override
38 public void onClick(View v)
39 {
40 if(v==plus)
41 {
42 alpha+=20;
43 }
44 if(v==minus)
45 {
46 alpha-=20;
47 }
48 if(alpha>=255)
49 {
50 alpha=255;
51 }
52 if(alpha<=0)
53 {
54 alpha=0;
55 }
56 //改變圖片透明度
57 image1.setImageAlpha(alpha);
58 }
59 };
60 //為兩個按鈕添加監聽器
61 plus.setOnClickListener(listener);
62 minus.setOnClickListener(listener);
63
64 image1.setOnTouchListener(new View.OnTouchListener() {
65 @Override
66 public boolean onTouch(View view, MotionEvent event) {
67 BitmapDrawable bitmapDrawable=(BitmapDrawable)image1.getDrawable();
68 //獲取第一個圖片顯示框中的位圖
69 Bitmap bitmap=bitmapDrawable.getBitmap();
70 //bitmap圖片實際大小與第一個ImageView的縮放比例
71 double scale=1.0*bitmap.getHeight()/image1.getHeight();
72 //獲取需要顯示的圖片的開始點
73 int x=(int)(event.getX()*scale);
74 int y=(int)(event.getY()*scale);
75 if(x+120>bitmap.getWidth())
76 {
77 x=bitmap.getWidth()-120;
78 }
79 if(y+120>bitmap.getHeight())
80 {
81 y=bitmap.getHeight()-120;
82 }
83 //顯示圖片的指定區域
84 image2.setImageBitmap(Bitmap.createBitmap(bitmap,x,y,120,120));
85 image2.setImageAlpha(alpha);
86 return false;
87 }
88 });
89 }
90 }
View Code
2.圖片按鈕,比較簡單,不作說明
看了一下ZoomButton,ZoomControls是放大縮小按鈕
3.使用QuickCantactBadge關聯聯系人
感覺比較有趣,布局文件如下
![]()
1 <LinearLayout
2 xmlns:android="http://schemas.android.com/apk/res/android"
3 android:orientation="vertical"
4 android:layout_width="match_parent"
5 android:layout_height="match_parent">
6 <TextView
7 android:layout_width="match_parent"
8 android:layout_height="wrap_content"
9 android:layout_marginTop="120px"/>
10 <QuickContactBadge
11 android:id="@+id/badge"
12 android:layout_width="wrap_content"
13 android:layout_height="wrap_content"
14 android:src="@drawable/one"/>
15 <TextView
16 android:layout_width="match_parent"
17 android:layout_height="wrap_content"
18 android:textSize="16dp"
19 android:text="萌重"/>
20 </LinearLayout>
View Code
java代碼如下
![]()
1 public class quickContactBadge_index extends AppCompatActivity {
2 QuickContactBadge badge;
3 @Override
4 protected void onCreate(Bundle savedInstanceState) {
5 super.onCreate(savedInstanceState);
6 setContentView(R.layout.activity_quick_contact_badge_index);
7
8 //獲取QuickContactBadge組件
9 badge=(QuickContactBadge)findViewById(R.id.badge);
10 //將QuickContactBadge組件與特定電話號碼對應的聯系人建立關聯
11 badge.assignContactFromPhone("623208",false);
12 }
13 }
View Code
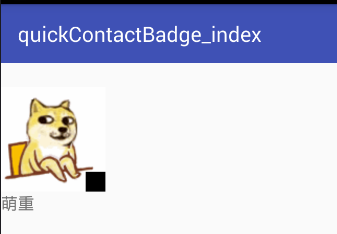
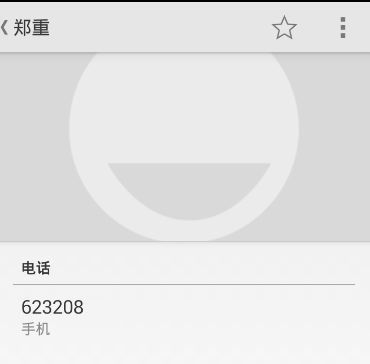
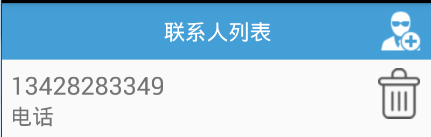
點擊圖片會談到聯系人界面,如果不存在這個號碼會詢問是否添加聯系人,睡覺,晚安
下一篇:第四組UI組件:AdapterView及其子類
 ListView中響應item的點擊事件並且刷新界面,listviewitem
 android studio導入PullToRefresh教程
 Afinal,afinal框架
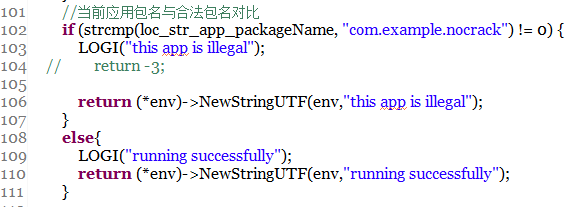 android加固系列—5.加固前先學會破解,hook(鉤子)jni層系統api,androidjni