編輯:關於Android編程
android中include標簽是為了便於控件的覆用的一個很好解決方案。
但是也有一些需要注意的地方,下面是本人在項目中碰到過的一個問題,做此記錄,便於以後查看。
include標簽用法。
1.新建一個xml文件,命名 head.xml
head.xml文件內容如下:
android:layout_width="fill_parent"
android:layout_height="wrap_content"
android:orientation="horizontal"
>
android:layout_width="wrap_content"
android:layout_height="wrap_content"
/>
2.新建一個布局文件,命名 main.xml
main.xml文件內容如下:
android:layout_height="fill_parent"
android:orientation="vertical"
>
注意:上面我們的include標簽中是沒有為它指定id的。
3.新建一個MainActivity,設置布局文件為main.xml;
4.假設我現在需要在代碼中為head.xml中的RelativeLayout容器設置背景圖片。
代碼如下:
//獲得布局容器對象
RelativeLayout head = (RelativeLayout)findViewById(R.id.index_linear_foot);
//設置背景圖片
head.setBackgroundResource(R.drawable.head);
這樣就OK了。
5.剛剛說到,我們的include標簽中是沒有為它指定id的,假設我們現在的main.xml文件布局容器是RelativeLayout,而我需要把某個控件放在head.xml下面。就需要使用到RelativeLayout布局容器的特有屬性 android:layout_below="" 屬性。還需要為include指定id屬性。
那我們的main.xml文件變成如下:
android:layout_height="fill_parent"
>
android:layout_width="fill_parent"
android:layout_height="wrap_content"
android:layout_below="@+id/main_headb"
/>
那接下來我們在運行我們的實例,結果發現,代碼在運行到head.setBackgroundResource(R.drawable.head);
這一句的時候拋異常了
java.lang.NullPointerException
原來:如果include指定了id的話,就不能直接把它裡面的控件當成主xml中的控件來直接獲得了,必須先獲得這個xml布局文件,再通過布局文件findViewById來獲得其子控件。
代碼如下
View layout = getLayoutInflater().inflate(R.layout.head, null);
RelativeLayout head= (RelativeLayout)layout.findViewById(R.id.index_linear_foot);
//設置背景圖片
head.setBackgroundResource(R.drawable.head);
這樣就可以了。
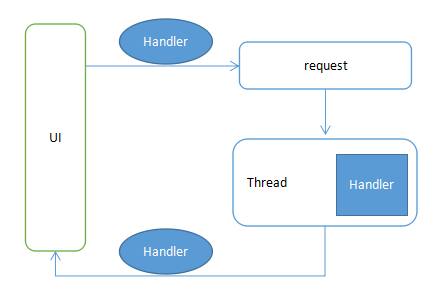 利用Handler進行網絡請求
那麼我們就來用Handler制作一個簡易的網絡請求框架。如下圖:解釋一下:UI在request的時候傳入UI中的Handler,同時將請求的Runnable推入到工作線程
 Android實現ImageView陰影和圖層效果
本文實例為大家分享了ImageView陰影和圖層效果的實現代碼,供大家參考,具體內容如下import android.app.Activity; import andro
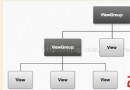 Android用戶界面概覽
用戶界面的概觀 所有的Android應用程序的用戶界面元素都是用View和ViewGroup對象構建的。View就是在手機屏幕上描繪一個可以與用戶交互
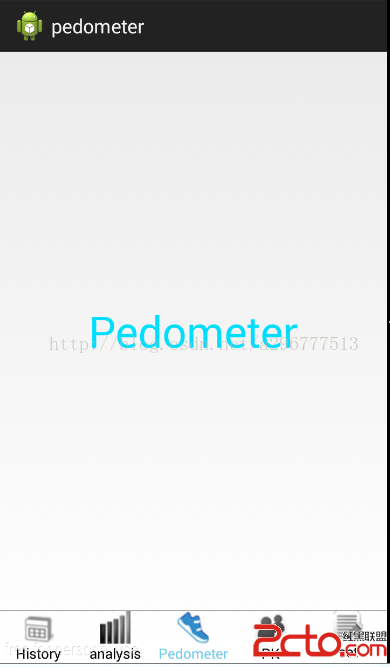 基於Android的計步器(Pedometer)的講解(一)——Fragment頁面跳轉
首先需要做的是實現幾個頁面的跳轉,既類似微信的點擊按鈕,切換頁面。 話不多說,這是一個簡單的頁面切換的Demo,先貼幾張實現的效果: 圖片的底部是5個RadioButt