編輯:關於Android編程
Android 開機自啟動示例程序。使用廣播方式接受,采用Android自帶存儲SharedPreferences存儲開機自啟動的設置。
本文源碼:點擊
package com.example.autostart;

import android.content.BroadcastReceiver;
import android.content.Context;
import android.content.ContextWrapper;
import android.content.Intent;
import android.content.SharedPreferences;

//開機自啟動廣播接受
public class AutoStartBroadcastReceiver extends BroadcastReceiver {
	private static final String ACTION = android.intent.action.BOOT_COMPLETED;
	private SharedPreferences mPreferences = null;

	@Override
	public void onReceive(Context context, Intent intent) {

		mPreferences = context.getSharedPreferences(AutoStart,
				ContextWrapper.MODE_PRIVATE);

		if (intent.getAction().equals(ACTION)) {

			if (mPreferences.getBoolean(AddToAuto, false)) {

			    //後邊的XXX.class就是要啟動的服務
		        Intent service = new Intent(context,AutoStartService.class);
		        context.startService(service);

				// 啟動應用,參數為需要自動啟動的應用的包名,只是啟動app的activity的包名
				Intent newIntent = context.getPackageManager()
						.getLaunchIntentForPackage(com.example.autostart);
				context.startActivity(newIntent);
			}
		}
	}

}
如果程序需要啟動一些必要的服務再寫這個也可以,一般開機自啟動只需要啟動app的主activity。這裡示范一下寫服務。
package com.example.autostart;

import android.app.Service;
import android.content.BroadcastReceiver;
import android.content.Context;
import android.content.ContextWrapper;
import android.content.Intent;
import android.content.SharedPreferences;
import android.os.IBinder;
import android.util.Log;

//開機自啟動廣播接受
public class AutoStartService extends Service {

	@Override
	public IBinder onBind(Intent intent) {
		// TODO Auto-generated method stub
		return null;
	}

    @Override
    public void onCreate(){
       super.onCreate();
       Log.d(TAG2,test service);
 }
}
package com.example.autostart;

import android.os.Bundle;
import android.app.Activity;
import android.content.ContextWrapper;
import android.content.SharedPreferences;
import android.content.SharedPreferences.Editor;
import android.view.Menu;
import android.view.View;
import android.view.View.OnClickListener;
import android.widget.TextView;

public class MainActivity extends Activity {

	private SharedPreferences mPreferences = null;
	@Override
	protected void onCreate(Bundle savedInstanceState) {
		super.onCreate(savedInstanceState);
		setContentView(R.layout.activity_main);

		mPreferences = getSharedPreferences(AutoStart,ContextWrapper.MODE_PRIVATE);
		boolean bStart = mPreferences.getBoolean(AddToAuto, false);

		final TextView textView1 = (TextView)findViewById(R.id.textView1);
		if (bStart) {
			textView1.setText(已打開開機自啟動);
		}else {
			textView1.setText(已關閉開機自啟動);
		}

		//打開
		findViewById(R.id.button1).setOnClickListener(new OnClickListener() {
			@Override
			public void onClick(View v) {
			    Editor editor = mPreferences.edit();
			    editor.putBoolean(AddToAuto, true);
			    editor.commit();
			    textView1.setText(已打開開機自啟動);

			}
		});

		//關閉
		findViewById(R.id.button2).setOnClickListener(new OnClickListener() {
			@Override
			public void onClick(View v) {
			    Editor editor = mPreferences.edit();
			    editor.putBoolean(AddToAuto, false);
			    editor.commit();
			    textView1.setText(已關閉開機自啟動);

			}
		});

	}

	@Override
	public boolean onCreateOptionsMenu(Menu menu) {
		// Inflate the menu; this adds items to the action bar if it is present.
		getMenuInflater().inflate(R.menu.activity_main, menu);
		return true;
	}

}

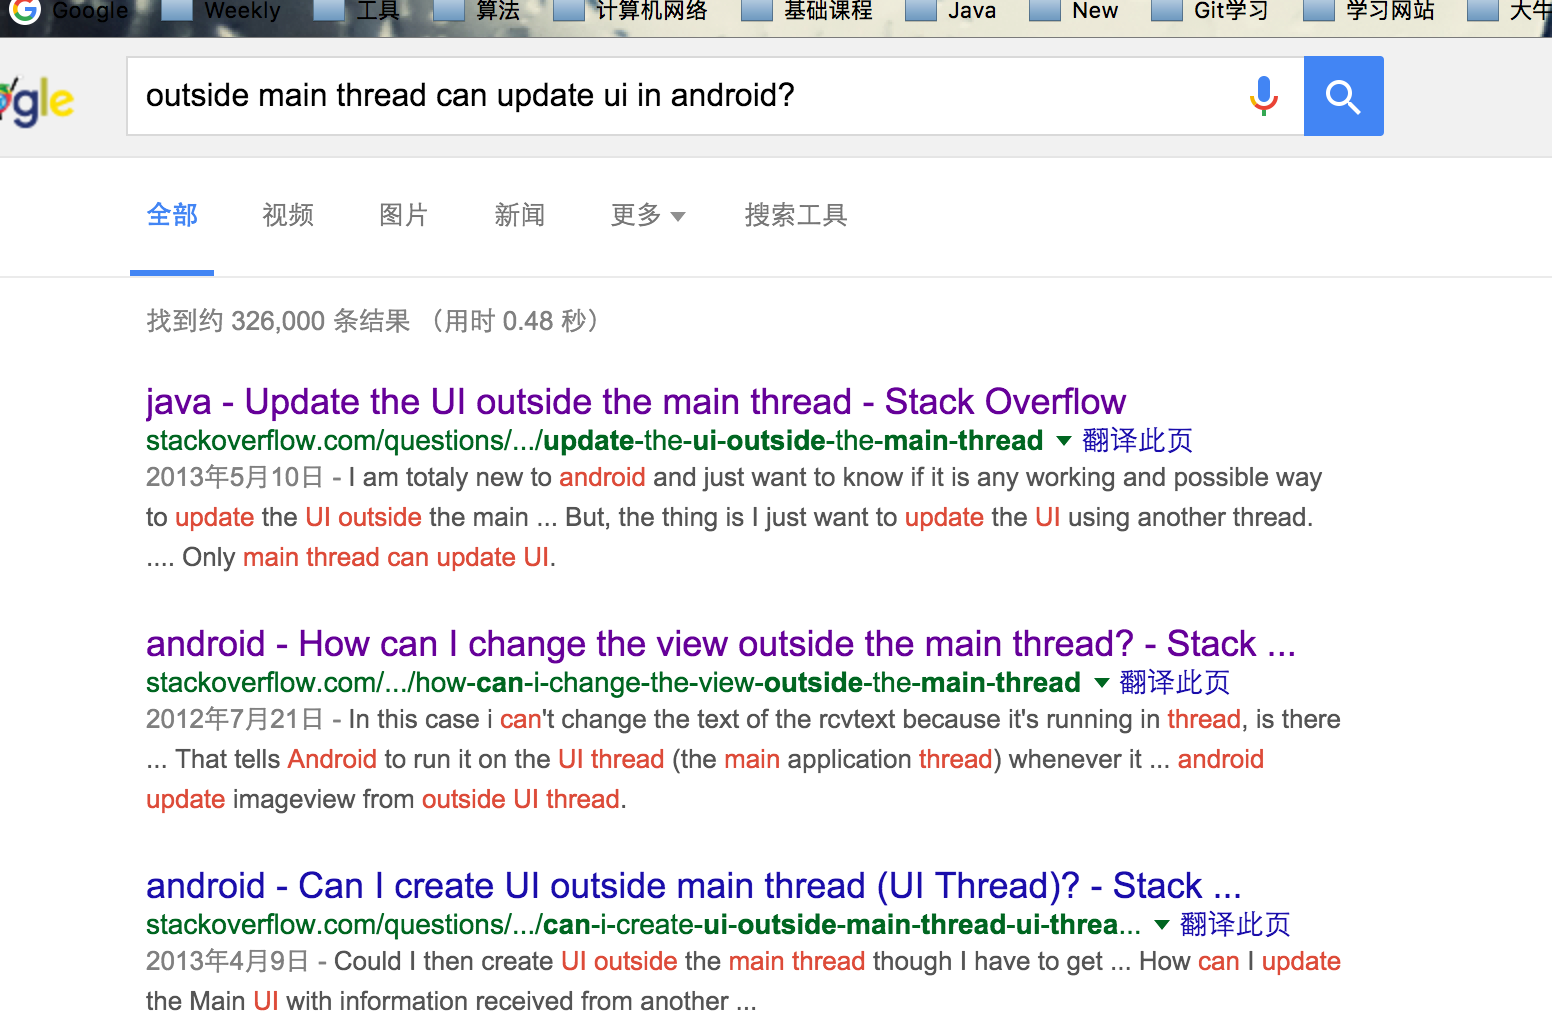 非UI線程更新UI!?
今天晚上被弟弟告知他在子線程中更新了UI,問我是不是版本的問題,我果斷說是他的代碼寫錯了,不過分分鐘被打臉,經過我一番仔細的探查最終發現了原因,或許這件事的結果不是多麼
 從搶紅包插件談AccessibilityService
微信紅包自打出世以來就極其受歡迎,搶紅包插件可謂紅極一時.今天,我們重新談談搶紅包插件的哪些事兒.本質上,搶紅包插件的原理不難理解,其過程就是在收到紅包時,自動模擬點擊.
 ListView分割線
重新定義分割線Drawable的Bounds首先,需要清楚一個事實:出現以上情況的矛盾點,是官方ListView的分割線屬性不支持左右留白。所以最佳的解決方案,就是使得官
 Android圖片緩存之Bitmap詳解(一)
前言:最近准備研究一下圖片緩存框架,基於這個想法覺得還是先了解有關圖片緩存的基礎知識,今天重點學習一下Bitmap、BitmapFactory這兩個類。 Bit