編輯:關於Android編程
本文實例講述了Android開發中Location用法。分享給大家供大家參考,具體如下:
Location 在Android 開發中還是經常用到的,如通過經緯度獲取天氣,根據Location 獲取所在地區詳細Address (比如Google Map 開發)等。而在Android 中通過LocationManager來獲取Location .通常獲取Location 有GPS 獲取,WIFI 獲取。
這邊介紹一個簡單的小Demo ,來教大家如何獲取Location ,從而獲取經緯度。
第一步:創建一個Android 工程命名為LocationDemo .
第二步:修改main.xml 代碼如下:
<?xml version="1.0" encoding="utf-8"?>
<LinearLayout xmlns:android="http://schemas.android.com/apk/res/android"
  android:orientation="vertical"
  android:layout_width="fill_parent"
  android:layout_height="fill_parent"
  >
<TextView
  android:id="@+id/longitude"
  android:layout_width="fill_parent"
  android:layout_height="wrap_content"
  android:text="longitude:"
  />
<TextView
  android:id="@+id/latitude"
  android:layout_width="fill_parent"
  android:layout_height="wrap_content"
  android:text="latitude:"
  />
</LinearLayout>
第三步:修改LocationDemo.Java ,代碼如下:
package pku.ss;
import pku.ss.R;
import android.app.Activity;
import android.content.Context;
import android.location.Location;
import android.location.LocationManager;
import android.os.Bundle;
import android.widget.TextView;
public class LocationDemoActivity extends Activity {
private TextView longitude;
private TextView latitude;
@Override
public void onCreate(Bundle savedInstanceState) {
super.onCreate(savedInstanceState);
setContentView(R.layout.main);
longitude = (TextView)findViewById(R.id.longitude);
latitude = (TextView)findViewById(R.id.latitude);
Location mLocation = getLocation(this);
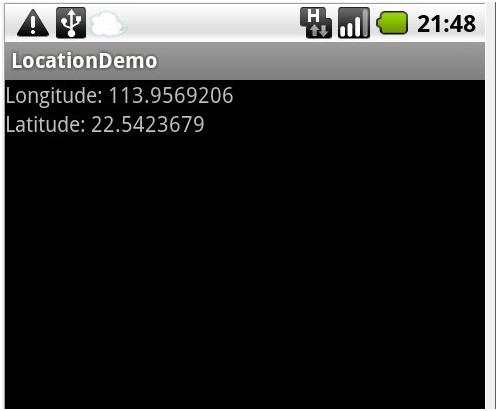
longitude.setText("Longitude: " + mLocation.getLongitude());
latitude.setText("Latitude: " + mLocation.getLatitude());
}
//Get the Location by GPS or WIFI
public Location getLocation(Context context) {
LocationManager locMan = (LocationManager) context
.getSystemService(Context.LOCATION_SERVICE);
Location location = locMan
.getLastKnownLocation(LocationManager.GPS_PROVIDER);
if (location == null) {
location = locMan
.getLastKnownLocation(LocationManager.NETWORK_PROVIDER);
}
return location;
}
}
第四步:增加權限,修改AndroidManifest.xml 代碼如下(第16行為所增行):
<?xml version="1.0" encoding="utf-8"?>
<manifest xmlns:android="http://schemas.android.com/apk/res/android"
   package="pku.ss"
   android:versionCode="1"
   android:versionName="1.0">
  <application android:icon="@drawable/icon" android:label="@string/app_name">
    <activity android:name=".LocationDemo"
         android:label="@string/app_name">
      <intent-filter>
        <action android:name="android.intent.action.MAIN" />
        <category android:name="android.intent.category.LAUNCHER" />
      </intent-filter>
    </activity>
  </application>
  <uses-sdk android:minSdkVersion="7" />
  <uses-permission android:name="android.permission.ACCESS_FINE_LOCATION"/>
</manifest>
第五步:運行LocationDemo 工程,所得效果如下:
更多關於Android相關內容感興趣的讀者可查看本站專題:《Android控件用法總結》、《Android視圖View技巧總結》、《Android操作SQLite數據庫技巧總結》、《Android操作json格式數據技巧總結》、《Android數據庫操作技巧總結》、《Android文件操作技巧匯總》、《Android編程開發之SD卡操作方法匯總》、《Android開發入門與進階教程》及《Android資源操作技巧匯總》
希望本文所述對大家Android程序設計有所幫助。
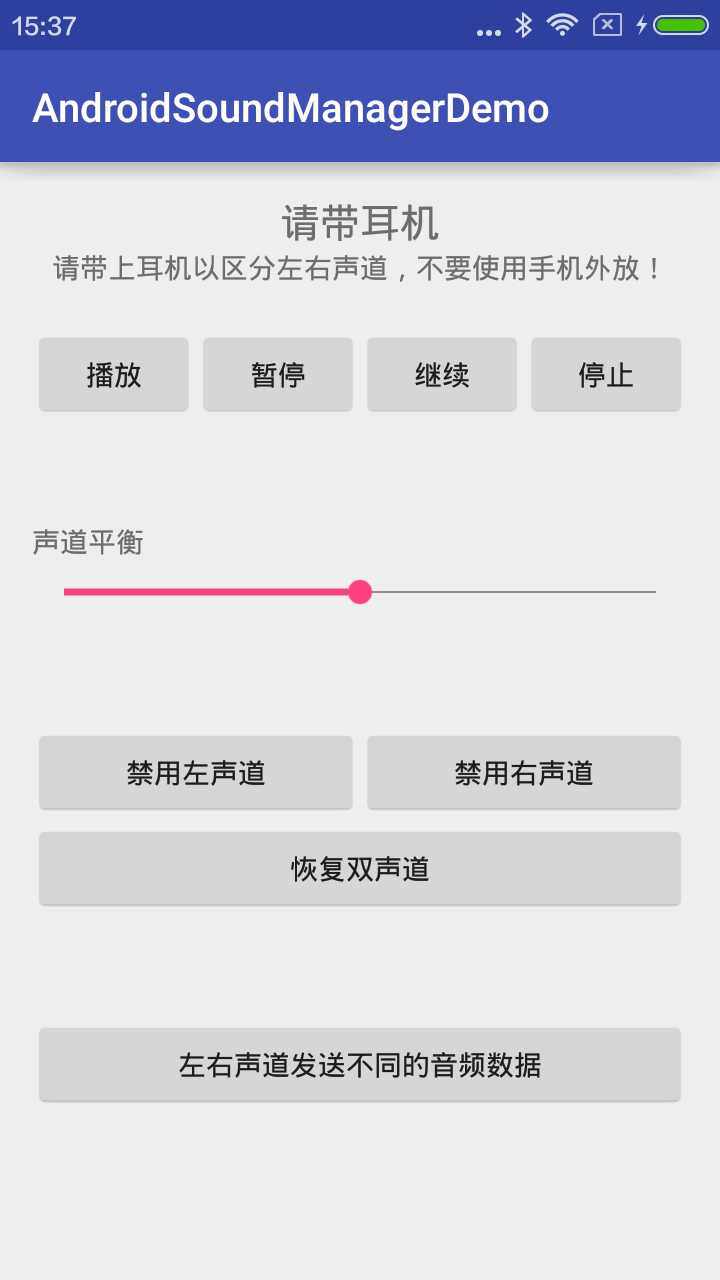 Android左右聲道的控制
效果圖源碼我這裡主要是用到了AudioTrack實現的左右聲道的控制,手機一般都只有兩個聲道,即左聲道和右聲道,我們在輸出的時候可以選擇單聲道,也可以選擇雙聲道(立體聲)
 Android學習筆記十二之Android基礎UI三
ScrollView滾動視圖ScrollView是繼承於FrameLayout,也是一個顯示容器,由於手機屏幕是有限的,當需要組件安排多組信息的時候,ScrollView
 Android內存性能優化(內部資料總結)
剛入門的童鞋肯能都會有一個疑問,Java不是有虛擬機了麼,內存會自動化管理,我們就不必要手動的釋放資源了,反正系統會給我們完成。其實Java中沒有指針的概念,但是指針的使
 溫故知新-Service學習筆記
1.ServicesService 是一個可以在後台執行長時間運行操作而不使用用戶界面的應用組件。服務可由其他應用組件啟動,而且即使用戶切換到其他應用,服務仍將在後台繼續