編輯:關於Android編程
前面的一節,介紹了如何組合使用Gallery和ImageView。但是,有的時候當你在gallery中點擊一個圖片,你可能不希望一個圖片“突然地”在imageview中顯示出來。例如,你可能希望給某個圖片設置一些切換動畫。此時,就需要使用ImageSwitcher和Gallery一起使用。下面展示如何使用ImageSwitcher。
1. 創建一個工程,ImageSwitcher。
2. main.xml中的代碼。
[html]
<?xml version="1.0" encoding="utf-8"?>
<LinearLayout xmlns:android="http://schemas.android.com/apk/res/android"
android:layout_width="fill_parent"
android:layout_height="fill_parent"
android:orientation="vertical" >
<TextView
android:layout_width="fill_parent"
android:layout_height="wrap_content"
android:text="Images of San Francisco" />
<Gallery
android:id="@+id/gallery1"
android:layout_width="fill_parent"
android:layout_height="wrap_content" />
<ImageSwitcher
android:id="@+id/switcher1"
android:layout_width="fill_parent"
android:layout_height="fill_parent"
android:layout_alignParentLeft="true"
android:layout_alignParentRight="true"
android:layout_alignParentBottom="true" />
</LinearLayout>
3. 在res/values文件夾下面新建一個文件,attrs.xml。
4. attrs.xml中的代碼。
[html]
<?xml version="1.0" encoding="utf-8"?>
<resources>
<declare-styleable name="Gallery1">
<attr name="android:galleryItemBackground" />
</declare-styleable>
</resources>
5. 在res/drawable-mdpi中放置一些圖片。
6. ImageSwitcherActivity.java中的代碼。
[java]
public class ImageSwitcherActivity extends Activity implements ViewFactory {
//---the images to display---
Integer[] imageIDs = {
R.drawable.pic1,
R.drawable.pic2,
R.drawable.pic3,
R.drawable.pic4,
R.drawable.pic5,
R.drawable.pic6,
R.drawable.pic7
};
private ImageSwitcher imageSwitcher;
/** Called when the activity is first created. */
@Override
public void onCreate(Bundle savedInstanceState) {
super.onCreate(savedInstanceState);
setContentView(R.layout.main);
imageSwitcher = (ImageSwitcher) findViewById(R.id.switcher1);
imageSwitcher.setFactory(this);
/*
淡入淡出效果
imageSwitcher.setInAnimation(AnimationUtils.loadAnimation(this,
android.R.anim.fade_in));
imageSwitcher.setOutAnimation(AnimationUtils.loadAnimation(this,
android.R.anim.fade_out));
*/
// 左右滑動效果
imageSwitcher.setInAnimation(AnimationUtils.loadAnimation(this,
android.R.anim.slide_in_left));
imageSwitcher.setOutAnimation(AnimationUtils.loadAnimation(this,
android.R.anim.slide_out_right));
Gallery gallery = (Gallery) findViewById(R.id.gallery1);
gallery.setAdapter(new ImageAdapter(this));
gallery.setOnItemClickListener(new OnItemClickListener()
{
public void onItemClick(AdapterView<?> parent,
View v, int position, long id)
{
imageSwitcher.setImageResource(imageIDs[position]);
}
});
}
public View makeView()
{
ImageView imageView = new ImageView(this);
imageView.setBackgroundColor(0xFF000000);
imageView.setScaleType(ImageView.ScaleType.FIT_CENTER);
imageView.setLayoutParams(new
ImageSwitcher.LayoutParams(
LayoutParams.FILL_PARENT,
LayoutParams.FILL_PARENT));
return imageView;
}
public class ImageAdapter extends BaseAdapter
{
private Context context;
private int itemBackground;
public ImageAdapter(Context c)
{
context = c;
//---setting the style---
TypedArray a = obtainStyledAttributes(R.styleable.Gallery1);
itemBackground = a.getResourceId(
R.styleable.Gallery1_android_galleryItemBackground, 0);
a.recycle();
}
//---returns the number of images---
public int getCount()
{
return imageIDs.length;
}
//---returns the item---
public Object getItem(int position)
{
return position;
}
//---returns the ID of an item---
public long getItemId(int position)
{
return position;
}
//---returns an ImageView view---
public View getView(int position, View convertView, ViewGroup parent)
{
ImageView imageView = new ImageView(context);
imageView.setImageResource(imageIDs[position]);
imageView.setScaleType(ImageView.ScaleType.FIT_XY);
imageView.setLayoutParams(new Gallery.LayoutParams(150, 120));
imageView.setBackgroundResource(itemBackground);
return imageView;
}
}
}
7. 按F11在模擬器上面調試。會看見Gallery和ImageSwitcher。
首先,要注意,ImageSwitcherActivity不緊繼承了Activity,而且實現了ViewFactory接口。要使用ImageSwitcher,就需要實現ViewFactory接口,這個接口為ImageSwitcher創建視圖。只需實現makeView()方法就可以了。
[java]
public View makeView()
{
ImageView imageView = new ImageView(this);
imageView.setBackgroundColor(0xFF000000);
imageView.setScaleType(ImageView.ScaleType.FIT_CENTER);
imageView.setLayoutParams(new
ImageSwitcher.LayoutParams(
LayoutParams.FILL_PARENT,
LayoutParams.FILL_PARENT));
return imageView;
}
這個方法返回一個新的view,這個view將會被添加到ImageSwitcher中,在本例中,此方法返回一個ImageView。
像上一節的例子一樣,我們要實現一個ImageAdapter子類,目的是把Gallery和ImageView綁定在一起。
在onCreate()方法中,我們獲得ImageSwitcher實例的引用,同時設定了動畫animation,這個動畫在圖片切換的時候被使用。
最後,當一個圖片在Gallery中被選擇的時候,這個圖片就在ImageSwitcher中顯示出來的。
[java]
private ImageSwitcher imageSwitcher;
/** Called when the activity is first created. */
@Override
public void onCreate(Bundle savedInstanceState) {
super.onCreate(savedInstanceState);
setContentView(R.layout.main);
imageSwitcher = (ImageSwitcher) findViewById(R.id.switcher1);
imageSwitcher.setFactory(this);
/*
imageSwitcher.setInAnimation(AnimationUtils.loadAnimation(this,
android.R.anim.fade_in));
imageSwitcher.setOutAnimation(AnimationUtils.loadAnimation(this,
android.R.anim.fade_out));
*/
imageSwitcher.setInAnimation(AnimationUtils.loadAnimation(this,
android.R.anim.slide_in_left));
imageSwitcher.setOutAnimation(AnimationUtils.loadAnimation(this,
android.R.anim.slide_out_right));
Gallery gallery = (Gallery) findViewById(R.id.gallery1);
gallery.setAdapter(new ImageAdapter(this));
gallery.setOnItemClickListener(new OnItemClickListener()
{
public void onItemClick(AdapterView<?> parent,
View v, int position, long id)
{
imageSwitcher.setImageResource(imageIDs[position]);
}
});
}
在這個例子中,通過以下的方法設置動畫。
[java]
/*
imageSwitcher.setInAnimation(AnimationUtils.loadAnimation(this,
android.R.anim.fade_in));
imageSwitcher.setOutAnimation(AnimationUtils.loadAnimation(this,
android.R.anim.fade_out));
*/
imageSwitcher.setInAnimation(AnimationUtils.loadAnimation(this,
android.R.anim.slide_in_left));
imageSwitcher.setOutAnimation(AnimationUtils.loadAnimation(this,
android.R.anim.slide_out_right));
 Android自定義控件打造閃閃發光字體
介紹在小米的開機動畫和一些歡迎界面中, 我們經常看到這種閃閃發光的流光字體。看起來很炫酷,其實實現原理相當簡單,我們只需要寫自定義控件繼承TextView,然後使用渲染器
 Android實現圖片輪播效果
本文實例講述了JaAndroid實現圖片輪播效果代碼,分享給大家供大家參考。具體如下:運行效果截圖如下:具體代碼如下:首先看下一下布局文件:<RelativeLay
 Android開發技巧——大圖裁剪
本篇內容是接上篇《Android開發技巧——定制仿微信圖片裁剪控件》 的,先簡單介紹對上篇所封裝的裁剪控件的使用,再詳細說明如何使用它進行大圖裁剪
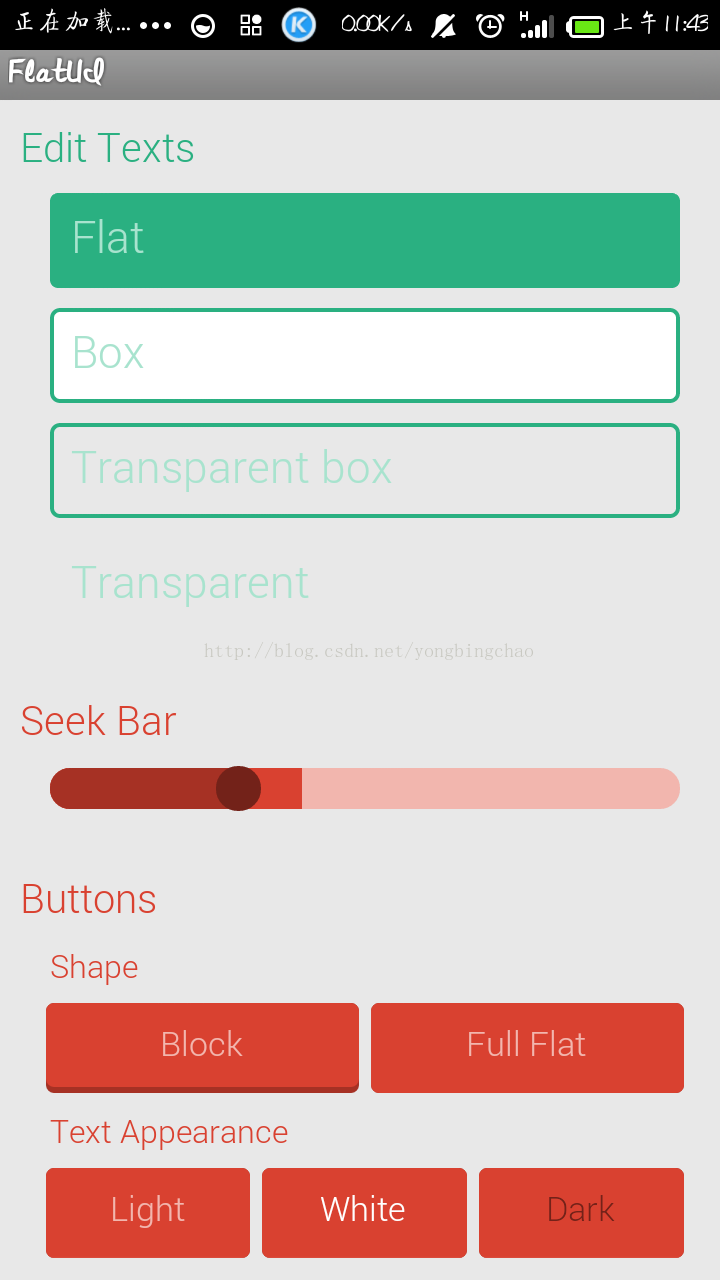 android 自定義標簽的使用,實現扁平化UI設計
2014年8月6日11:06:44 android對自定義標簽的使用,實現扁平化UI設計: 1.attrs.xml文件中自定義標簽 如: //referenc