編輯:關於Android編程
Animation的4個基本動畫效果
1、AlphaAnimation:淡入淡出效果
[java]
在代碼中實現動畫效果的方法:
ImageView imageView = (ImageView) findViewById(R.id.imageView1);
AnimationSet animationSet = new AnimationSet(true);
AlphaAnimation alphaAnimation = new AlphaAnimation(0, 1);
alphaAnimation.setDuration(1000);
alphaAnimation.setStartOffset(10000);
animationSet.addAnimation(alphaAnimation);
//animationSet.setStartOffset(10000);
animationSet.setFillBefore(false);
animationSet.setFillAfter(true);
imageView.startAnimation(animationSet);
在XML文件中實現動畫效果的方法:
① 在res目錄下創建一個anim文件夾,在裡面添加一個alpha.xml文件:
<?xml version="1.0" encoding="utf-8"?>
<set xmlns:android="http://schemas.android.com/apk/res/android"
android:interpolator="@android:anim/accelerate_interpolator"
android:fillAfter="true"
android:fillBefore="false">
<alpha
android:fromAlpha="1.0"
android:toAlpha="0.0"
android:startOffset="1000"
android:duration="1000" />
</set>
② 在Activity中使用AnimationUtils獲取Animation並進行設置:
Animation animation = AnimationUtils.loadAnimation(MainActivity.this, R.anim.alpha);
imageView.startAnimation(animation);
2、ScaleAnimation:縮放效果
[java]
在代碼中實現動畫效果:
ImageView imageView = (ImageView) findViewById(R.id.imageView1);
AnimationSet animationSet = new AnimationSet(true);
ScaleAnimation scaleAnimation = new ScaleAnimation(1, 0.5f, 1, 0.5f,
Animation.RELATIVE_TO_SELF, 1f,
Animation.RELATIVE_TO_SELF, 1f);
animationSet.addAnimation(scaleAnimation);
animationSet.setDuration(1000);
imageView.startAnimation(animationSet);
在XML文件中實現動畫效果的方法:
① 在res的anim文件夾下,創建一個scale.xml文件:
<?xml version="1.0" encoding="utf-8"?>
<set xmlns:android="http://schemas.android.com/apk/res/android"
android:interpolator="@android:anim/accelerate_interpolator">
<scale android:fromXScale="1.0"
android:toXScale="0.0"
android:fromYScale="1.0"
android:toYScale="0.0"
android:pivotX="50%"
android:pivotY="50%"
android:duration="2000" />
</set>
② 在Activity中使用AnimationUtils獲取Animation並進行設置:
Animation animation = AnimationUtils.loadAnimation(MainActivity.this, R.anim.scale);
imageView.startAnimation(animation);
3、Rotate:旋轉效果
[java]
在代碼中實現動畫效果:
ImageView imageView = (ImageView) findViewById(R.id.imageView1);
AnimationSet animationSet = new AnimationSet(true);
RotateAnimation rotateAnimation = new RotateAnimation(0, 360,
Animation.RELATIVE_TO_PARENT, 0.5f,
Animation.RELATIVE_TO_PARENT, 0.5f);
rotateAnimation.setDuration(1000);
animationSet.addAnimation(rotateAnimation);
imageView.startAnimation(animationSet);
在XML文件中實現動畫效果的方法:
① 在res的anim文件夾下,創建一個rotate.xml文件:
<?xml version="1.0" encoding="utf-8"?>
<set xmlns:android="http://schemas.android.com/apk/res/android"
android:interpolator="@android:anim/accelerate_interpolator">
<rotate android:fromDegrees="0"
android:toDegrees="+360"
android:pivotX="50%"
android:pivotY="50%"
android:duration="1000" />
</set>
② 在Activity中使用AnimationUtils獲取Animation並進行設置:
Animation animation = AnimationUtils.loadAnimation(MainActivity.this, R.anim.rotate);
imageView.startAnimation(animation);
4、 Translate:移動效果
[java]
在代碼中實現動畫效果:
ImageView imageView = (ImageView) findViewById(R.id.imageView1);
AnimationSet animationSet = new AnimationSet(true);
TranslateAnimation translateAnimation = new TranslateAnimation(
Animation.RELATIVE_TO_SELF, 0f,
Animation.RELATIVE_TO_SELF, 1.0f,
Animation.RELATIVE_TO_SELF, 0f,
Animation.RELATIVE_TO_SELF, 1.0f);
translateAnimation.setDuration(1000);
animationSet.addAnimation(translateAnimation);
imageView.startAnimation(animationSet);
在XML文件中實現動畫效果的方法:
① 在res的anim文件夾下,創建一個translate.xml文件:
<?xml version="1.0" encoding="utf-8"?>
<set xmlns:android="http://schemas.android.com/apk/res/android"
android:interpolator="@android:anim/accelerate_interpolator">
<translate
android:fromXDelta="0%p"
android:toXDelta="100%p"
android:fromYDelta="0%p"
android:toYDelta="100%p"
android:duration="1000" />
</set>
其中100%p表示相對於父空間的位置
② 在Activity中使用AnimationUtils獲取Animation並進行設置:
Animation animation = (Animation) AnimationUtils.loadAnimation(MainActivity.this, R.anim.translate);
imageView.startAnimation(animation);
也可以使用AnimationSet為一個控件添加多個動畫,或者在xml文件中添加多個動畫標簽,以下分別使用代碼和XML文件實現相同的效果:
代碼中實現:
AnimationSet animationSet = new AnimationSet(false);
AlphaAnimation alpha = new AlphaAnimation(1.0f, 0.0f);
ScaleAnimation scale = new ScaleAnimation(1, 0.5f, 1, 0.5f,
Animation.RELATIVE_TO_SELF, 0.5f,
Animation.RELATIVE_TO_SELF, 0.5f);
animationSet.addAnimation(alpha);
animationSet.addAnimation(scale);
animationSet.setDuration(2000);
animationSet.setStartOffset(1000);
animationSet.setFillAfter(true);
imageView.startAnimation(animationSet);
XML實現:
alpha.xml
<?xml version="1.0" encoding="utf-8"?>
<set xmlns:android="http://schemas.android.com/apk/res/android"
android:interpolator="@android:anim/accelerate_interpolator"
android:shareInterpolator="true"
android:fillAfter="true">
<alpha
android:fromAlpha="1.0"
android:toAlpha="0.0"
android:startOffset="1000"
android:fillAfter="true"
android:duration="2000" />
<scale android:fromXScale="1.0"
android:toXScale="0.5"
android:fromYScale="1.0"
android:toYScale="0.5"
android:pivotX="50%"
android:pivotY="50%"
android:startOffset="1000"
android:duration="2000" />
</set>
Activity中的代碼:
Animation animation = AnimationUtils.loadAnimation(MainActivity.this, R.anim.alpha);
imageView.startAnimation(animation);
Interpolator的使用
什麼是Interpolator
public class
Interpolator
extends Object
Interpolator定義了動畫變化的速率或規律,其具體的實現可以使用以下子類:
AccelerateDecelerateInterpolator:
public class
AccelerateDecelerateInterpolator
extends Object
implements Interpolator
An interpolator where the rate of change starts and ends slowly but accelerates through the middle.
AccelerateInterpolater:
public class
AccelerateInterpolator
extends Object
implements Interpolator
An interpolator where the rate of change starts out slowly and and then accelerates.
CycleInterpolator:
public class
CycleInterpolator
extends Object
implements Interpolator
Repeats the animation for a specified number of cycles. The rate of change follows a sinusoidal pattern.
DecelerateInterpolator:
public class
DecelerateInterpolator
extends Object
implements Interpolator
An interpolator where the rate of change starts out quickly and and then decelerates.
LinearInterpolator:
public class
LinearInterpolator
extends Object
implements Interpolator
An interpolator where the rate of change is constant.
這些Interpolator可以在代碼或XML文件中定義:
XML文件定義在set標簽裡或每個動畫標簽
set標簽中定義:
<set xmlns:android="http://schemas.android.com/apk/res/android"
android:interpolator="@android:anim/accelerate_interpolator"
android:shareInterpolator="true"
android:fillAfter="true">
每個動畫標簽中定義:
<set xmlns:android="http://schemas.android.com/apk/res/android"
android:interpolator="@android:anim/accelerate_interpolator"
android:shareInterpolator="false"
android:fillAfter="true">
<alpha
android:interpolator="@android:anim/accelerate_interpolator"
android:fromAlpha="1.0"
android:toAlpha="0.0"
android:startOffset="1000"
android:fillAfter="true"
android:duration="2000" />
<scale
android:interpolator="@android:anim/accelerate_decelerate_interpolator"
android:fromXScale="1.0"
android:toXScale="0.5"
android:fromYScale="1.0"
android:toYScale="0.5"
android:pivotX="50%"
android:pivotY="50%"
android:startOffset="1000"
android:duration="2000" />
</set>
在代碼中設置:
AnimationSet animationSet = new AnimationSet(true);
animationSet.setInterpolator(new AccelerateInterpolator());
或者分別為每個動畫設置:
AnimationSet animationSet = new AnimationSet(false);
AlphaAnimation alpha = new AlphaAnimation(1.0f, 0.0f);
alpha.setInterpolator(new AccelerateInterpolator());
ScaleAnimation scale = new ScaleAnimation(1, 0.5f, 1, 0.5f,
Animation.RELATIVE_TO_SELF, 0.5f,
Animation.RELATIVE_TO_SELF, 0.5f);
scale.setInterpolator(new AccelerateDecelerateInterpolator());
Frame-By-Frame Animations的使用
① 准備4張圖片run1.png,run2.png,run3.png,run4.png分別放到res的三個drawable文件夾中
② 在res的drawable-ldpi目錄下創建一個anim_run.xml文件:
<?xml version="1.0" encoding="utf-8"?>
<animation-list xmlns:android="http://schemas.android.com/apk/res/android"
android:oneshot="false">
<item android:drawable="@drawable/run1" android:duration="100" />
<item android:drawable="@drawable/run2" android:duration="100" />
<item android:drawable="@drawable/run3" android:duration="100" />
<item android:drawable="@drawable/run4" android:duration="100" />
</animation-list>
③ 在Activity中使用xml文件設置ImageView控件imageView的背景源,並獲取AnimationDrawable進行顯示動畫:
imageView.setBackgroundResource(R.drawable.anim_run);
AnimationDrawable animationDrawable = (AnimationDrawable)imageView.getBackground();
animationDrawable.start();
使用LayoutAnimationController設置ListView的動畫
在使用LayoutAnimationController控制ListView控件的樣式效果的方法:
① 在res的anim文件夾中創建一個list_anim.xml文件用於控制ListView控件的動畫:
<?xml version="1.0" encoding="utf-8"?>
<set xmlns:android="http://schemas.android.com/apk/res/android"
android:interpolator="@android:anim/accelerate_interpolator"
android:shareInterpolator="true">
<scale android:fromXScale="0.0"
android:toXScale="1.0"
android:fromYScale="0.0"
android:toYScale="1.0"
android:pivotX="50%"
android:pivotY="50%"
android:duration="1000" />
</set>
② 創建一個布局文件item.xml用於設置ListView的item的樣式:
<?xml version="1.0" encoding="utf-8"?>
<LinearLayout xmlns:android="http://schemas.android.com/apk/res/android"
android:layout_width="fill_parent" android:layout_height="fill_parent"
android:orientation="horizontal" android:paddingLeft="10dip"
android:paddingRight="10dip" android:paddingTop="1dip"
android:paddingBottom="1dip">
<TextView android:id="@+id/user_name" android:layout_width="180dip"
android:layout_height="30dip"
android:textSize="10pt"
android:singleLine="true" />
<TextView android:id="@+id/user_id" android:layout_width="fill_parent"
android:layout_height="fill_parent"
android:textSize="10pt"
android:singleLine="true"/>
</LinearLayout>
③ 在主Activity的布局文件main.xml中添加一個ListView
<ListView
android:id="@id/android:list"
android:layout_width="fill_parent"
android:layout_height="wrap_content"
android:scrollbars="vertical"
android:layoutAnimation="@anim/anim_layout"
/>
④ 創建一個MainActivity繼承ListActivity,並在onCreate方法中添加如下代碼:
ListView listView = getListView();
List<HashMap<String, String>> list = new ArrayList<HashMap<String, String>>();
HashMap<String, String> hm1 = new HashMap<String, String>();
hm1.put("user_name", "arthinking");
hm1.put("user_id", "001");
HashMap<String, String> hm2 = new HashMap<String, String>();
hm2.put("user_name", "Jason");
hm2.put("user_id", "002");
list.add(hm1);
list.add(hm2);
SimpleAdapter simpleAdapter = new SimpleAdapter(this, list,
R.layout.item, new String[] { "user_name", "user_id" },
new int[] { R.id.user_name, R.id.user_id });
listView.setAdapter(simpleAdapter);
//通過Animation獲取LayoutAnimationController對ListView進行設置
Animation animation = (Animation)AnimationUtils.loadAnimation(MainActivity.this, R.anim.list_anim);
LayoutAnimationController lac = new LayoutAnimationController(animation);
lac.setOrder(LayoutAnimationController.ORDER_NORMAL);
lac.setDelay(0.5f);
listView.setLayoutAnimation(lac);
這樣,運行程序,顯示的ListView就會按照xml文件中預置的動畫效果顯示了。
也可以通過xml文件進行設置動畫:
① 在以上步驟的基礎之上,在res/anim文件夾下創建一個anim_layout.xml文件:
<?xml version="1.0" encoding="utf-8"?>
<layoutAnimation xmlns:android="http://schemas.android.com/a pk/res/android"
android:delay="1"
android:animationOrder="normal"
android:animation="@anim/list_anim" />
② main在布局文件的的ListView添加如下屬性:
android:layoutAnimation="@anim/anim_layout"
這樣就在把MainActivity的onCreate()方法中的
//通過Animation獲取LayoutAnimationController對ListView進行設置
注釋後的代碼刪除了,直接使用xml進行動畫的控制。
AnimationListener的使用
① 可以為一個Button添加一個事件:
button.setOnClickListener(new TestAnimationListener());
② 接下來是編寫這個TestAnimationListener類,繼承AnimationListener,並覆蓋裡面的三個方法:
//這裡獲取控件組,R.id.layoutId為main.xml的整體布局標簽的id屬性值
ViewGroup viewGroup = (ViewGroup)findViewById(R.id.layoutId);
private class RemoveAnimationListener implements AnimationListener{
//該方法在淡出效果執行結束之後被調用
@Override
public void onAnimationEnd(Animation animation) {
//假設這裡要在動畫執行完之後刪除一個TextView
viewGroup.removeView(textView);
}
@Override
public void onAnimationRepeat(Animation animation) {
System.out.println("onAnimationRepeat");
}
@Override
public void onAnimationStart(Animation animation) {
System.out.println("onAnimationStart");
}
}
③ 同樣的,在動畫效果中添加控件可以按照如下實現
ScaleAnimation scale = new ScaleAnimation(1, 0.5f, 1, 0.5f,
scale.setDuration(1000);
scale.setStartOffset(100);
TextView textView = new TextView(MainActivity.this);
textView.setText("add");
viewGroup.addView(textView, new LayoutParams(LayoutParams.FILL_PARENT, LayoutParams.WRAP_CONTENT));
textView.startAnimation(scale);
 自定義View--單行上下滾動廣告
效果圖實現代碼public class ScrollBanner extends LinearLayout { private TextView mBannerTV
 Android開發之RecyclerView控件
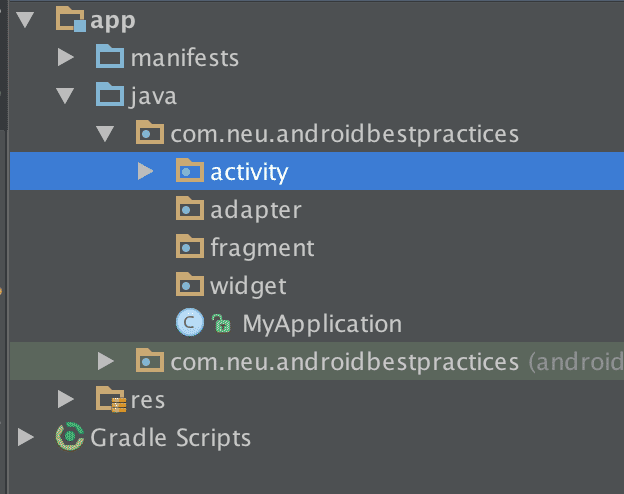
現階段,我們創建了最簡單的Android項目,現在在此公布github鏈接https://github.com/neuyu/android-best-practices,
 Android自定義控件之組合控件學習筆記分享
我們來講一下自定義組合控件,相信大家也接觸過自定義組合控件吧,話不多說,直接干(哈~哈~):大家看到這個覺得這不是很簡單的嗎,這不就是寫個布局文件就搞定嘛,沒錯,確實直接
 Android clipChildren屬性實例詳解
前言 前幾天有在微博上推薦過一個博客,看他文章時發現了這個屬性。有些屬性不常用,但需要的時候非常有用,於是做了個例子,正好項目用到,與大家分享一下。
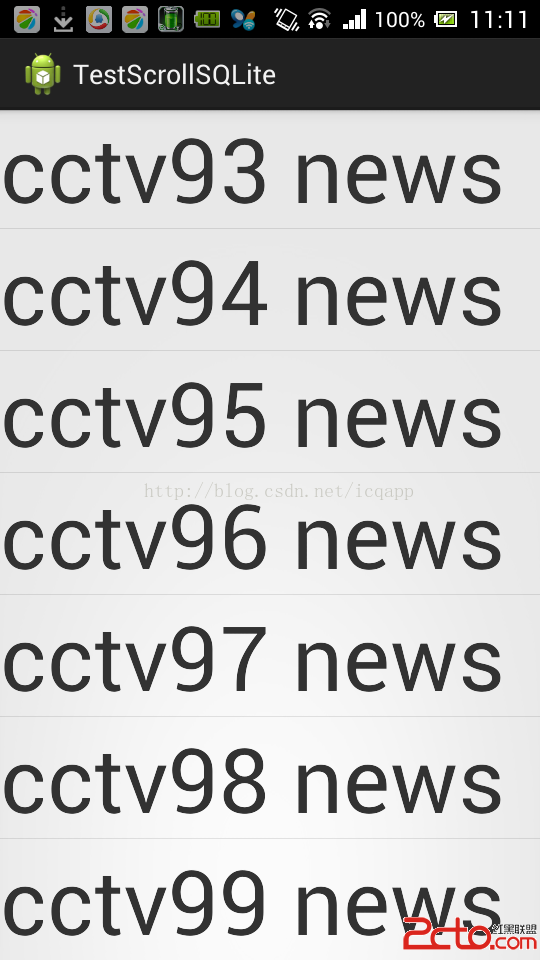 android listview scroll滑屏顯示sqlite分頁,類似聊天記錄,listview動態添加sqlite分頁數據
前言:最近做基於openfire聊天(仿QQ、微信)翻頁查看聊天記錄,為