13.電話撥號器的制作:
a.窗口上有顯示文字的Textview控件
b.用於顯示文本輸入框的
c.和button控件
---------------------------------------------
14.創建Android項目
a.applicationName:電話撥號器
b.Package name:com.credream.call
c.Create Activity:MainActivity
d.Min SDK Version:8
---------------------------------------
15.完成該軟件界面:
a.打開main.xml文件:編輯:
打開引用的strings.xml編輯需要的文字
b.點擊layout,看看預覽畫面,可以選擇標屏查看:ADPI
c.strings.xml
<?xml version="1.0" encoding="utf-8"?>
<resources>
<string name="hello">Hello World, MainActivity!</string>
<string name="app_name">電話撥號器</string>
<string name="mobile">請輸入電話號:</string>
<string name="button">開始撥號</string>
</resources>
d.main.xml
<?xml version="1.0" encoding="utf-8"?>
<LinearLayout xmlns:android="http://schemas.android.com/apk/res/android"
android:orientation="vertical"
android:layout_width="fill_parent"
android:layout_height="fill_parent"
>
<TextView
android:layout_width="fill_parent"
android:layout_height="wrap_content"
android:text="@string/mobile"
/>
<EditText
android:layout_width="fill_parent"
android:layout_height="wrap_content"
/>
<Button
android:layout_width="fill_parent"
android:layout_height="wrap_content"
android:text="@string/button"
/>
</LinearLayout>
----------------------------------------------------
16.給button添加業務邏輯:
<Button
android:layout_width="fill_parent"
android:layout_height="wrap_content"
android:text="@string/button"
android:id="@+id/button"//在R文件中id內部類裡添加一個常量,並且使用button,作為
//常量的名字 public static final int button=0x7f040003;
/>
先在main.xml中寫入;
<Button
android:layout_width="fill_parent"
android:layout_height="wrap_content"
android:text="@string/button"
android:id="@+id/button"//在R文件中id內部類裡添加一個常量,並且使用button,作為
//常量的名字 public static final int button=0x7f040003;
/>
-------------------------------------------------------------
17.a.在android中:不管是Button,EditText,還是TextVew都有公共父類:View,所以他們都屬 於View類型
Button button=(Button) this.findViewById(R.id.button);//根據id查找某一個顯 示控件
b.android源代碼下載方法:網上有android源碼下載工具
使用本工具要先安裝windows版本git,可到以下下載:
http://code.google.com/p/msysgit/downloads/list
----------------------------------------------------------
18.a.<user-permission android:name="android.permission.CALL.PHONE"/>//在清單文件 中出示這個權限,撥號權限;,出示了這個權限之後,在用戶使用撥號的時候,會彈出安全
警告信息.
-------------------------------------------------------------
19.撥號器的作用,比如在百合網,搜索出來美女後,可以直接點擊撥號,來撥打對方電話
----------------------------------------------------------------
2013-03-03
1.上面的撥號器每次都要尋找輸入框,性能低
可以把
button.setOnClickListener(new ButtonClickListener());
放到onCreate方法裡面,這時候,只需要在創建的時候尋找一次就可以了
---------------------------------------------------------------------
2.a.還有一種寫法:
但是這樣的寫法雖然可以實現同樣的同能,但可讀性不好,所以不建議,
如果大量使用匿名內部類的話那麼可讀性會很差
b.定義成內部類,比寫成一個單獨的類,性能要好很多,所以在android中,大量使用了
很多匿名內部類,因為當寫成一個單獨的類的時候,加載的時候會單獨的加載,那麼
所加載的文件就會變多,這樣的話,就降低了性能
-----------------------------------------------------------------------
1.電話撥號器的所有代碼:
cn.credream.phone
MainActivity.java的最佳方法:
package cn.itcast.phone;
import android.app.Activity;
import android.content.Inent;
import android.net.Uri;
import android.os.Bundle;
import android.view.View;
import android.widget.Button;
import android.widget.EditText;
public class MainActivity extends Activity {
private EditText mobileText;
@Override
public void onCreate(Bundle savedInstanceState) {
super.onCreate(savedInstanceState);
setContentView(R.layout.main);
mobileText = (EditText) findViewById(R.id.mobile);
Button button = (Button) this.findViewById(R.id.button);
button.setOnClickListener(new ButtonClickListener());
}
private final class ButtonClickListener implements View.OnClickListener{
public void onClick(View v) {
String number = mobileText.getText().toString();
Intent intent = new Intent();
intent.setAction("android.intent.action.CALL");
intent.setData(Uri.parse("tel:"+ number));
startActivity(intent);//方法內部會自動為Intent添加類別: android.intent.category.DEFAULT
}
}
}
-----------------------------------------------------------------------------------------
MainActivity.java的另一種方法:
package com.credream.call;
import android.app.Activity;
import android.content.Intent;
import android.net.Uri;
import android.os.Bundle;
import android.view.View;
import android.widget.Button;
import android.widget.EditText;
public class MainActivity extends Activity {
private EditText mobileText;
@Override
public void onCreate(Bundle savedInstanceState) {
super.onCreate(savedInstanceState);
setContentView(R.layout.main);
mobileText = (EditText) findViewById(R.id.mobile);
Button button = (Button) this.findViewById(R.id.button);
button.setOnClickListener(new ButtonClickListener(){
public void onClick(View v) {
String number = mobileText.getText().toString();
Intent intent = new Intent();
intent.setAction("android.intent.action.CALL");
intent.setData(Uri.parse("tel:"+ number));
startActivity(intent);//方法內部會自動為Intent添加類別:android.intent.category.DEFAULT
}
});
}
--------------------------------------------------
main.xml
<?xml version="1.0" encoding="utf-8"?>
<LinearLayout xmlns:android="http://schemas.android.com/apk/res/android"
android:orientation="vertical"
android:layout_width="fill_parent"
android:layout_height="fill_parent"
>
<TextView
android:layout_width="fill_parent"
android:layout_height="wrap_content"
android:text="@string/mobile"
/>
<EditText
android:layout_width="fill_parent"
android:layout_height="wrap_content"
android:id="@+id/mobile"
/>
<Button
android:layout_width="wrap_content"
android:layout_height="wrap_content"
android:text="@string/button"
android:id="@+id/button"
/>
</LinearLayout>
-----------------------------------------------------
strings.xml
<?xml version="1.0" encoding="utf-8"?>
<resources>
<string name="hello">Hello World, MainActivity!</string>
<string name="app_name">電話拔號器</string>
<string name="mobile">請輸入手機號</string>
<string name="button">拔號</string>
</resources>
---------------------------------------------
AndroidManifest.xml
<?xml version="1.0" encoding="utf-8"?>
<manifest xmlns:android="http://schemas.android.com/apk/res/android"
package="cn.itcast.phone"
android:versionCode="1"
android:versionName="1.0">
<application android:icon="@drawable/icon" android:label="@string/app_name">
<activity android:name=".MainActivity"
android:label="@string/app_name">
<intent-filter>
<action android:name="android.intent.action.MAIN" />
<category android:name="android.intent.category.LAUNCHER" />
</intent-filter>
</activity>
</application>
<uses-sdk android:minSdkVersion="8" />
<uses-permission android:name="android.permission.CALL_PHONE"/>
</manifest>
-----------------------------------------------------------
3.Adb connection Error:遠程主機強迫關閉了一個現有的連接。
問題出現的原因:這是ddms調用adb引發的. 經過一番搜索, 發現這是windows環境下, adb的一個限制, 也可以說是bug. 當手機上同時運行的進程數大於64時, 就會引發adb奔潰. 更深層
次的原因, 就是windows API的WaitForMultipleObjects所支持的最大句柄數是MAXIMUM_WAIT_OBJECTS, 即64.
下載相應的adb.exe文件,用它替換掉你機器上的sdk的platform/tools目錄下面的adb.exe。這樣就可以完美解決問題。
------------------------------------------------------------------------
4.Unexpected error while launching logcat. Try reselecting the device.
今天在向模擬器部署運行項目時碰到下面的異常:
[2012-02-15 13:22:14 - DeviceMonitor] Adb connection Error:An existing connection was forcibly closed by the remote host
[2012-02-15 13:22:14 - Unexpected error while launching logcat. Try reselecting the device.] An existing connection was forcibly closed by the remote host
java.io.IOException: An existing connection was forcibly closed by the remote host
兩種解決辦法:
1、在命令行下執行如下命令:adb kill-server、adb kill-server
2、在任務管理器中,強制關閉adb.exe,然後重啟模擬器
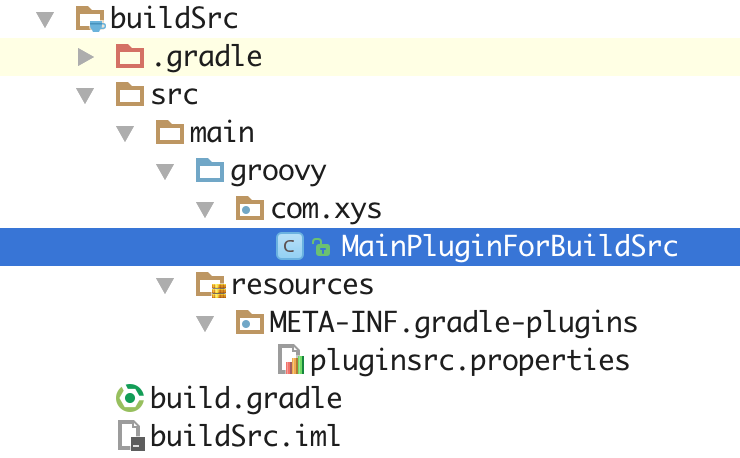 Gradle自定義插件
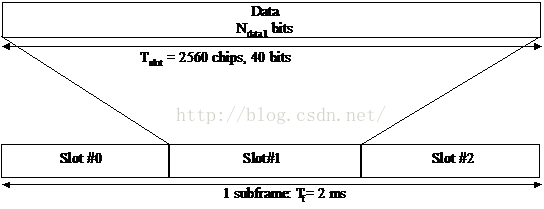 HSDPA學習小結
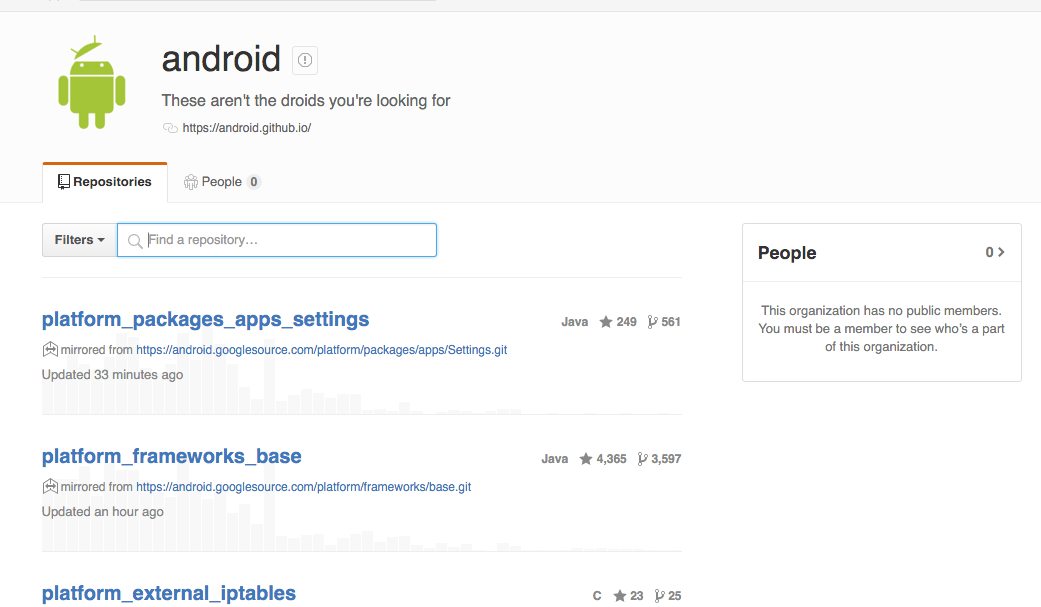 android源碼解析之(十三)--)apk安裝流程
 設計模式 - 命令模式(command pattern) 詳解