編輯:關於Android編程
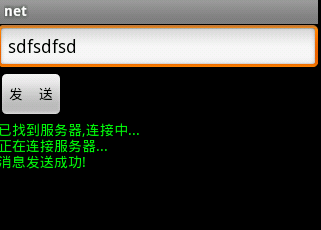
過安卓的應該對通知欄消息都很熟悉了,下面是演示通知欄消息的一個Demo,首先來看一下界面,後面是代碼,解釋就都放在代碼裡了.
java代碼
package jason.notification;

import android.app.Activity;
import android.app.Notification;
import android.app.NotificationManager;
import android.app.PendingIntent;
import android.content.Context;
import android.content.Intent;
import android.os.Bundle;
import android.view.Menu;
import android.view.View;
import android.view.View.OnClickListener;
import android.widget.Button;

public class MainActivity extends Activity {
    Button button;
    @Override
    protected void onCreate(Bundle savedInstanceState) {
        super.onCreate(savedInstanceState);
        setContentView(R.layout.activity_main);
        button = (Button) findViewById(R.id.notify);
        button.setOnClickListener(new OnClickListener() {

            @Override
            public void onClick(View arg0) {
                //獲得通知管理器
                NotificationManager manager = (NotificationManager) getSystemService(Context.NOTIFICATION_SERVICE);
                //構建一個通知對象(需要傳遞的參數有三個,分別是圖標,標題和 時間)
                Notification notification = new Notification(R.drawable.ic_launcher, "通知", System.currentTimeMillis());
                PendingIntent pendingIntent = PendingIntent.getActivity(MainActivity.this,0,new Intent(MainActivity.this,MainActivity.class),0);());//這是一個PendingIntent,關於它的使用昨天我剛寫過一個,有興趣可以去看看
                notification.setLatestEventInfo(getApplicationContext(), "通知標題", "通知顯示的內容", pendingIntent);//這就是對通知的具體設置了
                notification.flags = Notification.FLAG_AUTO_CANCEL;//點擊後自動消失
                notification.defaults = Notification.DEFAULT_SOUND;//聲音默認
                manager.notify(0, notification);//發動通知
            }
        });
    }
}

package jason.notification;

import android.app.Activity;
import android.app.Notification;
import android.app.NotificationManager;
import android.app.PendingIntent;
import android.content.Context;
import android.content.Intent;
import android.os.Bundle;
import android.view.Menu;
import android.view.View;
import android.view.View.OnClickListener;
import android.widget.Button;

public class MainActivity extends Activity {
 Button button;
 @Override
 protected void onCreate(Bundle savedInstanceState) {
  super.onCreate(savedInstanceState);
  setContentView(R.layout.activity_main);
  button = (Button) findViewById(R.id.notify);
  button.setOnClickListener(new OnClickListener() {

   @Override
   public void onClick(View arg0) {
    //獲得通知管理器
    NotificationManager manager = (NotificationManager) getSystemService(Context.NOTIFICATION_SERVICE);
    //構建一個通知對象(需要傳遞的參數有三個,分別是圖標,標題和 時間)
    Notification notification = new Notification(R.drawable.ic_launcher, "通知", System.currentTimeMillis());
    PendingIntent pendingIntent = PendingIntent.getActivity(MainActivity.this,0,new Intent(MainActivity.this,MainActivity.class),0);());//這是一個PendingIntent,關於它的使用昨天我剛寫過一個,有興趣可以去看看
    notification.setLatestEventInfo(getApplicationContext(), "通知標題", "通知顯示的內容", pendingIntent);//這就是對通知的具體設置了
    notification.flags = Notification.FLAG_AUTO_CANCEL;//點擊後自動消失
    notification.defaults = Notification.DEFAULT_SOUND;//聲音默認
    manager.notify(0, notification);//發動通知
   }
  });
 }
}
對於通知的結構下面有個圖很好的進行了標注;
以下是每個部分的說明:
1. 內容標題
2. 大型icon
3. 內容text
4. 內容info
5. 小型icon
6. 發布通知的時間。你能使用setWhen()設置一個明確的值。
 Android學習小結之Activity保存和恢復狀態
Android中啟動一個Activity如果點擊Home鍵該Activity是不會被銷毀的,但是當進行某些操作時某些數據就會丟失,如下:Java class:packag
 Android Linux內核編譯
平台: Wind7_64 + Ubuntu12_04_64 + VMware 這裡以Android5.0為例: Android5.0 可以到這
 ListView常用拓展
一、實現ListView下拉刷新第一步:添加頂部下拉加載界面,即ListView的header頭布局1、創建layout布局文件head_layout2、創建一個自定義L
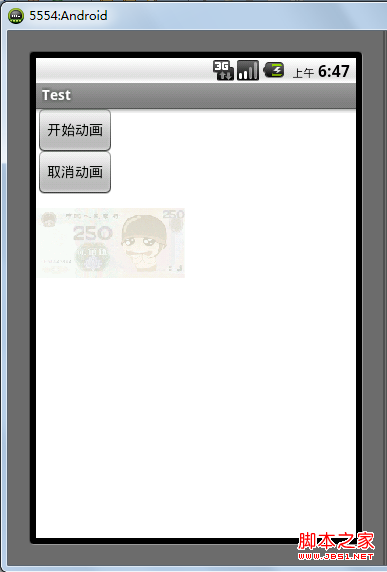 Android 動畫之AlphaAnimation應用詳解
android中提供了4中動畫: AlphaAnimation 透明度動畫效果 ScaleAnimation 縮放動畫效果 TranslateAnimation 位移動畫