1. 創建Android Project
File -> New -> Android Application Project
2. 定義調用C函數的java類,並生成(Eclipse中是自動編譯的)。
Java代碼:
package lw.example.hellondk;
public class HelloJni {
public native String getStringFromJni();
public static native String getStringFromJniStatic();
static {
System.loadLibrary("HelloNdk");
}
}
3. 生成h文件
在Project新建gen_h.bat文件,輸入內容如下:
javah -classpath bin\classes -d jni lw.example.hellondk.HelloJni
@pause
運行該bat文件後,會在jni目錄生成lw_example_hellondk_HelloJni.h文件。
4. 添加Native支持
右擊Project -> Android Tools -> Add Native Support...
5. 附加Android Native C的h文件
右擊project -> Properties,設置如下:
6. 在cpp文件中實現函數。
#include "lw_example_hellondk_HelloJni.h"
jstring
Java_lw_example_hellondk_HelloJni_getStringFromJni(JNIEnv* env, jobject thiz)
{
return env->NewStringUTF("Hello JNI!");
}
jstring
Java_lw_example_hellondk_HelloJni_getStringFromJniStatic(JNIEnv* env, jclass thiz)
{
return env->NewStringUTF("Hello JNI!(static)");
}
7. 編譯so文件
點擊工具欄,編譯成功後,會生成so文件。
8. 在Activity中添加測試代碼。
package lw.example.hellondk;
import android.app.Activity;
import android.widget.TextView;
import android.os.Bundle;
public class MainActivity extends Activity {
@Override
protected void onCreate(Bundle savedInstanceState) {
super.onCreate(savedInstanceState);
/* Create a TextView and set its content.
* the text is retrieved by calling a native
* function.
*/
TextView tv = new TextView(this);
tv.setText( HelloJni.getStringFromJniStatic() );
setContentView(tv);
}
}
 Android百度地圖之定位
 【Android圖像處理】實現鏡面濾鏡的另一種方式
 Android使用criteria選擇合適的地理位置服務實現方法
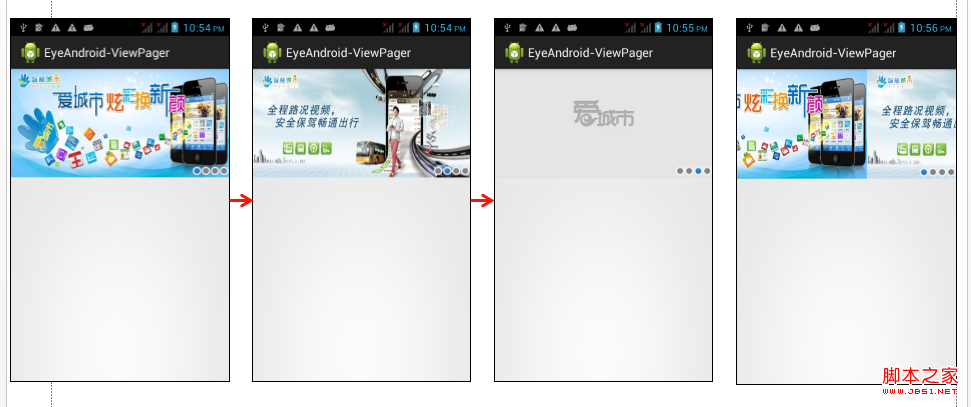 Android利用ViewPager實現滑動廣告板實例源碼