Dialog是Android提供的各種對話框的基類,和上篇的DialogFragment類似。為什麼還要介紹Dialog呢,因為DialogFragment只能運行在Android3.0以上的系統中。雖然現在手機更新的很快,Android系統更新的也很快,但是Android3.0系統以下的用戶,還是存在不少的。所以采用Dialog擁有一定的優勢。
這篇文章需要實現的是arcgis for android 的地圖切換,gis系統一般會為用戶提供多種用戶的選中,地圖切換是必須的。
1.mapswitchDialog
在res的layout中新建android的xml文檔。
復制代碼
1 <?xml version="1.0" encoding="utf-8"?>
2 <RelativeLayout android:layout_width="fill_parent"
3 android:layout_height="fill_parent"
4 android:background="@color/white"
5 android:orientation="vertical" xmlns:android="http://schemas.android.com/apk/res/android">
6
7 <LinearLayout
8 android:id="@+id/l1"
9 android:layout_width="fill_parent"
10 android:layout_height="wrap_content"
11 android:background="@drawable/common_top_layer_with_projection_bg"
12 android:gravity="center"
13 android:orientation="horizontal" >
14
15 <ImageButton
16 android:id="@+id/imgswichclose"
17 android:layout_width="wrap_content"
18 android:layout_height="wrap_content"
19 android:clickable="true"
20 android:src="@drawable/icon_cancel_normal" />
21
22 <TextView
23 android:layout_width="fill_parent"
24 android:layout_height="fill_parent"
25 android:layout_gravity="center"
26 android:gravity="right|center"
27 android:text="@string/switchmap"
28 android:textColor="@color/black"
29 android:textSize="12sp" />
30
31 </LinearLayout>
32
33 <LinearLayout
34 android:layout_width="fill_parent"
35 android:layout_height="wrap_content"
36 android:layout_below="@id/l1"
37 android:orientation="horizontal" >
38
39 <LinearLayout
40 android:layout_width="wrap_content"
41 android:layout_height="wrap_content"
42 android:layout_below="@id/l1"
43 android:gravity="center"
44 android:orientation="vertical" >
45
46 <ImageButton
47 android:id="@+id/imgmap_1"
48 android:layout_width="wrap_content"
49 android:layout_height="wrap_content"
50 android:src="@drawable/main_map_mode_3d_normal" />
51
52 <TextView
53 android:layout_width="wrap_content"
54 android:layout_height="wrap_content"
55 android:text="@string/smap1"
56 android:textColor="@color/black"
57 android:layout_gravity="center"
58 android:gravity="right|center" />
59
60 </LinearLayout>
61
62 <LinearLayout
63 android:id="@+id/l3"
64 android:layout_width="wrap_content"
65 android:layout_height="wrap_content"
66 android:layout_marginLeft="20dp"
67 android:gravity="center"
68 android:orientation="vertical" >
69
70 <ImageButton
71 android:id="@+id/imgmap_2"
72 android:layout_width="wrap_content"
73 android:layout_height="wrap_content"
74 android:src="@drawable/main_map_mode_3d_normal" />
75
76 <TextView
77 android:layout_width="wrap_content"
78 android:layout_height="wrap_content"
79 android:layout_gravity="center"
80 android:text="@string/map_2"
81 android:textColor="@color/black" />
82
83 </LinearLayout>
84 </LinearLayout>
85 </RelativeLayout>
復制代碼
這個xml文檔,也就是我們所說的地圖切換的布局頁面。
2.建立mapSwitchDialog類
在類中,和DialogFragment情況相似,需要實現onCreate()方法。
復制代碼
1 public class MapswichFragment extends Dialog {
2
3
4 private refreshUIListener listenr;
5 public MapswichFragment(Context context) {
6 super(context);
7 // TODO Auto-generated constructor stub
8 }
9 public MapswichFragment(Context context,refreshUIListener listener)
10 {
11 super(context);
12 this.listenr=listener;
13 }
14 protected void onCreate(Bundle savedInstanceState) {
15 // TODO Auto-generated method stub
16 super.onCreate(savedInstanceState);
17 this.setContentView(R.layout.mapswitch_fragment);
18 ImageView image1=(ImageView)findViewById(R.id.imgswichclose);
19 image1.setOnClickListener(new View.OnClickListener() {
20
21 public void onClick(View v) {
22 // TODO Auto-generated method stub
23 dismiss();
24 }
25 });
26 ImageButton img1=(ImageButton)findViewById(R.id.imgmap_1);
27 img1.setOnClickListener(new View.OnClickListener() {
28
29 public void onClick(View v) {
30 // TODO Auto-generated method stub
31 listenr.refreshUi();
32
33 }
34
35 });
36 }
37 public interface refreshUIListener
38 {
39 public void refreshUi();
40 }
41
42 }
復制代碼
在oncreate方法中,為該dialog指定頁面。需要強調的是,在進行地圖切換的時候,地圖需要實時的在手機上進行顯示,也就是我們點擊dialog中的圖片按鈕,Activity要進行更新。在網上看到別人的解決方法還不錯,通過定義接口的方法來實現。定義一個事件監聽的接口,並在接口中定義一個方法,在構造函數中初始化該監聽,在事件中調用該方法。
3.main.xml
main.xml是主頁面,這裡就不多說了,需要添加一個mapview和一個button。mapview用來顯示地圖,button用來切換地圖。
button的監聽事件中調用剛剛定義的dialog就可以實現地圖切換。
復制代碼
1 ImageButton imgswitch=(ImageButton)findViewById(R.id.btnmapswitch);
2 imgswitch.setOnClickListener(new View.OnClickListener() {
3
4 @Override
5 public void onClick(View v) {
6 // TODO Auto-generated method stub
7 MapswichFragment frag=new MapswichFragment(MainMapActivity.this,new MapswichFragment.refreshUIListener() {
8
9 @Override
10 public void refreshUi() {
11 // TODO Auto-generated method stub
12 mMapView.removeAll();
13 ArcGISTiledMapServiceLayer titleLayer=new ArcGISTiledMapServiceLayer(layerurl);
14 mMapView.addLayer(titleLayer);
15 mMapView.addLayer(graphcisLayer);
16 }
17 });
18 frag.requestWindowFeature(Window.FEATURE_NO_TITLE);
19 frag.show();
20 }
21 });
 Android編程重寫ViewGroup實現卡片布局的方法
 Android開發:仿微信圖片選擇器
 Android JNI 之 JNIEnv 解析
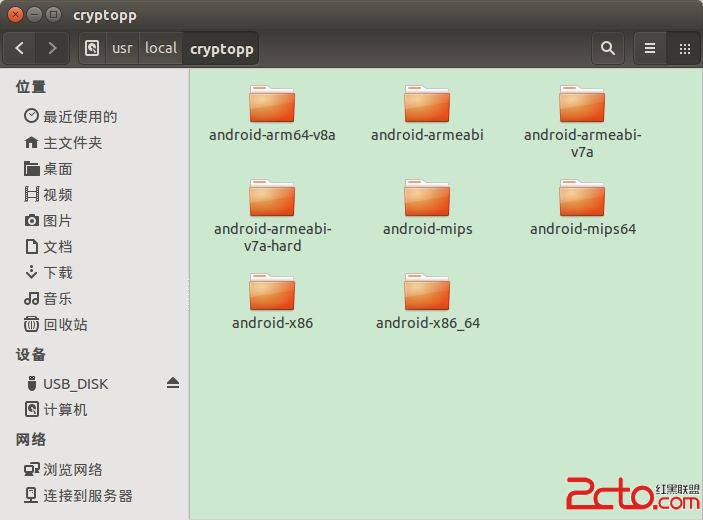 ubuntu移植crypto++到Android平台
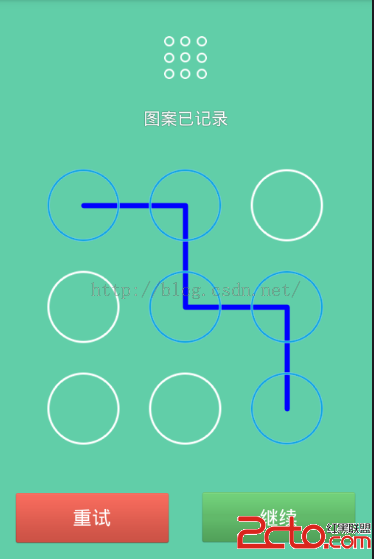 Android手勢密碼LockPatternView、LockPasswordUtils、LockPatternUtils等分析