Service是Android中的四大組件之一,和windows中的服務是類似,服務一般沒有用戶操作界面,它運行於系統中不容易被用戶發覺,可以使用它開發如監控之類的程序Service,手機中有的程序的更新,服務的推送。Android系統中,Service與Activity類似,都需要AndroidManifest.xml文件中配置,而且生命周期有點類似。Service不像Activity在前台運行,而是默默的在後台默默的工作,簡單粗暴點理解就是男主內女主外,分工明確。
Service生命周期
service與activity一樣都存在與當前進程的主線程中,所以,一些阻塞UI的操作,比如耗時操作不能放在service裡進行,比如另外開啟一個線程來處理類似下載這種耗時操作。如果在service裡進行一些耗CPU和耗時操作,應用會彈出是強制關閉還是等待的對話框。因此service和activity是平級的,四大組件之一的地位也不是浪得虛名。先看張經典老圖:
這兩個都是Service的生命周期,從上到到下也沒有什麼難懂的英文,應該比較好理解,如果有困惑,可以先參考下面的程序就懂了.
兩種啟動Service方式
自定義一個BookService繼承自Service:
public class BookService extends Service {
private String tag="BookService";
@Override
public void onCreate() {
// TODO Auto-generated method stub
super.onCreate();
Log.i(tag, "開始onCreate啟動了");
}
@Override
public int onStartCommand(Intent intent, int flags, int startId) {
// TODO Auto-generated method stub
Log.i(tag, "開始執行onStartCommand啟動了");
Toast.makeText(this, "BookService開始了",Toast.LENGTH_SHORT).show();
return super.onStartCommand(intent, flags, startId);
}
@Override
public void onDestroy() {
// TODO Auto-generated method stub
Log.i(tag, "銷毀onDestroy啟動了");
super.onDestroy();
}
@Override
public IBinder onBind(Intent intent) {
// TODO Auto-generated method stub
Log.i(tag, "綁定onBind啟動了");
return null;
}
@Override
public boolean onUnbind(Intent intent) {
// TODO Auto-generated method stub
Log.i(tag, "解綁onUnbind啟動了");
return super.onUnbind(intent);
}
}
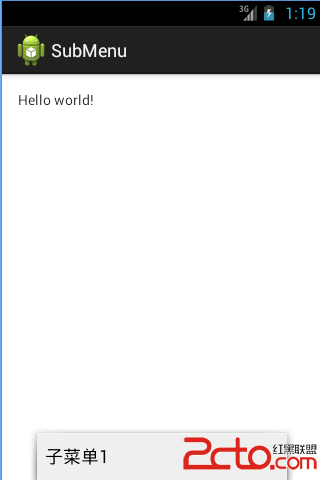
看下效果圖:
布局很簡單,就不貼代碼了,但是需要在AndroidManifest.xml注冊一下代碼:
<service android:name="com.example.googleservice.BookService"></service>
點擊第一個按鈕執行的代碼,Intent之前有寫過,之前是startActivity,這裡用的startService:
Intent service=new Intent(this,BookService.class);
startService(service);
第二個按鈕執行的事件:
Intent stopservice=new Intent(this,BookService.class);
stopService(stopservice);
通過Log就很容易明白第一張圖了,第一種調用Service的方式也就簡單完成了;
第二種調用首先定義個繼承自ServiceConnection的BookConnection:
class BookServiceConnection implements ServiceConnection{
public BookServiceConnection() {
super();
// TODO Auto-generated constructor stub
}
@Override
public void onServiceConnected(ComponentName name, IBinder service) {
// TODO Auto-generated method stub
}
@Override
public void onServiceDisconnected(ComponentName name) {
// TODO Auto-generated method stub
}
}
第三個按鈕觸發的代碼:
Intent binderStartIntent=new Intent(this,BookService.class);
connection=new BookServiceConnection();
bindService(binderStartIntent, connection,Context.BIND_AUTO_CREATE);
第四種按鈕觸發的事件:
unbindService(connection);
看下Log對比之後也就明白了第二張圖:
這兩種都很簡單,不過有的時候Activity和Service之間是要通信的:
這個時候你可以在BookService中定義一個內部類:
class BookBinder extends Binder {
public BookService getCurrentService() {
return BookService.this;
}
}
這個時候在Activity中的BookServiceConnection中onServicedConnected中改動一下:
@Override
public void onServiceConnected(ComponentName name, IBinder service) {
// TODO Auto-generated method stub
//獲取實例
BookService bookService=((BookService.BookBinder)service).getCurrentService();
//just do wo you want to do
}
Service一直在後台工作,可以通過Notification將消息傳遞到前台,修改一下BookService的onCreate()方法:
@Override
public void onCreate() {
// TODO Auto-generated method stub
super.onCreate();
NotificationManager mNotificationManager = (NotificationManager)
getSystemService(NOTIFICATION_SERVICE);
NotificationCompat.Builder mBuilder =
new NotificationCompat.Builder(this)
.setSmallIcon(R.drawable.ic_launcher)
.setContentTitle("QQ空間")
.setContentText("北京真坑,開個會房子都被拆");
mNotificationManager.notify(0, mBuilder.build());
Log.i(tag, "開始onCreate啟動了");
}
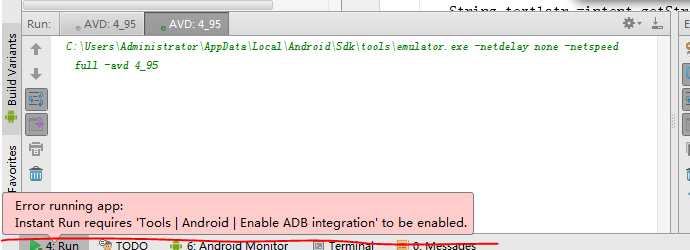 Error running app: Instant Run requires 'Tools | Android | Enable ADB integration' to be enabled.
 一起學android之磨刀不誤砍柴工(6)
 Activity的創建和顯示以及源碼分析記錄
 Android TabWidget切換卡的實現應用