在實際開發中,開發android軟件的過程需要不斷地進行測試。所以掌握Android的單元測試是極其重要的。您應該把單元測試作為Android應用開發周期的一部分,精心編寫的測試可以在開發早起幫你發現錯誤。
關於Android單元測試可以看Google官方給的教程:Best Practices for Testing(需要FQ)
一、創建Android Test Project
1、創建一個Android Project:Hello。並將其布局文件改成如下:
復制代碼
1 <LinearLayout xmlns:android="http://schemas.android.com/apk/res/android"
2 xmlns:tools="http://schemas.android.com/tools"
3 android:layout_width="match_parent"
4 android:layout_height="match_parent"
5 android:orientation="vertical" >
6
7 <TextView
8 android:id="@+id/text"
9 android:layout_width="match_parent"
10 android:layout_height="wrap_content"
11 android:text="@string/hello_world" />
12
13 <!-- 這樣直接寫字符串是不好的,建議寫在strings.xml中 -->
14 <EditText
15 android:id="@+id/edit"
16 android:layout_width="match_parent"
17 android:layout_height="wrap_content"
18 android:hint="請輸入" />
19
20 </LinearLayout>
復制代碼
2、創建Hello對應的測試項目:File->New->Other->Android->Android Test Project,彈出”New Android Test Project”對話框,在"Project Name"中輸入“HelloTest”,點擊“Next”。
3、在”Select Test Target”中,選中你要測試的Android項目,然後點擊Finish即可。
創建完Android Test Project後,打開HelloTest項目的AndroidManifest.xml文件,你會發現裡面的配置會比HelloTest多,具體不同請看下面的代碼:
復制代碼
1 <?xml version="1.0" encoding="utf-8"?>
2 <manifest xmlns:android="http://schemas.android.com/apk/res/android"
3 package="com.lsj.hello.test"
4 android:versionCode="1"
5 android:versionName="1.0" >
6
7 <uses-sdk android:minSdkVersion="8" />
8
9 <!-- 代表配置單元測試框架的啟動裝置,啟動裝置有好幾個類,可以選擇,一般情況下我們使用上面這個 -->
10 <!-- targetPackage與Hello的package相同,代表單元測試框架和當前應用是處於同一個進程中 -->
11 <instrumentation
12 android:name="android.test.InstrumentationTestRunner"
13 android:targetPackage="com.lsj.hello" />
14
15 <application
16 android:icon="@drawable/ic_launcher"
17 android:label="@string/app_name" >
18 <!-- 代表把單元測試框架中的一些依賴庫引入進來 -->
19 <uses-library android:name="android.test.runner" />
20 </application>
21
22 </manifest>
復制代碼
二、單元測試代碼編寫
1、創建完Android Test Project後,你會發現HelloTest自動幫你創建了com.lsj.hello.tests的包名。關於Android單元測試相關包、類、方法的命名方式如下:
包名:com.lsj.example————com.lsj.example.tests//對應包名+".tests"
類名:Hello.java————HelloTest.java//對應類名+"Test"
方法名:Hello()————testHello()//"test"+對應方法名
2、在com.lsj.hello.tests包下建立MainActivityTest.java類,MainActivityTest繼承自ActivityInstrumentationTestCase2,關於Android測試類可以看文章末尾的鏈接
3、編輯MainActivityTest,添加單元測試代碼
復制代碼
1 package com.lsj.hello.test;
2
3 import android.app.Instrumentation;
4 import android.test.ActivityInstrumentationTestCase2;
5 import android.view.KeyEvent;
6 import android.widget.EditText;
7 import android.widget.TextView;
8
9 import com.lsj.hello.MainActivity;
10
11 /**
12 * ActivityInstrumentationTestCase2繼承於TestCase, TestCase類位於junit.framework包下
13 * 查閱Android API文檔,可以發現Android的測試類全部繼承自TestCase。 創建一個單元測試大致需要以下步驟:
14 *
15 * <pre>
16 * 1、繼承TestCase類或其子類
17 * 2、定義要使用到的實例變量
18 * 3、使用setUp()方法,在測試前的對變量和測試環境進行初始化
19 * ....測試
20 * 4、在測試完成後進行垃圾回收等善後工作
21 * </pre>
22 *
23 * @author Lion
24 */
25 public class MainActivityTest extends
26 ActivityInstrumentationTestCase2<MainActivity> {
27
28 private MainActivity mActivity;
29 private TextView mTextView;
30 private EditText mEditText;
31 private Instrumentation mInstrumentation;
32
33 /**
34 * 重寫MainActivityTest的構造方法,注意super內必須為<>內的泛型類,否則會報錯。
35 * 根據Google官方給的示例,其構造函數為午餐,而且測試的時候發現有參的構造函數會導致單元測試失敗。
36 */
37 public MainActivityTest() {
38 super(MainActivity.class);
39 }
40
41 @Override
42 protected void setUp() throws Exception {
43 /* 執行對變量和測試環境的初始化 */
44 super.setUp();
45 // 關閉touch模式,否則key事件會被忽略
46 setActivityInitialTouchMode(false);
47
48 mInstrumentation = getInstrumentation();
49
50 // 獲取被測試的MainActivity
51 mActivity = this.getActivity();
52 // 獲取被測試的TextView控件
53 mTextView = (TextView) mActivity.findViewById(com.lsj.hello.R.id.text);
54 // 獲取被測試的EditText控件
55 mEditText = (EditText) mActivity.findViewById(com.lsj.hello.R.id.edit);
56 }
57
58 /**
59 * 測試數據初始化是否為空
60 */
61 public void testInit() {
62 // 斷言mActivity是否為空
63 assertNotNull(mActivity);
64 // 斷言mTextView是否為空
65 assertNotNull(mTextView);
66 // 斷言mEditText是否為空
67 assertNotNull(mEditText);
68 }
69
70 /**
71 * 測試文本框字符串是否相等
72 */
73 public void testTextViewString() {
74 // 斷言mTextView顯示的文本是否與String.xml中的hello_world相等
75 assertEquals(
76 mActivity.getResources().getString(
77 com.lsj.hello.R.string.hello_world), mTextView
78 .getText().toString());
79 }
80
81 /**
82 * 測試輸入
83 */
84 public void testEditTextInput() {
85 input();
86 assertEquals("hello", mEditText.getText().toString());
87 }
88
89 /**
90 * 模擬輸入
91 */
92 public void input() {
93 /* UI組件的相關操作需要在UI線程上進行,所以用Activity的runOnUiThread方法 */
94 mActivity.runOnUiThread(new Runnable() {
95 @Override
96 public void run() {
97 mEditText.requestFocus();
98 mEditText.performClick();
99 }
100 });
101 /*
102 * 由於測試用例在單獨的線程上執行,所以此處需要同步application,
103 * 調用waitForIdleSync等待測試線程和UI線程同步,才能進行輸入操作。
104 * waitForIdleSync和sendKeys不允許在UI線程裡運行
105 */
106 mInstrumentation.waitForIdleSync();
107 // 調用sendKeys方法,輸入
108 sendKeys(KeyEvent.KEYCODE_H, KeyEvent.KEYCODE_E, KeyEvent.KEYCODE_L,
109 KeyEvent.KEYCODE_L, KeyEvent.KEYCODE_O);
110 }
111
112 @Override
113 protected void tearDown() throws Exception {
114 /* 在測試完成後進行垃圾回收等工作 */
115 super.tearDown();
116 }
117 }
 360手機q5怎麼插卡/裝卡?360q5手機SIM卡安裝教程
 Android 開發調試工具的使用總結
 Android Studio之修改module名稱
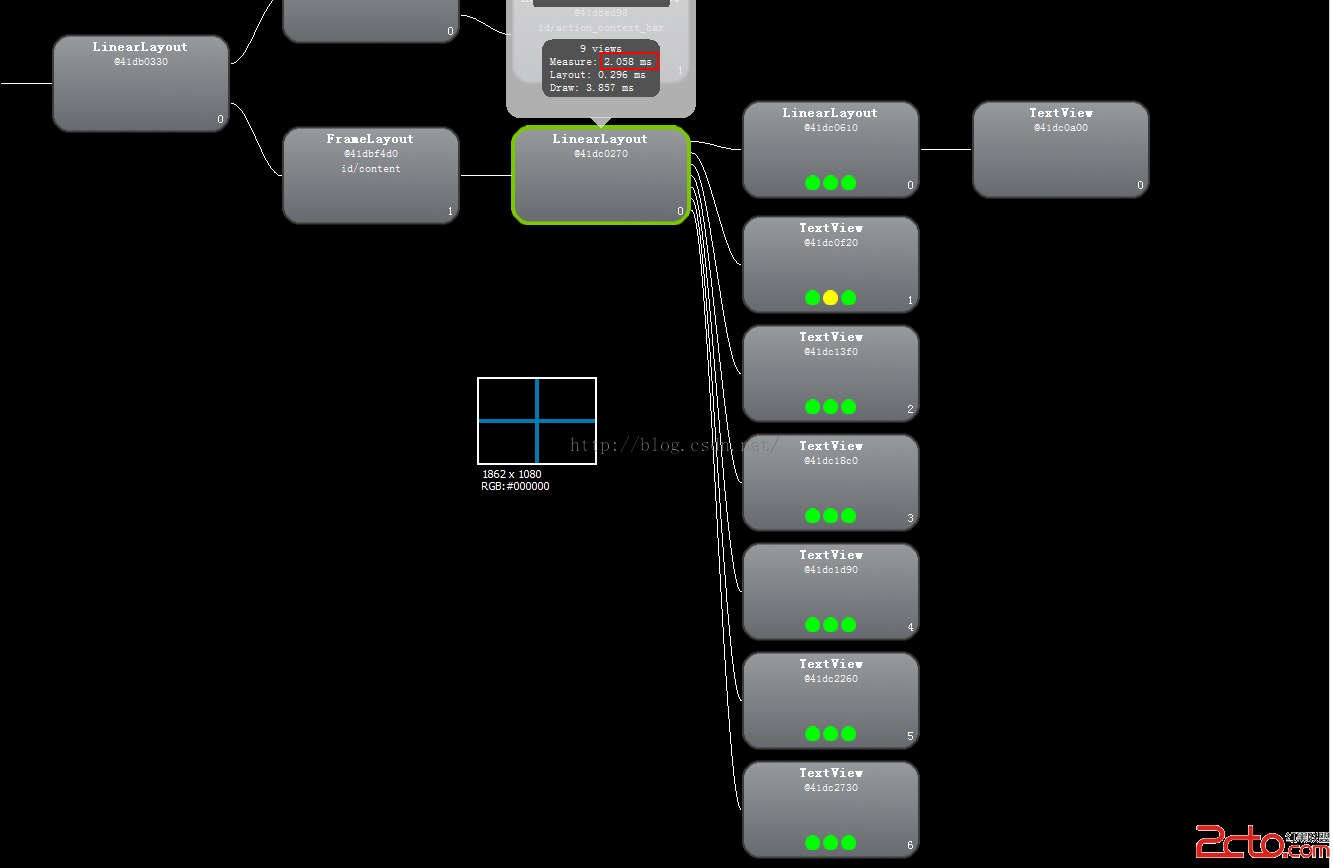 布局優化之RelativeLayout和LinearLayout及FrameLayout性能分析