編輯:關於Android編程
Hello,大家好,最近好長時間沒有寫博客了,因為我決定辭職了。
廢話不多說,我們還是來看屬性動畫在上一篇 Android 動畫詳解之屬性動畫(Property Animation)中我們簡單的介紹了一下屬性動畫的用法,其實屬性動畫還有更多有趣的用法。
1,在xml中使用
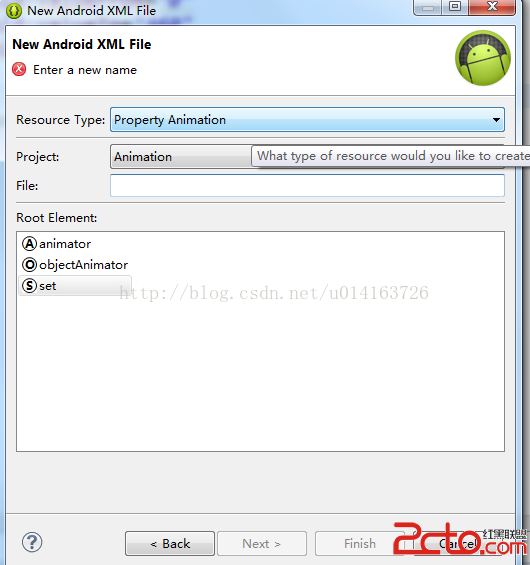
在eclipse中我們右鍵新建xml可以選擇新建屬性動畫,如圖
 vcrsz6S1xNK7xLs8L3A+CjxwPjxpbWcgc3JjPQ=="/uploadfile/Collfiles/20141202/20141202081511156.png" alt="\">
然後我們用智能提示就可以看到更熟悉的
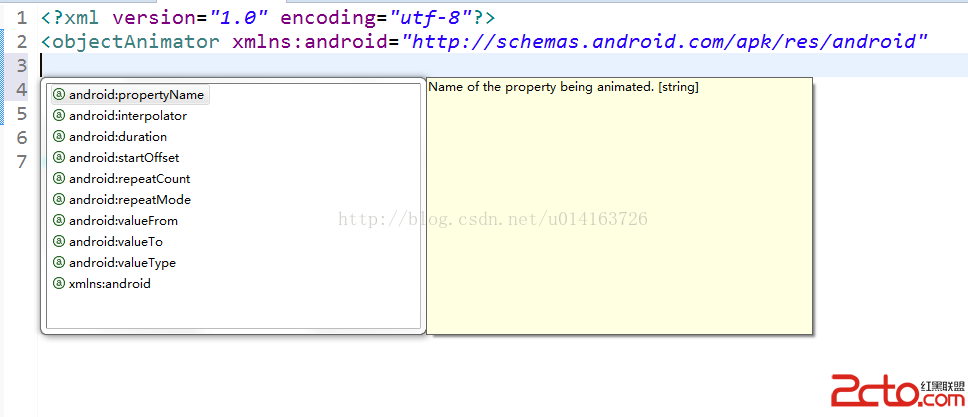
沒錯,這下我們應該知道怎麼用xml布局來寫屬性動畫了吧
protected void onCreate(Bundle savedInstanceState) {
super.onCreate(savedInstanceState);
setContentView(R.layout.activity_animation);
button = (Button) findViewById(R.id.btn_anim);
button.setOnClickListener(new OnClickListener() {
@SuppressLint("NewApi")
@Override
public void onClick(View v) {
Animator animator = AnimatorInflater.loadAnimator(
AnimationActivity.this, R.animator.animation);
animator.setTarget(button);
animator.start();
}
});
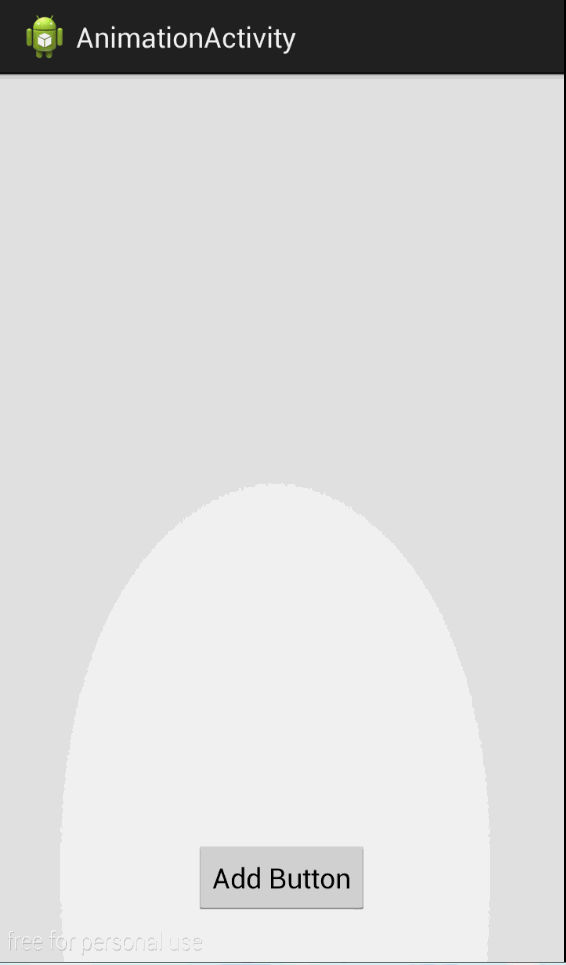
}效果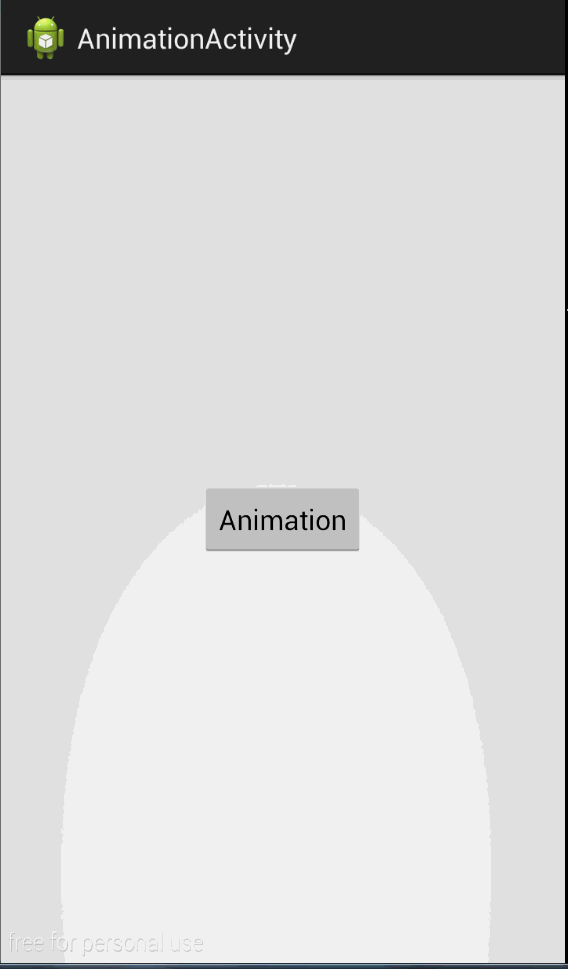
同時我們可以看到在新建xml的時候是有set的,set的用法同樣很簡單
當容器中的視圖層次發生變化時存在過渡的動畫效果,這個我們先來看看ApiDemo的效果。
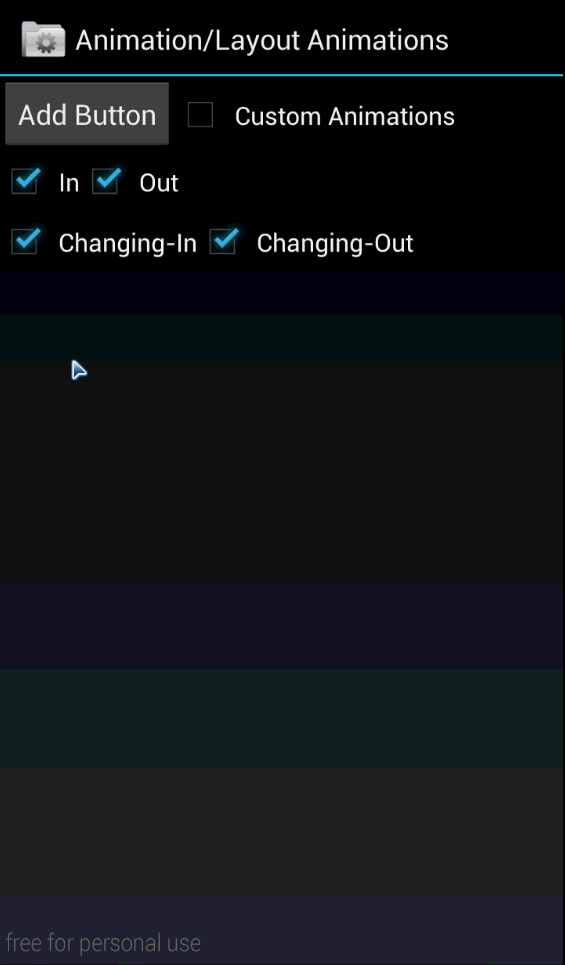
可以看到我們勾選了in於out之後我們新增的button或者remove掉的button會有一個動畫效果,接下來我們來看代碼
 // Check for disabled animations
        CheckBox appearingCB = (CheckBox) findViewById(R.id.appearingCB);
        appearingCB.setOnCheckedChangeListener(new CompoundButton.OnCheckedChangeListener() {
            public void onCheckedChanged(CompoundButton buttonView, boolean isChecked) {
                setupTransition(transitioner);
            }
        });
        CheckBox disappearingCB = (CheckBox) findViewById(R.id.disappearingCB);
        disappearingCB.setOnCheckedChangeListener(new CompoundButton.OnCheckedChangeListener() {
            public void onCheckedChanged(CompoundButton buttonView, boolean isChecked) {
                setupTransition(transitioner);
            }
}); private void setupTransition(LayoutTransition transition) {
CheckBox customAnimCB = (CheckBox) findViewById(R.id.customAnimCB);
CheckBox appearingCB = (CheckBox) findViewById(R.id.appearingCB);
CheckBox disappearingCB = (CheckBox) findViewById(R.id.disappearingCB);
CheckBox changingAppearingCB = (CheckBox) findViewById(R.id.changingAppearingCB);
CheckBox changingDisappearingCB = (CheckBox) findViewById(R.id.changingDisappearingCB);
transition.setAnimator(LayoutTransition.APPEARING, appearingCB.isChecked() ?
(customAnimCB.isChecked() ? customAppearingAnim : defaultAppearingAnim) : null);
transition.setAnimator(LayoutTransition.DISAPPEARING, disappearingCB.isChecked() ?
(customAnimCB.isChecked() ? customDisappearingAnim : defaultDisappearingAnim) : null);
transition.setAnimator(LayoutTransition.CHANGE_APPEARING, changingAppearingCB.isChecked() ?
(customAnimCB.isChecked() ? customChangingAppearingAnim :
defaultChangingAppearingAnim) : null);
transition.setAnimator(LayoutTransition.CHANGE_DISAPPEARING,
changingDisappearingCB.isChecked() ?
(customAnimCB.isChecked() ? customChangingDisappearingAnim :
defaultChangingDisappearingAnim) : null);
}LayoutTransition.APPEARING;
LayoutTransition.DISAPPEARING;
LayoutTransition.CHANGE_APPEARING;
LayoutTransition.CHANGE_DISAPPEARING;
APPEARING新增view的動畫CHANGE_APPEARING對布局產生改變的動畫,那麼我們就可以依葫蘆畫瓢。
 private RelativeLayout relativeLayout;
   private Button mAdbtn;
   private int count = 0;
	@SuppressLint("NewApi")
	protected void onCreate(Bundle savedInstanceState) {
		super.onCreate(savedInstanceState);
		setContentView(R.layout.activity_animation);
		relativeLayout = (RelativeLayout)findViewById(R.id.relative);
		mAdbtn = (Button)findViewById(R.id.btn);
		final GridLayout gridLayout = new GridLayout(this);
		gridLayout.setColumnCount(5);
		relativeLayout.addView(gridLayout);
		gridLayout.setLayoutTransition(new LayoutTransition());
		mAdbtn.setOnClickListener(new OnClickListener() {

			@Override
			public void onClick(View v) {
				count++;
               Button button = new Button(AnimationActivity.this);
               button.setOnClickListener(new OnClickListener() {

				@Override
				public void onClick(View v) {
                gridLayout.removeView(v);
				}
			});
               button.setText("btn"+count);
               gridLayout.addView(button);
			}
		});
	}
效果

同時如果我們不喜歡默認的動畫效果也可以替換為自己喜歡的效果。
	mAdbtn.setOnClickListener(new OnClickListener() {

			@Override
			public void onClick(View v) {
				count++;
				Button button = new Button(AnimationActivity.this);
				button.setOnClickListener(new OnClickListener() {

					@Override
					public void onClick(View v) {
						gridLayout.removeView(v);
					}
				});
				button.setText("btn" + count);
				layoutTransition.setAnimator(LayoutTransition.APPEARING,
						ObjectAnimator.ofFloat(button, "RotationX", 0, 360).setDuration(2000));
				gridLayout.setLayoutTransition(layoutTransition);
				gridLayout.addView(button);
			}
		});
 Android中Android Virtual Device(AVD)使用教程
AVD的全稱為:Android Virtual Device,就是Android運行的虛擬設備,他是Android的模擬器識別。建立的Android要運行,必須創建AVD
 Activity的聲明周期和啟動模式
正常情況下Activity的聲明周期先來看看官方給出的聲明周期圖:這裡需要說明如下幾點:針對特定Activity,第一次啟動,回調如下:onCreate->onSt
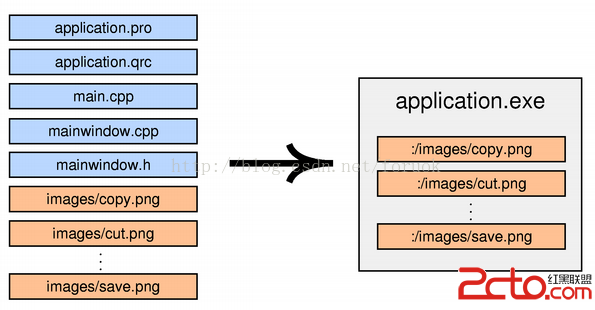 Qt on Android:資源文件系統qrc與assets
使用 Qt 為 Android 開發應用時,有時我們的應用會攜帶一些資源文件,如 png 、 jpg 等,也可能有一些配置文件,如 xml 等,這些文件放在哪裡呢?
 Android中 服務Service 電話竊聽器
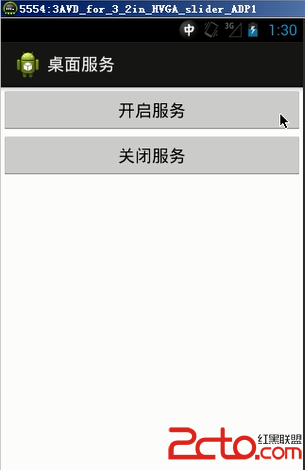
組件—服務後台長期運行的沒有界面的一個activity。 電話竊聽器:需求:1.沒有界面,一般用戶看不到,開機自動啟動2.長期的後台運行,監視當前用