Google今年七月份的時候更新了他們的Google+應用,采用了新的導航方式並拋棄了navigationdrawer。一時之間,又引發了一系列關於NavigationDrawer利弊的討論,不過對於開發者而言我們只需要管好自己需要實現或者學習的功能的即可,2012年Youtube、Facebook、Path等應用紛紛使用了Navigationdrawer這樣的導航方式,去年Google為了整治越來越混的Android,設計出了抽屜導航,開始正題還是關心下如何使用吧:
布局文件代碼:
<RelativeLayout xmlns:android="http://schemas.android.com/apk/res/android"
xmlns:tools="http://schemas.android.com/tools"
android:layout_width="match_parent"
android:layout_height="match_parent"
tools:context="com.example.naviganationdrawer.MainActivity" >
<android.support.v4.widget.DrawerLayout
android:id="@+id/mDrawerLayout"
android:layout_width="match_parent"
android:layout_height="match_parent" >
<FrameLayout
android:id="@+id/content_frame"
android:layout_width="match_parent"
android:layout_height="match_parent" >
</FrameLayout>
<!-- 導航抽屜 -->
<ListView
android:id="@+id/left_drawer"
android:layout_width="120dp"
android:layout_height="match_parent"
android:layout_gravity="start"
android:background="@android:color/holo_red_light"
android:choiceMode="singleChoice"
android:divider="@android:color/transparent"
android:dividerHeight="0dp" />
</android.support.v4.widget.DrawerLayout>
</RelativeLayout>
DrawerLayout 作為界面根控件,在DrawerLayout裡面第一個View為當前界面主內容;第二個和第三個View為抽屜菜單內容。如果當前界面只需要一個抽屜菜單,則第三個View可以省略。
顯示的主要內容的View必須要是第一個必須為DrawerLayout的第一個子View, 原因在於 XML 布局文件中的View順序為Android系統中的 z-ordering順序,而抽屜必須出現在內容之上。
右側圖片的顯示是個ImageView,貼下代碼:
<?xml version="1.0" encoding="utf-8"?>
<FrameLayout xmlns:android="http://schemas.android.com/apk/res/android"
android:layout_width="match_parent"
android:layout_height="match_parent" >
<ImageView
android:id="@+id/content_image"
android:layout_width="wrap_content"
android:layout_height="wrap_content"
android:src="@drawable/ic_launcher"
/>
</FrameLayout>
代碼實現
onCreate中的代碼實現:
mPlanetTitles=new String[]{"財經","科技"};
mDrawerList = (ListView) findViewById(R.id.left_drawer);
mDrawerList.setAdapter(new ArrayAdapter<String>(this,
android.R.layout.simple_list_item_1, mPlanetTitles));
mDrawerLayout=(DrawerLayout) findViewById(R.id.mDrawerLayout);
mDrawerList.setOnItemClickListener(new DrawerItemClickListener());
頁面左側是ListView,裡面的是當用戶選擇菜單List中的條目時,系統會調用 OnItemClickListener的 onItemClick()函數,點擊事件:
private class DrawerItemClickListener implements ListView.OnItemClickListener {
@Override
public void onItemClick(AdapterView parent, View view, int position, long id) {
selectItem(position);
}
}
選中的事件:
private void selectItem(int position) {
Fragment fragment = new FragmentContent(mImageList[position]);
getSupportFragmentManager().beginTransaction().replace(R.id.content_frame, fragment)
.commit();
mDrawerList.setItemChecked(position, true);
setTitle(mPlanetTitles[position]);
mDrawerLayout.closeDrawer(mDrawerList);
}
設置標題:
@Override
public void setTitle(CharSequence title) {
mTitle = title;
getActionBar().setTitle(mTitle);
}
右側顯示圖片的FragementContent中的代碼:
public class FragmentContent extends Fragment {
private int resourceId;
public FragmentContent(int i) {
// TODO Auto-generated constructor stub
resourceId=i;
}
@Override
public void onActivityCreated(Bundle savedInstanceState) {
// TODO Auto-generated method stub
super.onActivityCreated(savedInstanceState);
}
private View view;
private ImageView mImageView;
@Override
public View onCreateView(LayoutInflater inflater,
ViewGroup container, Bundle savedInstanceState) {
// TODO Auto-generated method stub
view= inflater.inflate(R.layout.fragmentcontent, null);
mImageView = (ImageView)view.findViewById(R.id.content_image);
mImageView.setImageResource(resourceId);
return view;
}
@Override
public void onCreate(Bundle savedInstanceState) {
// TODO Auto-generated method stub
super.onCreate(savedInstanceState);
}
}
 Android5.0新特性-Material Design
 Android UI基礎——五大布局
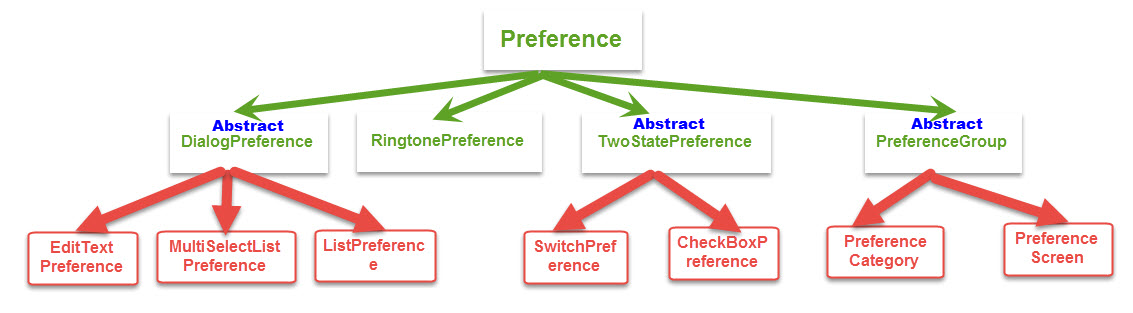 Android進階——Preference詳解之Preference系的基本應用(三)
 Android自動化構建之Ant多渠道打包實踐分析(上)