相信對於Android初學者,對於Android中的動畫效果一定很感興趣,今天為大家總結一下剛剛學到的屬性動畫案例。
首先和一般的Android應用一樣,我們先建一個工程,為了方便,我們的布局文件中就只添加一個ImageView和button按鈕,代碼如下:
<RelativeLayout xmlns:android="http://schemas.android.com/apk/res/android"
xmlns:tools="http://schemas.android.com/tools" android:layout_width="match_parent"
android:layout_height="match_parent" android:paddingLeft="@dimen/activity_horizontal_margin"
android:paddingRight="@dimen/activity_horizontal_margin"
android:paddingTop="@dimen/activity_vertical_margin"
android:paddingBottom="@dimen/activity_vertical_margin" tools:context=".MainActivity">
<ImageView
android:layout_width="wrap_content"
android:layout_height="wrap_content"
android:id="@+id/imageView"
android:layout_alignParentTop="true"
android:layout_alignParentLeft="true"
android:layout_alignParentStart="true"
android:src="@drawable/ic_launcher"
android:onClick="imgClick"/>
<Button
android:layout_width="wrap_content"
android:layout_height="wrap_content"
android:text="動畫"
android:id="@+id/button"
android:layout_alignParentBottom="true"
android:layout_centerHorizontal="true"
android:layout_marginBottom="86dp"
android:onClick="buttonClick"/>
</RelativeLayout>
下面是我們action,為了便於大家學習,我將代碼分享如下:
public class MainActivity extends Activity {
public ImageView imageView;
public Button button;
static int x = 0, xx = 0, y = 0, yy = 0;
@Override
protected void onCreate(Bundle savedInstanceState) {
super.onCreate(savedInstanceState);
setContentView(R.layout.activity_main);
imageView = (ImageView)findViewById(R.id.imageView);
button = (Button)findViewById(R.id.button);
}
public void imgClick(View view){
Toast.makeText(this, "ImageView", Toast.LENGTH_SHORT).show();
}
public void buttonClick(View view){
// xx += 20;
// TranslateAnimation ta = new TranslateAnimation(x, xx, y, yy);//設置動畫的偏移位移
// x += 20;
// ta.setDuration(1000);//設置動畫的時長
// ta.setFillAfter(true);//設置動畫結束後停留在該位置
// imageView.startAnimation(ta);
//屬性動畫調用start()方法後是一個異步操作
// ObjectAnimator.ofFloat(imageView, "translationX", 0F, 360F).setDuration(1000).start();//X軸平移旋轉
// ObjectAnimator.ofFloat(imageView, "translationY", 0F, 360F).setDuration(1000).start();//Y軸平移旋轉
// ObjectAnimator.ofFloat(imageView, "rotation", 0F, 360F).setDuration(1000).start();//360度旋轉
//同步動畫設計
// PropertyValuesHolder p1 = PropertyValuesHolder.ofFloat("translationX", 0, 360F);
// PropertyValuesHolder p2 = PropertyValuesHolder.ofFloat("translationY", 0, 360F);
// PropertyValuesHolder p3 = PropertyValuesHolder.ofFloat("rotation", 0, 360F);
// ObjectAnimator.ofPropertyValuesHolder(imageView, p1, p2 ,p3).setDuration(1000).start();
//通過AnimatiorSet來設計同步執行的多個屬性動畫
ObjectAnimator animator1 = ObjectAnimator.ofFloat(imageView, "translationX", 0F, 360F);//X軸平移旋轉
ObjectAnimator animator2 = ObjectAnimator.ofFloat(imageView, "translationY", 0F, 360F);//Y軸平移旋轉
ObjectAnimator animator3 = ObjectAnimator.ofFloat(imageView, "rotation", 0F, 360F);//360度旋轉
AnimatorSet set = new AnimatorSet();
//set.playSequentially(animator1, animator2, animator3);//分步執行
//set.playTogether(animator1, animator2, animator3);//同步執行
//屬性動畫的執行順序控制
// 先同步執行動畫animator2和animator3,然後再執行animator1
set.play(animator3).with(animator1);
set.play(animator2).after(animator3);
set.setDuration(1000);
set.start();
}
}
對於關鍵位置,我已經進行了詳細的注釋,大家可以拷貝到自己的項目中進行測試,相信大家一定可以掌握Android中的屬性動畫的知識。
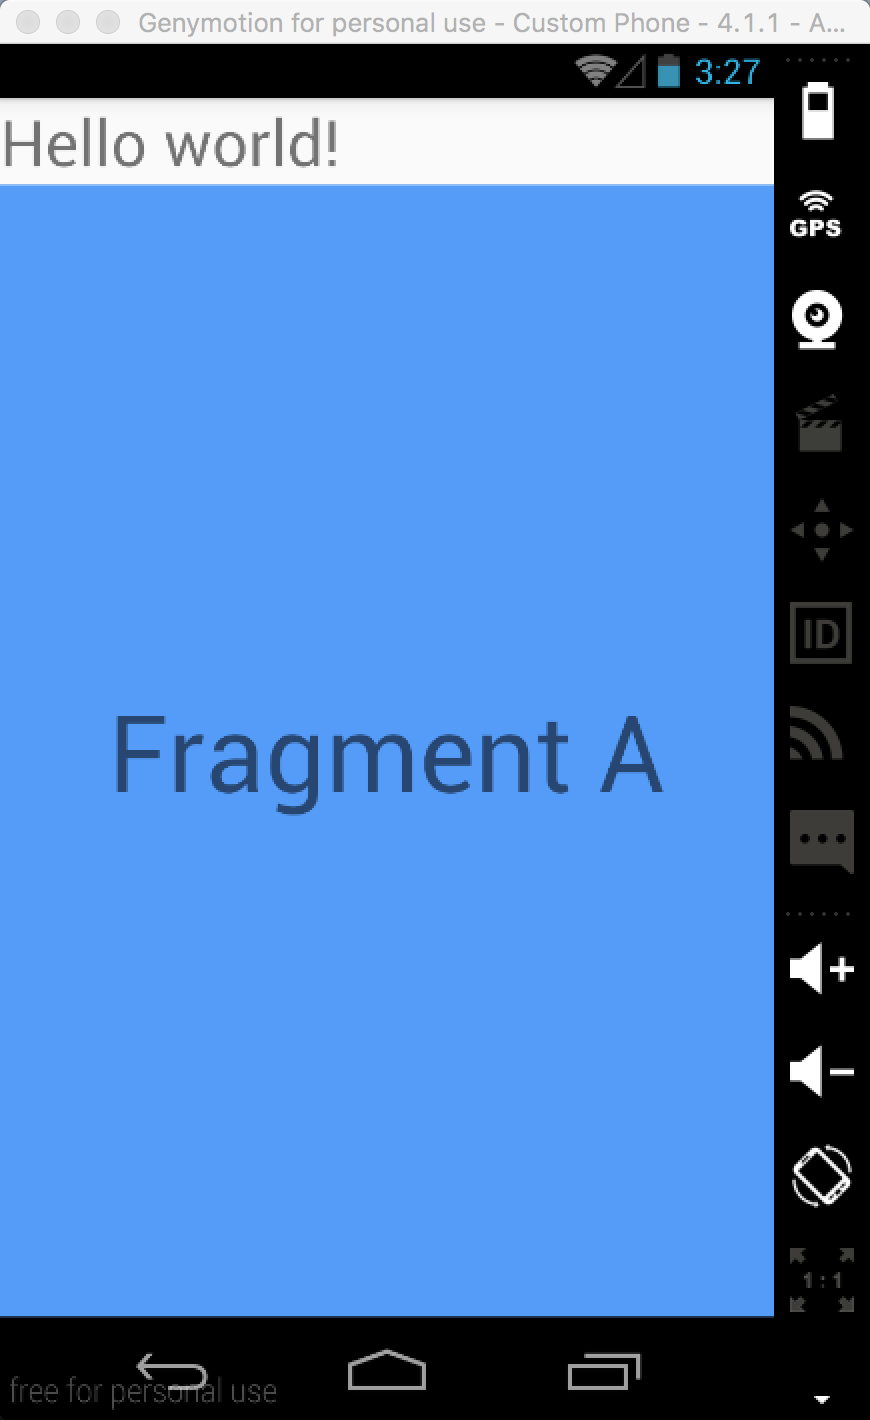 Android入門教程 fragment的使用
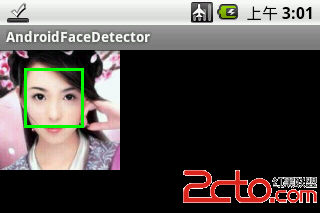 Android多媒體-人臉識別
 Andriod學習教程之滑動布局(14)
 Android EditText只有下面有一條橫線問題