編輯:關於Android編程
眾所周知,Android中的Service是用於後台服務的,當應用程序被掛到後台的時候,為了保證應用中某些功能仍然可以工作而引入了Service,比如播放音樂。針對service,官方文檔有2點重要說明:
1. A Service is not a separate process. The Service object itself does not imply it is running in its own process; unless otherwise specified, it runs in the same process as the application it is part of.除非特別說明,否則和應用是在同一個進程中
2. A Service is not a thread. It is not a means itself to do work off of the main thread (to avoid Application Not Responding errors). Service不是一個線程,也就是說service和UI主線程是在同一線程中運行的,因此service不能執行耗時長的處理,防止出現ANR。
因此如果APP需要在service執行長時間處理時,需要起個獨立線程來處理該操作。
Android為我們考慮到了這一點,所以提供了IntentService類。IntentService繼承於Service,可以認為是開了一個線程來處理事件的service.
IntentService有如下優點:
1. IntentService is a base class for Services that handle asynchronous requests (expressed as Intents) on demand. Clients send requests through startService(Intent) calls; the service is started as needed, handles each Intent in turn using a worker thread, and stops itself when it runs out of work. 隊列任務按序執行,全部任務結束後會結束自己。
2. This “work queue processor” pattern is commonly used to offload tasks from an application’s main thread. The IntentService class exists to simplify this pattern and take care of the mechanics. To use it, extend IntentService and implement onHandleIntent(Intent). IntentService will receive the Intents, launch a worker thread, and stop the service as appropriate.
3. All requests are handled on a single worker thread – they may take as long as necessary (and will not block the application’s main loop), but only one request will be processed at a time.所有請求在一個工作線程中完成,但是一次之後處理一個。
下面我們對IntentService代碼進行分析:
繼承自service
public abstract class IntentService extends Service
有一個工作線程,在onCreate中創建該線程
HandlerThread thread = new HandlerThread(“IntentService[” + mName + “]”);
內部通過handler來處理startService發送的消息事件。同樣在onCreate函數中創建thread looper和Handler
mServiceLooper = thread.getLooper();
mServiceHandler = new ServiceHandler(mServiceLooper);
而在每次調用startService時會將任務添加到隊列中
public void onStart(Intent intent, int startId) {
        Message msg = mServiceHandler.obtainMessage();
        msg.arg1 = startId;
        msg.obj = intent;
        mServiceHandler.sendMessage(msg);
}
Handler執行過程為:
private final class ServiceHandler extends Handler {
        public ServiceHandler(Looper looper) {
            super(looper);
        }

        @Override
        public void handleMessage(Message msg) {
            onHandleIntent((Intent)msg.obj);
            stopSelf(msg.arg1);
        }
}
從上面可見IntentService是按照順序來執行的,全部任務執行完成後工作線程finish。
使用如下:
在manifext.xml中添加聲明
然後在調用的地方直接使用:
public void startService() {
  Intent intent = new Intent(this, XXXIntentService.class);
  startService(intent);
 }

 public void stopService() {
  Intent intent = new Intent(this, XXXIntentService.class);
  stopService(intent);
 }
其中調用stopService會直接調用IntentService的onDestroy函數,當前正在執行的任務不會暫停,等該任務完成後線程關閉。如果需要立即結束任務,則可以通過設置變量來讓當前任務盡快結束。
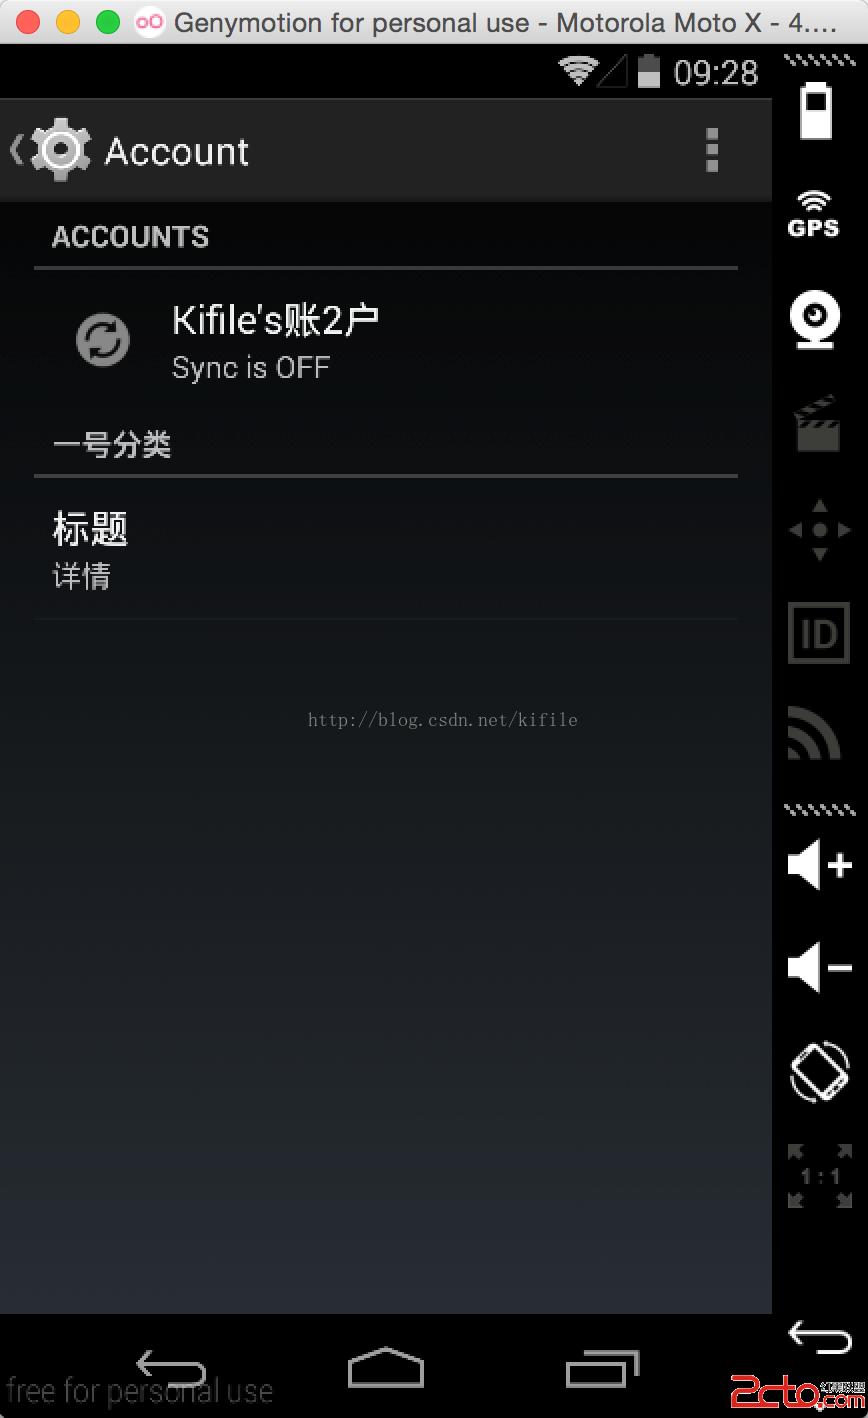 一步一步教你在 Android 裡創建自己的賬號系統(二)--同步數據以及設計賬號頁面
在前一篇文章中(一步一步教你在 Android 裡創建自己的賬號系統(一)),我向大家介紹了如何在 Android 系統中創建自己的賬戶系統,
 小米sim卡怎麼激活 米sim卡激活方法介紹
小米sim卡怎麼激活?相信很多用戶對於“米SIM”還不是很清楚,更不用說去開通激活了,下文介紹小米sim卡激活圖文教程,一起和小編來
 Android之Socket,Service通訊
Android與服務器之間的通訊方式主要有兩種。一種是Http通訊 , 一種是Socket通訊。兩者最大的差異在於,Http連接使用的是“請求---響應方式&
 Android 模擬信號示波器示例代碼
上次簡單地介紹了AudioRecord和AudioTrack的使用,這次就結合Surf