編輯:關於Android編程
最近在看android源碼,現在想做一個系列,專門對源碼進行簡單直接的分析。本人道行尚淺,希望大家能夠進行批評,本人感激不盡。
本文分析的文件目錄:
/packages/apps/Settings/AndroidManifest.xml
/packages/apps/settings/src/com/android/settings/Settings.java
/packages/apps/settings/src/com/android/settings/SettingsActivity.java
/packages/apps/settings/res/layout/Settings_main_prefs.xml
/packages/apps/settings/src/com/android/settings/dashboard/DashboardSummary.java
/packages/apps/settings/res/layout/Dashboard.xml
/packages/apps/settings/res/xml/Dashboard_categories.xml
/packages/apps/settings/src/com/android/settings/dashboard/DashboardTileView.java
本文將從這幾個文件進行簡要的分析,對Settings的大致過程進行簡要的分析。
在分析源碼應用的過程中首先看它的清單文件。AndroidManifest.xml 是每個android程序中必須的文件。它位於整個項目的根目錄,描述了package中暴露的組件(activities, services, 等等),他們各自的實現類,各種能被處理的數據和啟動位置。 除了能聲明程序中的Activities, ContentProviders, Services, 和Intent Receivers,還能指定permissions和instrumentation(安全控制和測試)。在Settings的清單文件中可以看到:
可以看出其啟動類是Settings。ok,現在來看Settings.java。
public class Settings extends SettingsActivity {

    /*
    * Settings subclasses for launching independently.
    */
    public static class BluetoothSettingsActivity extends SettingsActivity { /* empty */ }
    public static class WirelessSettingsActivity extends SettingsActivity { /* empty */ }
    public static class SimSettingsActivity extends SettingsActivity { /* empty */ }
    public static class TetherSettingsActivity extends SettingsActivity { /* empty */ }
    public static class VpnSettingsActivity extends SettingsActivity { /* empty */ }
    public static class DateTimeSettingsActivity extends SettingsActivity { /* empty */ }
    public static class StorageSettingsActivity extends SettingsActivity { /* empty */ }
    public static class WifiSettingsActivity extends SettingsActivity { /* empty */ }
    public static class WifiP2pSettingsActivity extends SettingsActivity { /* empty */ }
    public static class InputMethodAndLanguageSettingsActivity extends SettingsActivity { /* empty */ }
    public static class KeyboardLayoutPickerActivity extends SettingsActivity { /* empty */ }
    public static class InputMethodAndSubtypeEnablerActivity extends SettingsActivity { /* empty */ }
    public static class VoiceInputSettingsActivity extends SettingsActivity { /* empty */ }
    public static class SpellCheckersSettingsActivity extends SettingsActivity { /* empty */ }
    ...
    }
打開Settings這個類我們並沒有找到一些方法,只有一些靜態內部類。這些類能夠直接被調用而啟動。用來直接進行設置相關功能的啟動類。ok,既然其直接繼承SettingsActivity 類,那我們繼續跳轉到SettingsActivity .java。
public class SettingsActivity extends Activity
        implements PreferenceManager.OnPreferenceTreeClickListener,
        PreferenceFragment.OnPreferenceStartFragmentCallback,
        ButtonBarHandler, FragmentManager.OnBackStackChangedListener,
        SearchView.OnQueryTextListener, SearchView.OnCloseListener,
        MenuItem.OnActionExpandListener
上述代碼可以看到SettingsActivity繼承了Activity類,之後我們進入onCreate中,看看其中到底做了什麼。onCreate中的方法比較多,下面撿重點的進行分析。
     // Should happen before any call to getIntent()
        getMetaData();
首先看getMetaData()這個方法;
   private void getMetaData() {
        try {
            ActivityInfo ai = getPackageManager().getActivityInfo(getComponentName(),
                    PackageManager.GET_META_DATA);
            if (ai == null || ai.metaData == null) return;
            mFragmentClass = ai.metaData.getString(META_DATA_KEY_FRAGMENT_CLASS);
        } catch (NameNotFoundException nnfe) {
            // No recovery
            Log.d(LOG_TAG, "Cannot get Metadata for: " + getComponentName().toString());
        }
    }
由上述代碼可以看出getMetaData()這個方法是為了獲取mFragmentClass ,獲取到就會啟動相應的Activity。如果是直接啟動Settings模塊,則直接return,不會再去獲取mFragmentClass 。ok,繼續往下看:
        final ComponentName cn = intent.getComponent();
        final String className = cn.getClassName();
        mIsShowingDashboard = className.equals(Settings.class.getName());
這段代碼可以看出,設置了一個標志,當前是不是我們的主界面,因為Settings繼承Activity所以其值為true.
接著:
        // This is a "Sub Settings" when:
        // - this is a real SubSettings
        // - or :settings:show_fragment_as_subsetting is passed to the Intent
        final boolean isSubSettings = className.equals(SubSettings.class.getName()) ||
                intent.getBooleanExtra(EXTRA_SHOW_FRAGMENT_AS_SUBSETTING, false);
很明顯這是一個二級設置,並且明顯的判斷出其值為false,以下有一個判斷:
        // If this is a sub settings, then apply the SubSettings Theme for the ActionBar content insets
        if (isSubSettings) {
            // Check also that we are not a Theme Dialog as we don't want to override them
            final int themeResId = getThemeResId();
            if (themeResId != R.style.Theme_DialogWhenLarge &&
                    themeResId != R.style.Theme_SubSettingsDialogWhenLarge) {
                setTheme(R.style.Theme_SubSettings);
            }
        }
既然是我們設置的主界面,所以這一步省略,暫且不講。
好的,我們接著看:
        setContentView(mIsShowingDashboard ?
                R.layout.settings_main_dashboard : R.layout.settings_main_prefs);
這一步很容易也很關鍵,加載一個xml,因為判斷的mIsShowingDashboard為true,所以取settings_main_dashboard 這個xml,ok,我們就來看這個:
settings_main_dashboard.xml:
<framelayout android:background="@color/dashboard_background_color" android:id="@+id/main_content" android:layout_height="match_parent" android:layout_width="match_parent" xmlns:android="http://schemas.android.com/apk/res/android">
</framelayout>
一看就明白,這個就是一個容器,用來為fragment布局,ok,這沒啥看的,直接往下走:
 if (savedState != null) {
            // We are restarting from a previous saved state; used that to initialize, instead
            // of starting fresh.
            mSearchMenuItemExpanded = savedState.getBoolean(SAVE_KEY_SEARCH_MENU_EXPANDED);
            mSearchQuery = savedState.getString(SAVE_KEY_SEARCH_QUERY);

            setTitleFromIntent(intent);

            ArrayList categories =
                    savedState.getParcelableArrayList(SAVE_KEY_CATEGORIES);
            if (categories != null) {
                mCategories.clear();
                mCategories.addAll(categories);
                setTitleFromBackStack();
            }

            mDisplayHomeAsUpEnabled = savedState.getBoolean(SAVE_KEY_SHOW_HOME_AS_UP);
            mDisplaySearch = savedState.getBoolean(SAVE_KEY_SHOW_SEARCH);
            mHomeActivitiesCount = savedState.getInt(SAVE_KEY_HOME_ACTIVITIES_COUNT,
                    1 /* one home activity by default */);
        } else {
            if (!mIsShowingDashboard) {
                // Search is shown we are launched thru a Settings "shortcut". UP will be shown
                // only if it is a sub settings
                if (mIsShortcut) {
                    mDisplayHomeAsUpEnabled = isSubSettings;
                    mDisplaySearch = false;
                } else if (isSubSettings) {
                    mDisplayHomeAsUpEnabled = true;
                    mDisplaySearch = true;
                } else {
                    mDisplayHomeAsUpEnabled = false;
                    mDisplaySearch = false;
                }
                setTitleFromIntent(intent);

                Bundle initialArguments = intent.getBundleExtra(EXTRA_SHOW_FRAGMENT_ARGUMENTS);
                switchToFragment(initialFragmentName, initialArguments, true, false,
                        mInitialTitleResId, mInitialTitle, false);
            } else {
                // No UP affordance if we are displaying the main Dashboard
                mDisplayHomeAsUpEnabled = false;
                // Show Search affordance
                mDisplaySearch = true;
                mInitialTitleResId = R.string.dashboard_title;
                switchToFragment(DashboardSummary.class.getName(), null, false, false,
                        mInitialTitleResId, mInitialTitle, false);
            }
        }
這段代碼比較長,但是因為我們是第一次進行創建所以savedState ==null,之後mIsShowingDashboard又為true,所以代碼直接看:
else {
                // No UP affordance if we are displaying the main Dashboard
                mDisplayHomeAsUpEnabled = false;
                // Show Search affordance
                mDisplaySearch = true;
                mInitialTitleResId = R.string.dashboard_title;
                switchToFragment(DashboardSummary.class.getName(), null, false, false,
                        mInitialTitleResId, mInitialTitle, false);
            }
在這裡我們注意switchToFragment()這個方法,很明顯的看出這個方法要切換到DashboardSummary這個Fragment,ok,那麼我們直接追隨到DashboardSummary這個Fragment。
直接打開這個fragment,並且定位到onCreateView方法:
    public View onCreateView(LayoutInflater inflater, ViewGroup container,
                             Bundle savedInstanceState) {

        mLayoutInflater = inflater;
        mExt = UtilsExt.getMiscPlugin(this.getActivity());

        final View rootView = inflater.inflate(R.layout.dashboard, container, false);
        mDashboard = (ViewGroup) rootView.findViewById(R.id.dashboard_container);

        return rootView;
    }
這個fragment填充了dashboard的布局,ok,繼續點進去看這個布局:
dashboard.xml:
這又是一個空布局,作為一個容器使用,可以看出Settings的選項視圖應該就是顯示在dashboard_container中的。
ok,繼續往下走接著它會跑到onResume()方法:
public void onResume() {
        super.onResume();

        sendRebuildUI();

        final IntentFilter filter = new IntentFilter(Intent.ACTION_PACKAGE_ADDED);
        filter.addAction(Intent.ACTION_PACKAGE_REMOVED);
        filter.addAction(Intent.ACTION_PACKAGE_CHANGED);
        filter.addAction(Intent.ACTION_PACKAGE_REPLACED);
        filter.addDataScheme("package");
        getActivity().registerReceiver(mHomePackageReceiver, filter);
    }
從中可以看到過濾到了一些添加,移除應用之類的,但是我們要注意sendRebuildUI()這個方法:
      private void sendRebuildUI() {
        if (!mHandler.hasMessages(MSG_REBUILD_UI)) {
            mHandler.sendEmptyMessage(MSG_REBUILD_UI);
        }
其發送了一個空消息,主要看handle的執行接收執行和處理:
 public void handleMessage(Message msg) {
            switch (msg.what) {
                case MSG_REBUILD_UI: {
                    final Context context = getActivity();
                    rebuildUI(context);
                } break;
            }
當接收到MSG_REBUILD_UI時,執行rebuildUI()這個裡面的東西比較多,主要的作用就是重塑UI。這個方法稍後介紹,ok,看關鍵一句:
rebuildUI():
List categories =
                ((SettingsActivity) context).getDashboardCategories(true);
這句為一個列表保存數據,ok,直接進入getDashboardCategories();
這時驚喜出現了,你會發現又返回到了SettingsActivity.java;ok,接著直接看:
看這個getDashboardCategories:
  public List getDashboardCategories(boolean forceRefresh) {
        if (forceRefresh || mCategories.size() == 0) {
            buildDashboardCategories(mCategories);
        }
        return mCategories;
    }
ok,直接調用的是buildDashboardCategories()方法;直接進入:
buildDashboardCategories():
 private void buildDashboardCategories(List categories) {
        categories.clear();
        loadCategoriesFromResource(R.xml.dashboard_categories, categories);
        updateTilesList(categories);
    }
好的,現在我們發現了這個非常重要的加載函數loadCategoriesFromResource(),可以看出其加載了dashboard_categories.xml布局。ok,直接點進去看:
dashboard_categories.xml:
    vcnlfd2lyZWxlc3NfbmV0d29ya3M=">


...
這個就是我們整體的設置布局,加載完這個xml,獲取到裡面的DashboardCategory。然後再把這些item加到容器中去:
ok,現在就來看rebuildUI():
        for (int n = 0; n < count; n++) {
            DashboardCategory category = categories.get(n);

            View categoryView = mLayoutInflater.inflate(R.layout.dashboard_category, mDashboard,
                    false);

            TextView categoryLabel = (TextView) categoryView.findViewById(R.id.category_title);
            categoryLabel.setText(category.getTitle(res));

            ViewGroup categoryContent =
                    (ViewGroup) categoryView.findViewById(R.id.category_content);

            final int tilesCount = category.getTilesCount();
            for (int i = 0; i < tilesCount; i++) {
                DashboardTile tile = category.getTile(i);

                DashboardTileView tileView = new DashboardTileView(context);
                updateTileView(context, res, tile, tileView.getImageView(),
                        tileView.getTitleTextView(), tileView.getStatusTextView());

                tileView.setTile(tile);
                if(tile != null && tile.extras != null && tile.extras.containsKey(CUSTOMIZE_ITEM_INDEX)){
                    int index = tile.extras.getInt(CUSTOMIZE_ITEM_INDEX, -1);
                    categoryContent.addView(tileView, index);
                } else {
                    categoryContent.addView(tileView);
                }
            }

            // Add the category
            mDashboard.addView(categoryView);
這段代碼邏輯很簡單,遍歷categories這個列表來獲取DashboardCategory對象,將所有DashboardCategory對象和DashboardCategory對象中的DashboardTile對象轉化為視圖對象並添加到主視圖對象mDashboard中。ok。加載完view,settings的布局就ok了,接下來就是其實現了。
現在來看在View中的實現:打開DashboardTileView.java,可以看到其構造:
  public DashboardTileView(Context context, AttributeSet attrs) {
        super(context, attrs);

        final View view = LayoutInflater.from(context).inflate(R.layout.dashboard_tile, this);

        mImageView = (ImageView) view.findViewById(R.id.icon);
        mTitleTextView = (TextView) view.findViewById(R.id.title);
        mStatusTextView = (TextView) view.findViewById(R.id.status);
        mDivider = view.findViewById(R.id.tile_divider);

        setOnClickListener(this);
        setBackgroundResource(R.drawable.dashboard_tile_background);
        setFocusable(true);
    }
可以看到其定義了一些控件用來找到我們的圖標,標題等等的定義,之後定義一些函數用來返回控件,好了,現在直接看onClick()方法:
   public void onClick(View v) {
        if (mTile.fragment != null) {
            Utils.startWithFragment(getContext(), mTile.fragment, mTile.fragmentArguments, null, 0,
                    mTile.titleRes, mTile.getTitle(getResources()));
        } else if (mTile.intent != null) {
            getContext().startActivity(mTile.intent);
        }
    }
可以看到其點擊事件中啟用了一個方法,從表面看來應該是啟動一個Fragment,ok,那麼我麼繼續跟進這個方法:
 /**
     * Start a new instance of the activity, showing only the given fragment.
     * When launched in this mode, the given preference fragment will be instantiated and fill the
     * entire activity.
     *
     * @param context The context.
     * @param fragmentName The name of the fragment to display.
     * @param args Optional arguments to supply to the fragment.
     * @param resultTo Option fragment that should receive the result of the activity launch.
     * @param resultRequestCode If resultTo is non-null, this is the request code in which
     *                          to report the result.
     * @param titleResId resource id for the String to display for the title of this set
     *                   of preferences.
     * @param title String to display for the title of this set of preferences.
     */
    public static void startWithFragment(Context context, String fragmentName, Bundle args,
            Fragment resultTo, int resultRequestCode, int titleResId,
            CharSequence title) {
        startWithFragment(context, fragmentName, args, resultTo, resultRequestCode,
                null /* titleResPackageName */, titleResId, title, false /* not a shortcut */);
    }
在這裡我特意貼了注釋,從源碼的注釋可以看出其實直接啟動一個Activity,好的,我們現在繼續跟進:
 public static void startWithFragment(Context context, String fragmentName, Bundle args,
            Fragment resultTo, int resultRequestCode, String titleResPackageName, int titleResId,
            CharSequence title, boolean isShortcut) {
        Intent intent = onBuildStartFragmentIntent(context, fragmentName, args, titleResPackageName,
                titleResId, title, isShortcut);
        if (resultTo == null) {
            context.startActivity(intent);
        } else {
            resultTo.startActivityForResult(intent, resultRequestCode);
        }
    }
很明顯可以看出intent鏈接到onBuildStartFragmentIntent,現在跳轉到onBuildStartFragmentIntent:
  public static Intent onBuildStartFragmentIntent(Context context, String fragmentName,
            Bundle args, String titleResPackageName, int titleResId, CharSequence title,
            boolean isShortcut) {
        Intent intent = new Intent(Intent.ACTION_MAIN);
        intent.setClass(context, SubSettings.class);
        intent.putExtra(SettingsActivity.EXTRA_SHOW_FRAGMENT, fragmentName);
        intent.putExtra(SettingsActivity.EXTRA_SHOW_FRAGMENT_ARGUMENTS, args);
        intent.putExtra(SettingsActivity.EXTRA_SHOW_FRAGMENT_TITLE_RES_PACKAGE_NAME,
                titleResPackageName);
        intent.putExtra(SettingsActivity.EXTRA_SHOW_FRAGMENT_TITLE_RESID, titleResId);
        intent.putExtra(SettingsActivity.EXTRA_SHOW_FRAGMENT_TITLE, title);
        intent.putExtra(SettingsActivity.EXTRA_SHOW_FRAGMENT_AS_SHORTCUT, isShortcut);
        return intent;
    }
看到它的啟動信息,直接鏈接到SubSettings這個類,並且附帶這個fragment的fragmentName,args,titleResPackageName,等信息直接跳轉。ok,既然直接啟動SubSettings,那麼我們就看這個類:
public class SubSettings extends SettingsActivity
可以看到這個類繼承了SettingsActivity,所以我們又得回到SettingsActivity的onCreate()方法,^_^。
OK,既然有跳到了SettingsActivity,那麼我們就繼續跟進^_^:
又到了這個標志位,是不是覺得非常熟悉呢:
mIsShowingDashboard = className.equals(Settings.class.getName());
哈哈,對了前面因為我們是第一次創建所以這個值返回的是true,而現在呢?我們的className已經改變了,所以返回false,ok,接著看:
setContentView(mIsShowingDashboard ? R.layout.settings_main_dashboard : R.layout.settings_main_prefs);
現在加載的卻是settings_main_prefs這個界面。
final String initialFragmentName = intent.getStringExtra(EXTRA_SHOW_FRAGMENT);
獲取傳遞過來的FRAGMENTname,接著:
switchToFragment(initialFragmentName, initialArguments, true, false,mInitialTitleResId, mInitialTitle, false);
又開始了我們的Fragment切換^_^。至此應該一輪結束。
本文是我自己分析android源碼的第一次完整的對一個模塊的分析,也參考了網上的一些文章,還有自己的一些看法,在分析的過程中發現android源碼分析卻是非常不容易,跳過來跳過去,若是不能及時的跳出來,很容易陷進去,在分析的過程中一定要請教交流,不然很多時候卻是很費解。這是我的源碼分析的第一步,後續會持續跟新其他完整的模塊,非常希望感興趣的同學能夠多多交流批評指正。
 Android 動態高斯模糊效果教程
寫在前面最近一直在做畢設項目的准備工作,考慮到可能要用到一個模糊的效果,所以就學習了一些高斯模糊效果的實現。比較有名的就是 FastBlur 以及它衍生的一些優化方案,還
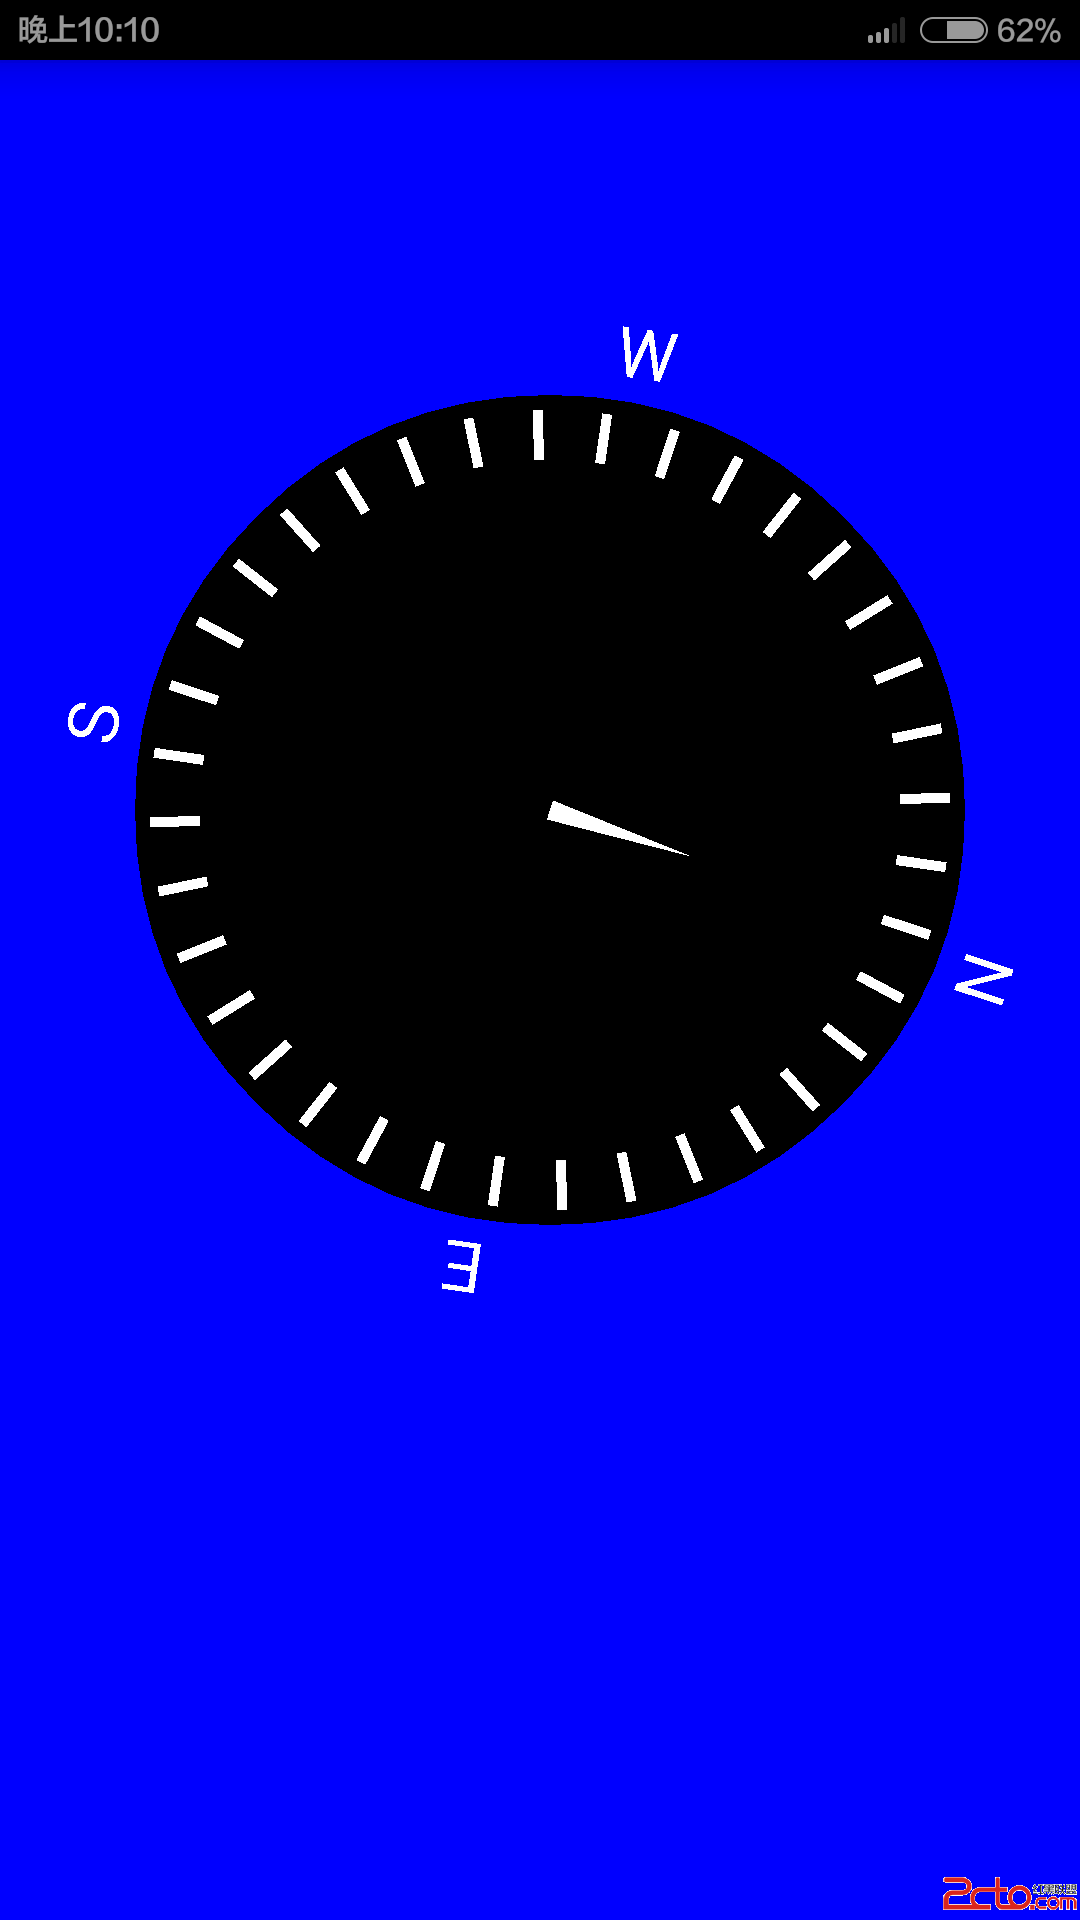 Android自定義SurfaceView與傳感器的並用(實現自繪的指北針)
概述:SurfaceView是Android中極為重要的繪圖容器,SurfaceView的圖像繪制是放在主線程之外的另一個線程中完成的。除了繪圖,SurfaceView還
 android發送郵件
一個項目的需求,之前一篇博客寫過如何生成excel,生成後的excel要發送給用戶(指定郵箱)。奇葩的後台說這個發送也不好實現,要客戶端來做。也就只能做了(又是分分鐘要來
 圖文詳解Android Studio搭建Android集成開發環境的過程
有很長一段時間沒有更新博客了,最近實在是太忙了,沒有時間去總結,現在終於可以有時間去總結一些Android上面的東西了,很久以前寫過這篇關於使用Android Studi