編輯:關於Android編程
RecylerView簡介The RecyclerView widget is a more advanced and flexible version of ListView. This widget is aContainer for displaying large data sets that can be scrolled very efficiently by maintaining a limited number of views. Use the RecyclerView widget when you have data collections whose elements change at runtime based on user action or network events.
大意是RecylerView是一個高級的ListView。可以很好的維護大數據集的滾動和顯示。詳細的解釋參考這裡。本文的內容也是基於此而寫。
RecylerView在那裡android.support.v7.widget.RecyclerViewandroid-sdk/extras/android/m2repository/com/android/support/recyclerview-v7android-sdk/extras/android/support/v7/recyclerview
RecylerView怎麼引用
dependencies {
    compile 'com.android.support:recyclerview-v7:21.0.0'
}
在此推薦使用Android Studio開發Android項目
以下猜測可以使用,沒有經過測試。
android-sdk/extras/android/support/v7/recyclerview目錄下面有libs,裡面有jar包,引用此jar包。android-sdk/extras/android/m2repository/com/android/support/recyclerview-v7目錄下根據版本號21.0.0目錄可以找到一個名為recyclerview-v7-21.0.0.aar的文件。解壓此文件裡面有classes.jar,引用此jar包。針對找不到目錄的同學,打開Android SDK Manager把最新的資源更新下來即可。
RecylerView新類介紹說說幾個新類,Adapter(android.support.v7.widget.RecyclerView.Adapter)、ViewHolder(android.support.v7.widget.RecyclerView.ViewHolder)、LayoutManager(android.support.v7.widget.RecyclerView.LayoutManager)
Adapter適配器,和以前的Adapter不一樣,此Adapter為RecylerView特有。作為一個抽象類,有以下幾個抽象方法。
public static abstract class Adapter{}{
    ...
    public abstract VH onCreateViewHolder(ViewGroup parent, int viewType);
    public abstract void onBindViewHolder(VH holder, int position);
    public abstract int getItemCount();
    ...
}
onCreateViewHolder直接創建一種可復用的VH或者根據viewType創建多種VH。
onBindViewHolder數據和VH通過位置position綁定
getItemCount返回有多少條數據
ViewHolder同樣是一個抽象類,我們通過繼承此類實現view的封裝。
LayoutManager布局管理器,RecylerView中數據顯示布局方式。目前v7包種提供了三種模式,分別是LinearLayoutManager、GridLayoutManager、StaggeredGridLayoutManager。
LinearLayoutManager線性布局,通過方向VERTICAL和HORIZONTAL可以實現垂直和水平的效果。默認為VERTICAL垂直方向。
通過此布局可以實現ListView的效果。垂直方向為普通的ListView顯示效果,水平方向即是水平滑動的ListView。
GridLayoutManager網格布局,繼承於LinearLayoutManager,可以指定有幾行和方向。
通過此布局可以實現GridView的效果,同樣有垂直方向和水平方向。
StaggeredGridLayoutManager交錯網格布局,類似於網格布局,但每個格子的高度或者長度可以不一樣。
俗稱的瀑布流效果,同樣有垂直方向和水平方向。
實例代碼會列出一個完整的通過RecylerView、LinearLayoutManager、Adapter、ViewHolder實現一個普通的ListView數據顯示效果,之後修改部分代碼實現不同的效果。
ListView
dependencies {
    compile fileTree(dir: 'libs', include: ['*.jar'])
    compile 'com.android.support:appcompat-v7:21.0.0'
    compile 'com.nostra13.universalimageloader:universal-image-loader:1.9.3'
    compile 'com.android.support:recyclerview-v7:21.0.0'
    compile 'org.roboguice:roboguice:2.0'
    compile 'com.android.support:palette-v7:21.0.0'
}
Activity
package com.lizheng.recylerviewdemo;

import android.os.Bundle;
import android.os.Handler;
import android.support.v4.widget.SwipeRefreshLayout;
import android.support.v7.widget.GridLayoutManager;
import android.support.v7.widget.LinearLayoutManager;
import android.support.v7.widget.RecyclerView;
import android.support.v7.widget.StaggeredGridLayoutManager;

import roboguice.activity.RoboFragmentActivity;
import roboguice.inject.InjectView;


public class MainActivity extends RoboFragmentActivity {

    @InjectView(R.id.recyclerView)
    private RecyclerView recyclerView;

    @InjectView(R.id.swipeLayout)
    private SwipeRefreshLayout swipeLayout;

    private DemoAdapter adapter;

    @Override
    protected void onCreate(Bundle savedInstanceState) {
        super.onCreate(savedInstanceState);
        setContentView(R.layout.ac_main);

        adapter = new DemoAdapter(C.picUrls);

        // 線性布局管理器
        LinearLayoutManager linearLayoutManager = new LinearLayoutManager(this);

        // 設置布局管理器
        recyclerView.setLayoutManager(linearLayoutManager);

        recyclerView.setAdapter(adapter);

        // 模擬下拉刷新
        swipeLayout.setOnRefreshListener(new SwipeRefreshLayout.OnRefreshListener() {
            @Override
            public void onRefresh() {
                new Handler().postDelayed(new Runnable() {
                    @Override
                    public void run() {
                        swipeLayout.setRefreshing(false);
                        adapter.notifyDataSetChanged();
                    }
                }, 2000);
            }
        });

    }

}
Adapter和ViewHolderpackage com.lizheng.recylerviewdemo; import android.support.v7.widget.RecyclerView; import android.view.LayoutInflater; import android.view.View; import android.view.ViewGroup; import android.widget.ImageView; import android.widget.TextView; import com.nostra13.universalimageloader.core.ImageLoader; /** * 適配器 * Created by lizheng on 14/10/19. */ public class DemoAdapter extends RecyclerView.Adapter{ String[] picUrls; public DemoAdapter(String[] picUrls) { this.picUrls = picUrls; } @Override public DemoViewHolder onCreateViewHolder(ViewGroup viewGroup, int i) { // 加載數據item的布局,生成VH返回 View v = LayoutInflater.from(viewGroup.getContext()).inflate(R.layout.item_test, viewGroup, false); return new DemoViewHolder(v); } @Override public void onBindViewHolder(DemoViewHolder demoViewHolder, int i) { // 數據綁定 ImageLoader.getInstance().displayImage(picUrls[i], demoViewHolder.imavPic); demoViewHolder.tvUrl.setText(picUrls[i]); } @Override public int getItemCount() { // 返回數據有多少條 if (null == picUrls) { return 0; } return picUrls.length; } // 可復用的VH public static class DemoViewHolder extends RecyclerView.ViewHolder { // 大圖 public ImageView imavPic; // 圖片url public TextView tvUrl; public DemoViewHolder(View itemView) { super(itemView); imavPic = (ImageView) itemView.findViewById(R.id.imavPic); tvUrl = (TextView) itemView.findViewById(R.id.tvUrl); } } }
Activity布局
<relativelayout xmlns:android="http://schemas.android.com/apk/res/android" xmlns:tools="http://schemas.android.com/tools" android:layout_width="match_parent" android:layout_height="match_parent" tools:context=".MainActivity">

    <view android:background="#FFFFFF" android:id="@+id/vTestPalette" android:layout_width="match_parent" android:layout_height="48dp">

    <android.support.v4.widget.swiperefreshlayout android:id="@+id/swipeLayout" android:layout_below="@id/vTestPalette" android:layout_width="match_parent" android:layout_height="match_parent">

        <android.support.v7.widget.recyclerview android:id="@+id/recyclerView" android:layout_width="match_parent" android:layout_height="match_parent" android:scrollbars="vertical">
    </android.support.v7.widget.recyclerview></android.support.v4.widget.swiperefreshlayout>

</view></relativelayout>
item布局
<linearlayout xmlns:android="http://schemas.android.com/apk/res/android" android:layout_width="match_parent" android:layout_height="match_parent" android:layout_margin="5dp" android:orientation="vertical">

    <imageview android:id="@+id/imavPic" android:layout_width="match_parent" android:layout_height="150dp" android:scaletype="centerCrop">

    <textview android:id="@+id/tvUrl" android:layout_width="match_parent" android:layout_height="wrap_content" android:lines="2">

    <view android:layout_width="match_parent" android:layout_height="2dp">
</view></textview></imageview></linearlayout>

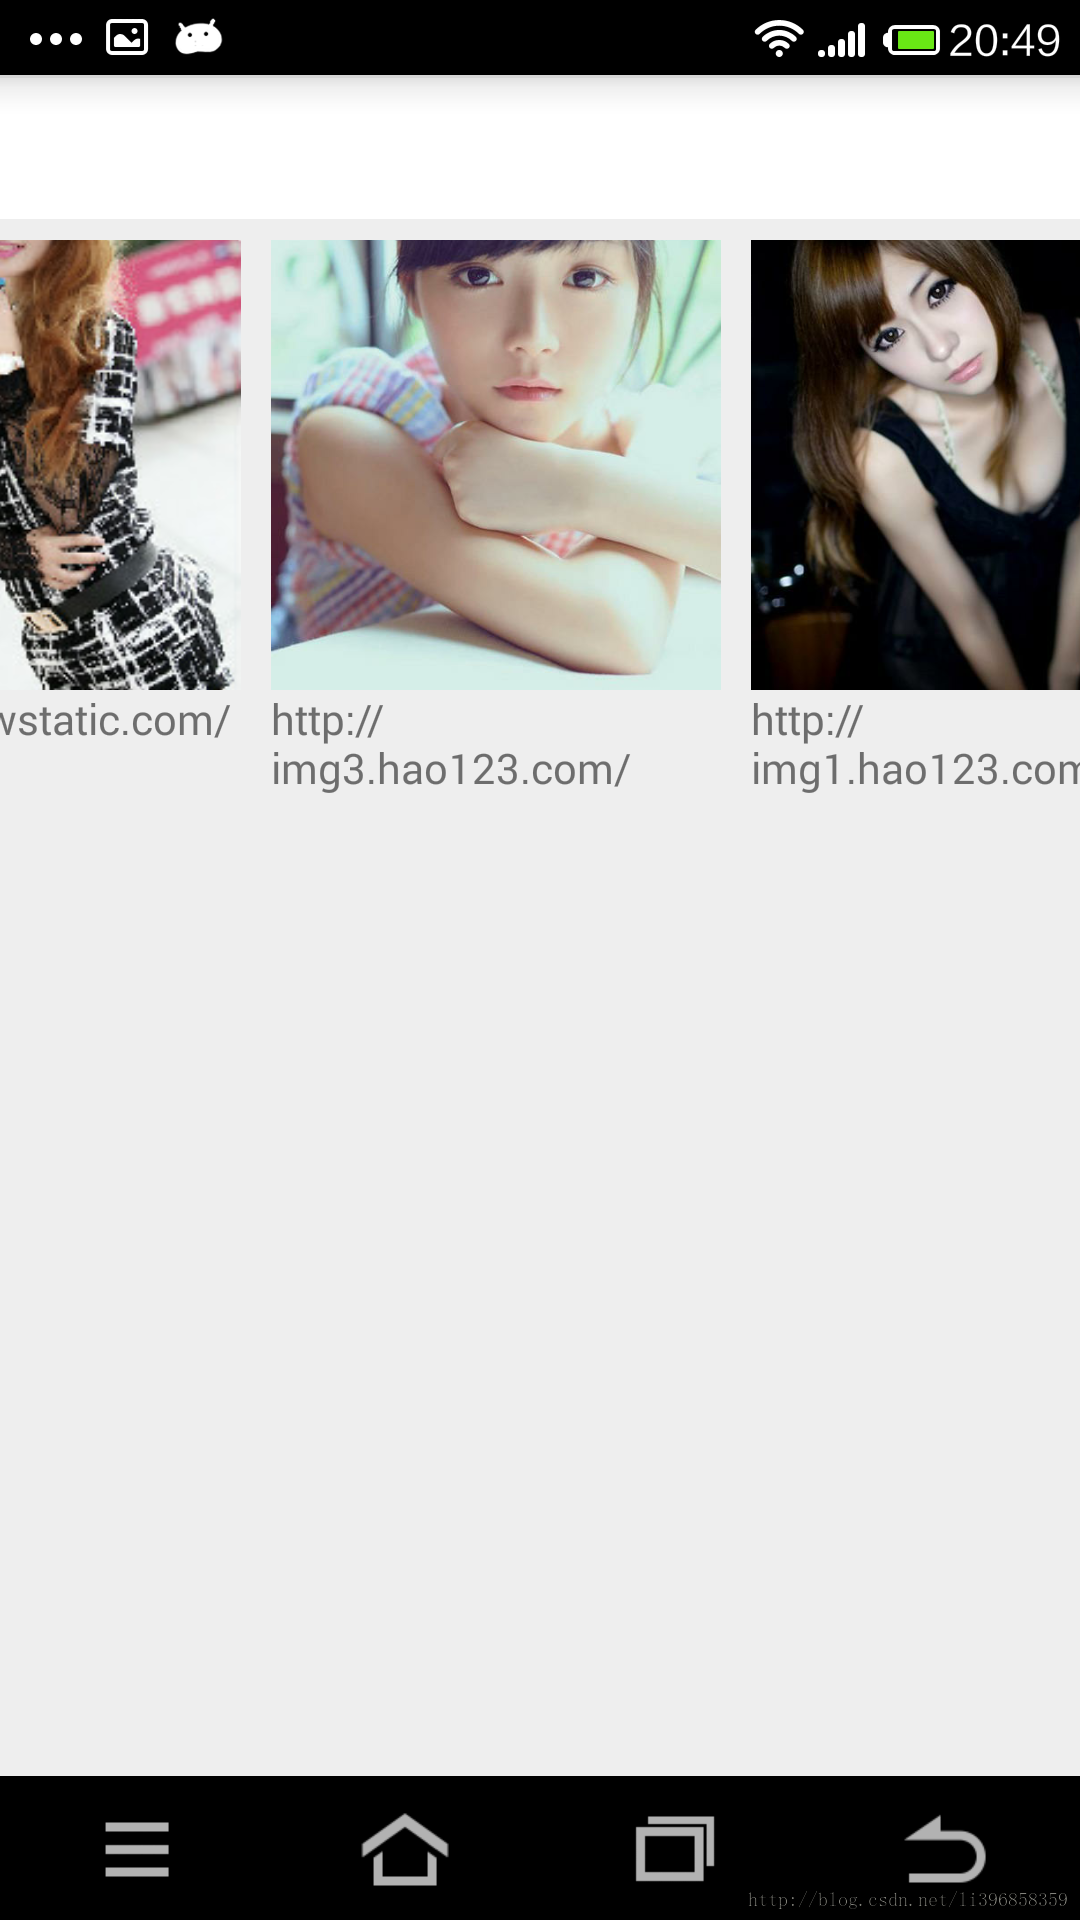
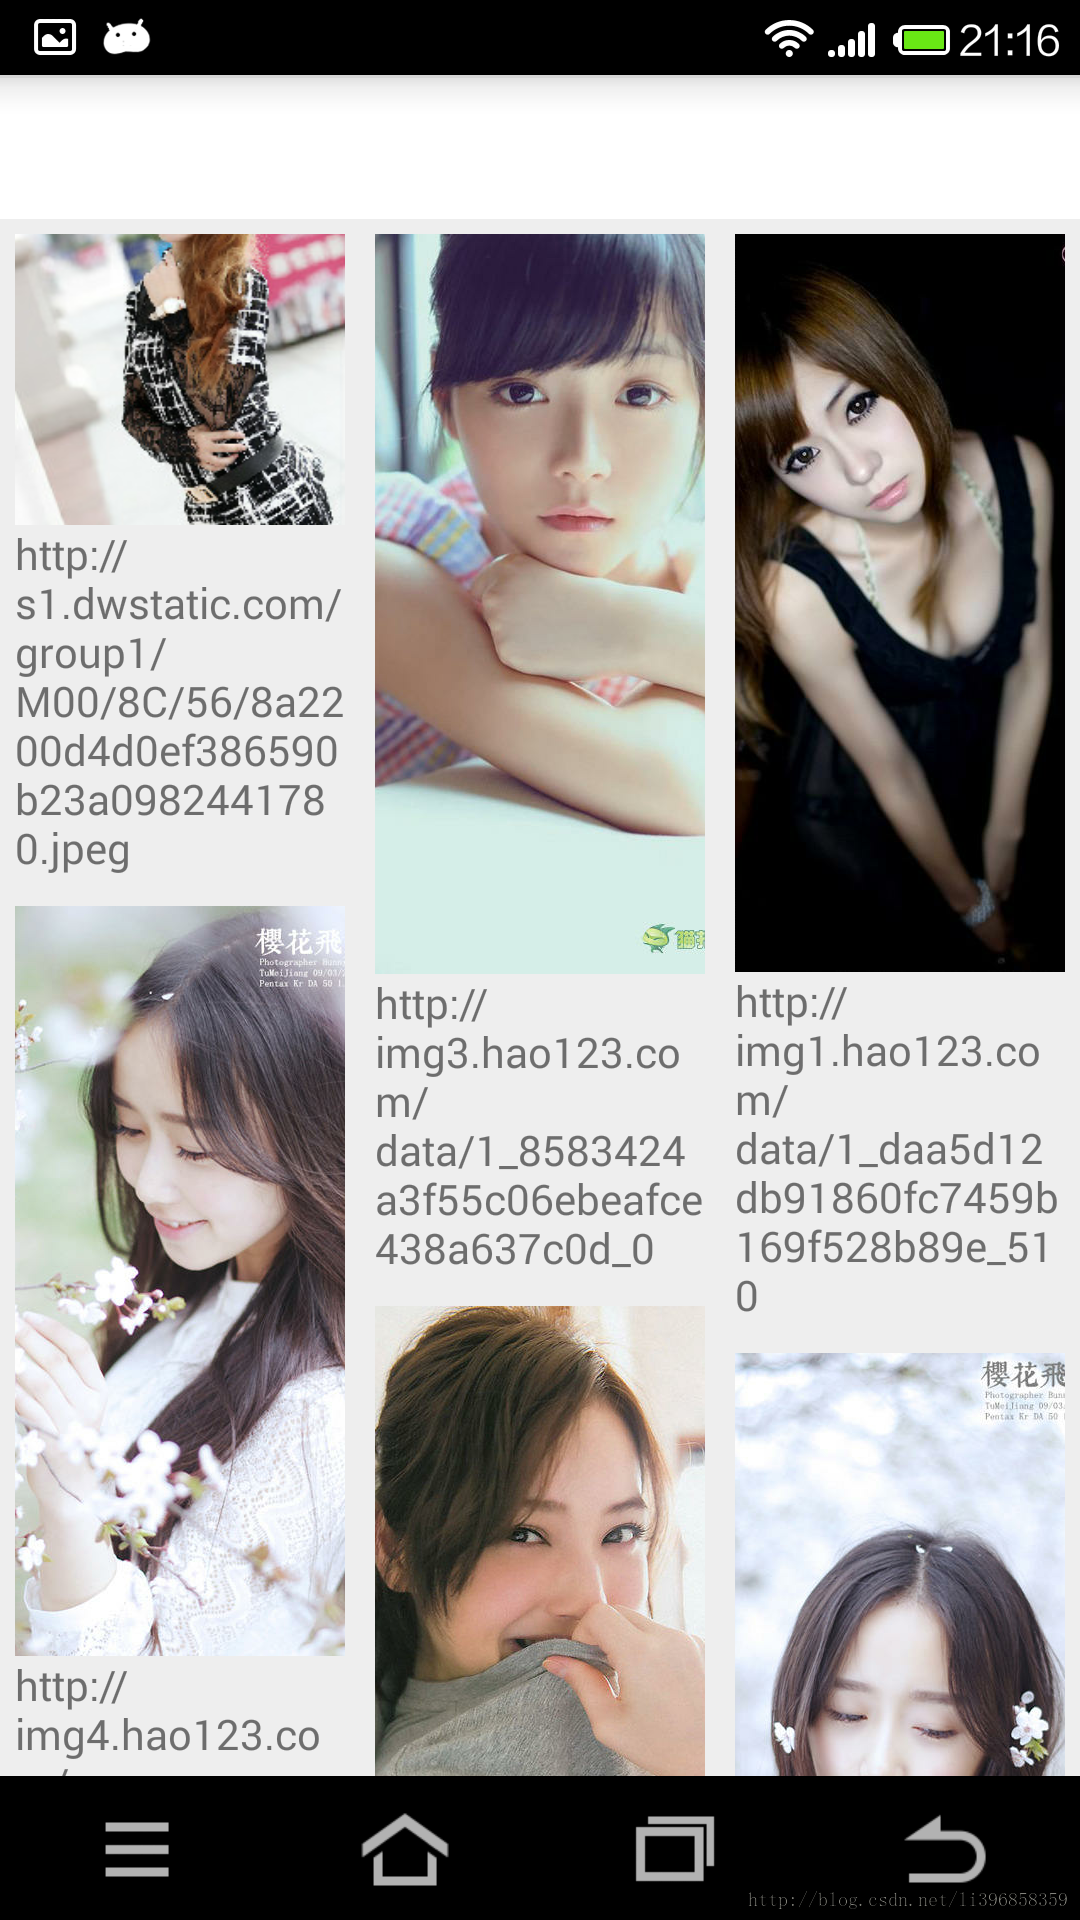
ListView實現橫向的ListView,修改線性布局管理器屬性即可。
默認為
// 線性布局管理器
LinearLayoutManager linearLayoutManager = new LinearLayoutManager(this);
修改為
// 線性布局管理器
LinearLayoutManager linearLayoutManager = new LinearLayoutManager(this);
linearLayoutManager.setOrientation(LinearLayoutManager.HORIZONTAL);
要想橫向的效果好一些,需要對item的布局做一些小修改
改為
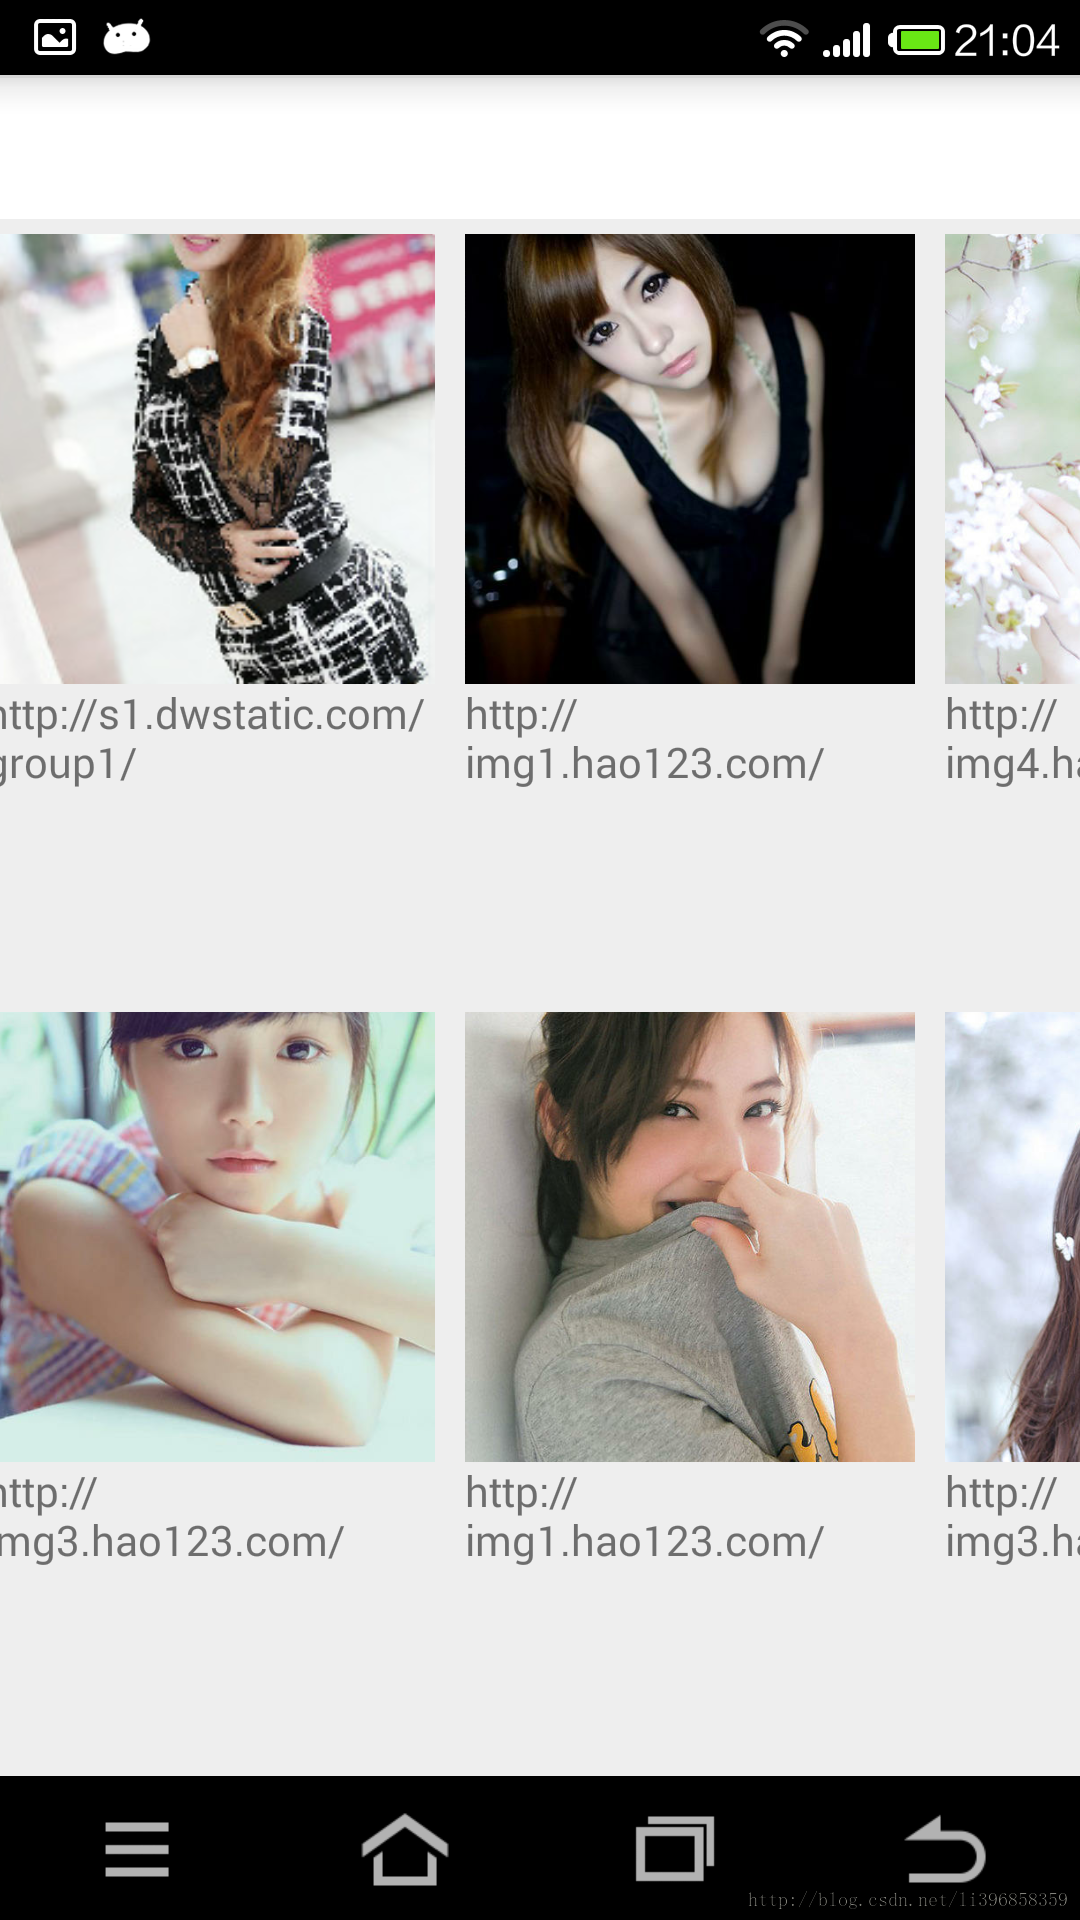
GridView實現此效果,更改布局管理器即可,並微調item的布局
// 線性布局管理器
LinearLayoutManager linearLayoutManager = new LinearLayoutManager(this);
linearLayoutManager.setOrientation(LinearLayoutManager.HORIZONTAL);

// 設置布局管理器
recyclerView.setLayoutManager(linearLayoutManager);
改為
// 網格布局管理器
GridLayoutManager gridLayoutManager = new GridLayoutManager(this, 2);
gridLayoutManager.setOrientation(LinearLayoutManager.VERTICAL);
// 設置布局管理器
recyclerView.setLayoutManager(gridLayoutManager);
通過可以修改方向、也可以修改行數。代碼自己修改,下面直接顯示效果圖。注意修改方向要注意圖片的寬度要適當,不建議使用match_parent


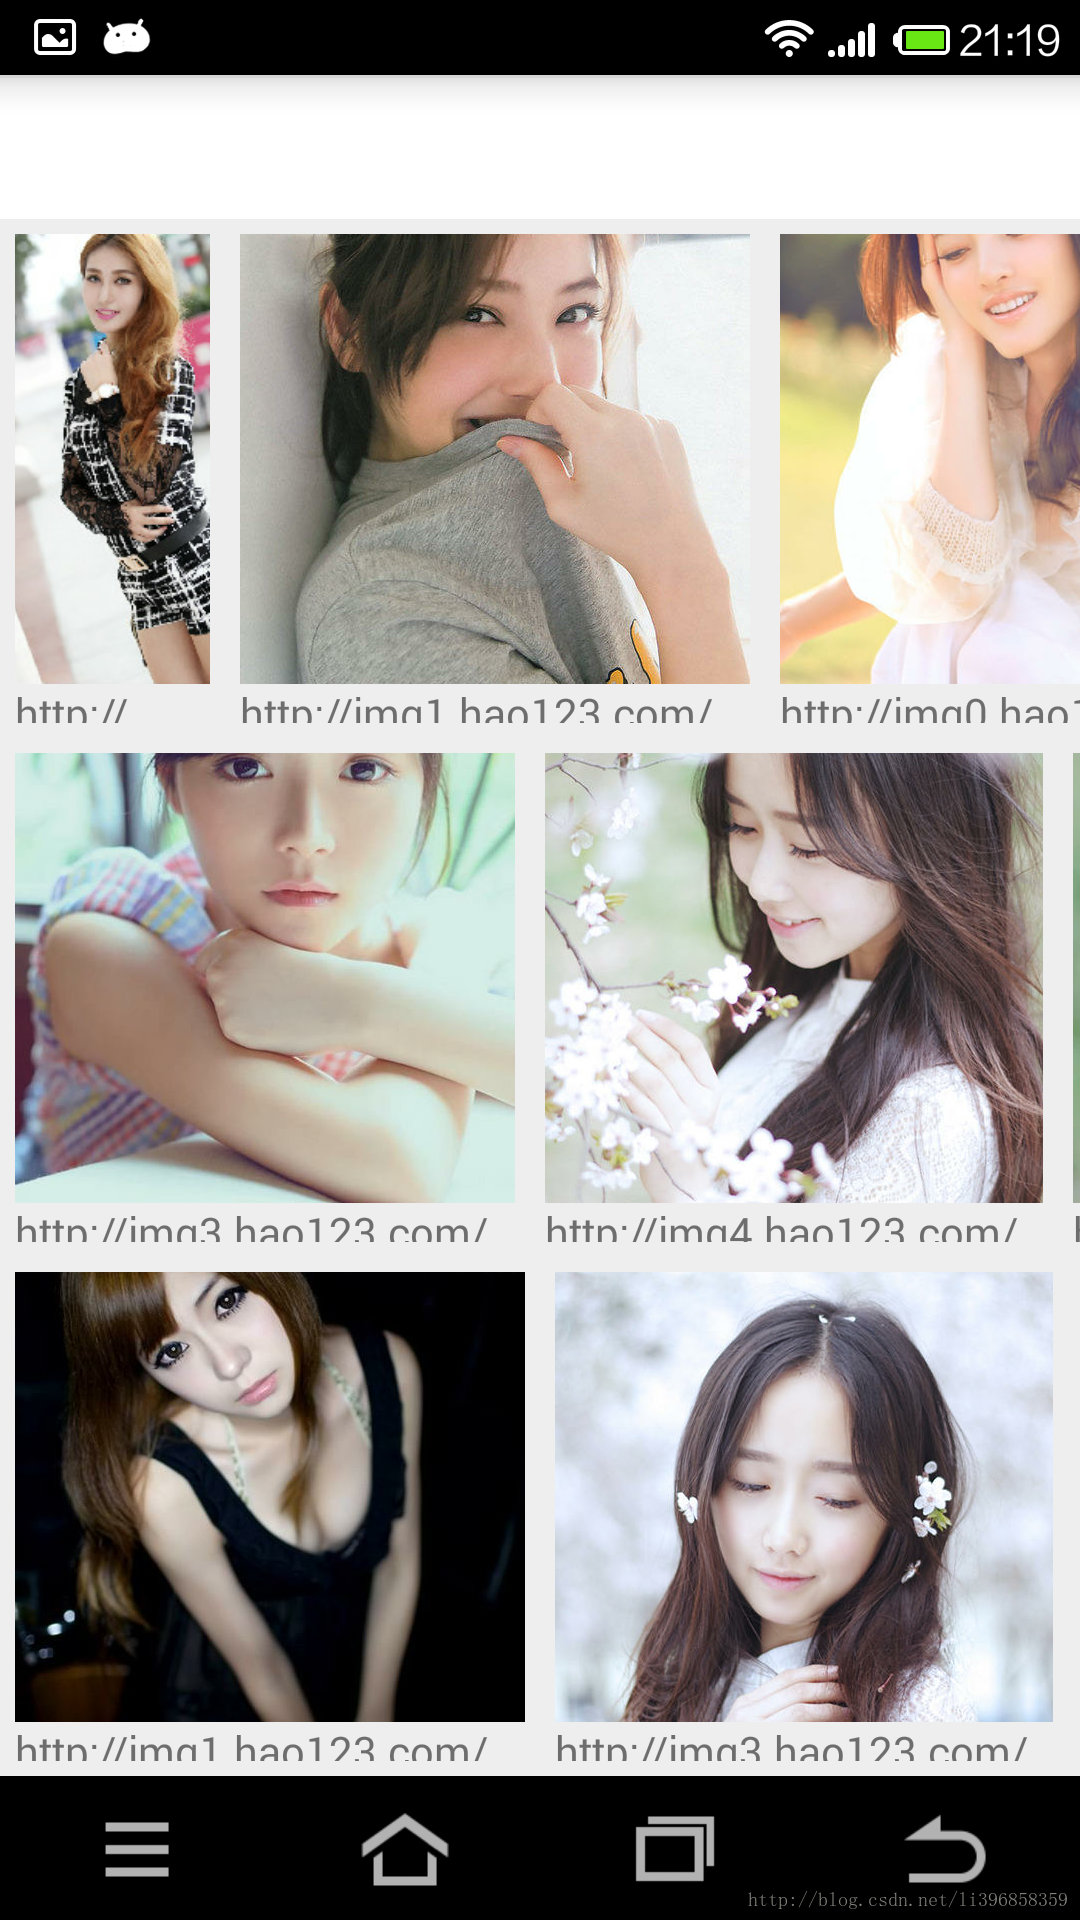
瀑布流實現瀑布流,修改布局管理器和item布局即可。
// 網格布局管理器
GridLayoutManager gridLayoutManager = new GridLayoutManager(this, 2);
gridLayoutManager.setOrientation(LinearLayoutManager.VERTICAL);
// 設置布局管理器
recyclerView.setLayoutManager(gridLayoutManager);
改為
// 交錯網格布局管理器
StaggeredGridLayoutManager staggeredGridLayoutManager = new StaggeredGridLayoutManager(2, LinearLayoutManager.VERTICAL);
// 設置布局管理器
recyclerView.setLayoutManager(staggeredGridLayoutManager);
改為
同樣可以修改為橫向和行數,看效果即可。

RecylerView作為新出現的組件。還有很多的問題和用法期待大家的發現。
StaggeredGridLayoutManager時圖片會自動跳轉onItemClickListenerheadView和footerView VideoView播放視頻初體驗
這幾個月一直在忙項目上的事情,所以已經有一段時間不寫博客,抽時間整理下最近的收藏夾,感覺還是有一些新的知識點可以分享的。先從最近的說起,近期項目上需要支持視頻播放功能,雖
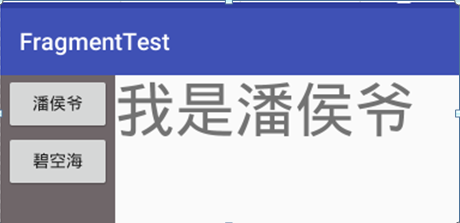 詳解Android中Fragment的兩種創建方式
fragment是Activity中用戶界面的一個行為或者是一部分。你可以在一個單獨的Activity上把多個Fragment組合成為一個多區域的UI,並且可以在多個Ac
 android源碼出現的@字符意義總結
(轉載請注明出處:http://blog.csdn.net/buptgshengod) 1.背景 在android源碼中我們能看到各種以@開頭的字符,他們大
 android 中TextView設置部分文字背景色和文字顏色
通過SpannableStringBuilder來實現,它就像html裡邊的元素改變指定文字的文字顏色或背景色public class MainActivity exte