編輯:關於Android編程
什麼是ViewGroup?
在Android的樹狀結構圖中,ViewGroup類衍生出我們所熟悉的LinearLayout、RelativeLayout等布局:
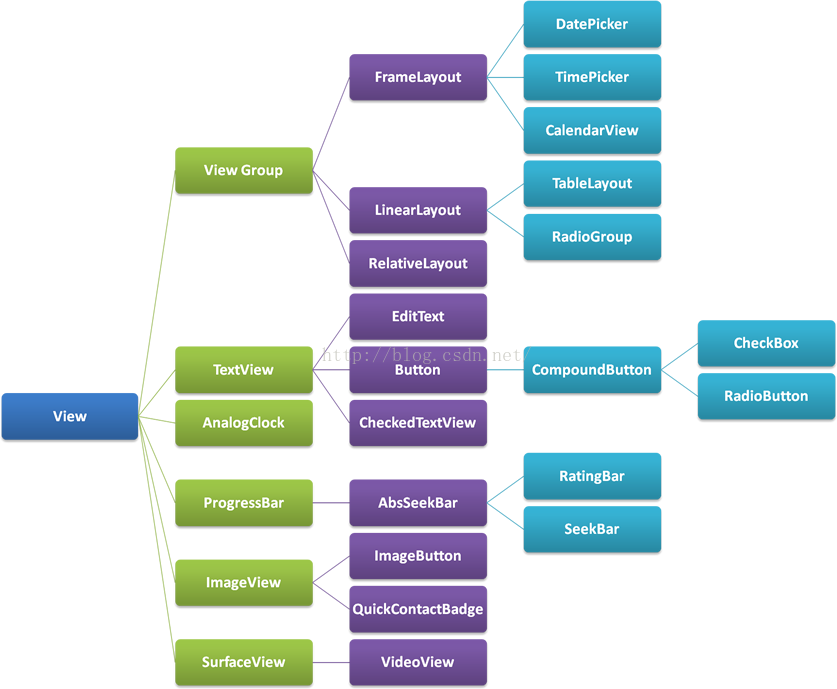
簡單來說,ViewGroup其實就相當於所有布局的父親,所以我們可以通過自定義ViewGroup類實現千變萬化的布局。
public class FlowLayoutextends ViewGroup{

	public FlowLayout(Context context) {
		// TODO Auto-generated constructor stub
		this(context,null);
	}

	public FlowLayout(Context context, AttributeSet attrs) {
		// TODO Auto-generated constructor stub
		this(context,attrs,0);

	}

	public FlowLayout(Context context, AttributeSet attrs, int defStyleAttr) {
		super(context, attrs, defStyleAttr);
		// TODO Auto-generated constructor stub
	}

}
@Override
protected void onMeasure(int widthMeasureSpec, int heightMeasureSpec) {
	// TODO Auto-generated method stub
	measureChildren(widthMeasureSpec, heightMeasureSpec);
	super.onMeasure(widthMeasureSpec, heightMeasureSpec);
}
對這個方法的使用見下文,此處記得添加measureChildren(widthMeasureSpec, heightMeasureSpec);表示由系統自己測量每個子View的大小
public static class FlowLayoutParams extends ViewGroup.MarginLayoutParams{

	public FlowLayoutParams(Context context, AttributeSet attrs) {
		super(context, attrs);
		// TODO Auto-generated constructor stub
	}

}
@Override
protected void onLayout(boolean arg0, int left, int top, int right, int bottom) {
	// TODO Auto-generated method stub
	//獲得FlowLayout所測量出來的寬度
	int mViewGroupWidth = getMeasuredWidth();
	/**
	* paintX:繪制每個View時的光標起點的橫坐標
	* paintY:繪制每個View時的光標起點的縱坐標
	*/
	int paintX = left;
	int paintY = top;

	//用於記錄上一行的最大高度
	int maxlineHeight = 0;

	int childCount = getChildCount();
	for(int i=0; i mViewGroupWidth){
			//繪制的起點的橫坐標重新移回FlowLayout的橫坐標
			paintX = left;
			//繪制的起點的縱坐標要向下移動一行的高度
			paintY = paintY + maxlineHeight + params.topMargin + params.bottomMargin;
			maxlineHeight = 0;
		}
		maxlineHeight = Math.max(childViewHeight, maxlineHeight);
		childView.layout(paintX+params.leftMargin, paintY+params.topMargin, paintX+childViewWidth+params.leftMargin, paintY+childViewHeight+params.topMargin);
		//每繪制一次,起點光標就要向右移動一次
		paintX = paintX + childViewWidth + params.leftMargin + params.rightMargin;
	}
}
解析:在onLayout方法中,我們對每個子View進行遍歷並設置好它們應該在的位置,比如是LinearLayout的話,在onLayout中系統會規定它的子View只能按著橫向或者豎向排列下去,也就是說,onLayout裡子View的排布是按著我們自己的想法來決定,到底這個自定義布局會有怎樣的特性?
此處我們demo是自定義FlowLayout,也就是每一行都向右排列下去,直到這一行不夠容納,則子View自動換行,進入下一行,依此類推,從而實現流式布局,為了實現這樣的效果,最關鍵的應該是在換行的時候,需要實現讓我們的子View能夠判斷到底換不換行,代碼思路如下:
1.首先需要記錄FlowLayout的寬度, 作為每一行的寬度上限:
int mViewGroupWidth = getMeasuredWidth();
/**
		 * paintX:繪制每個View時的光標起點的橫坐標
		 * paintY:繪制每個View時的光標起點的縱坐標
		 */
		int paintX = left;
		int paintY = top;
FlowLayout.FlowLayoutParams params = (FlowLayout.FlowLayoutParams)childView.getLayoutParams();
int childViewWidth = childView.getMeasuredWidth();
int childViewHeight = childView.getMeasuredHeight();
//繪制的起點的橫坐標重新移回FlowLayout的橫坐標
paintX = left;
//繪制的起點的縱坐標要向下移動一行的高度
paintY = paintY + maxlineHeight + params.topMargin + params.bottomMargin;
//由於換行,所以當前行變成了下一行,最大高度自然也就置為當前這個新起行的子View的高度(因為它是下一行的第一個View)
maxlineHeight = childViewHeight;
5.繪制當前子View,光標移動至下一個起點:
//每次都要計算當前行的最大高度
maxlineHeight = Math.max(childViewHeight, maxlineHeight);
childView.layout(paintX+params.leftMargin, paintY+params.topMargin, paintX+childViewWidth+params.leftMargin, paintY+childViewHeight+params.topMargin);
//每繪制一次,起點光標就要向右移動一次
paintX = paintX + childViewWidth + params.leftMargin + params.rightMargin;
運行:
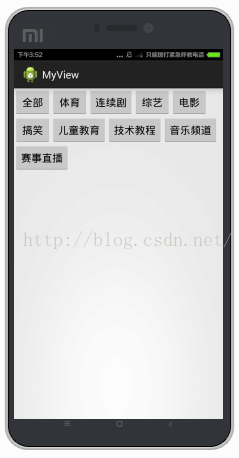
可以看到達到了我們所要的效果,但這裡我們設置的FlowLayout的大小都是fill_parent,如果改為wrap_content會怎樣?
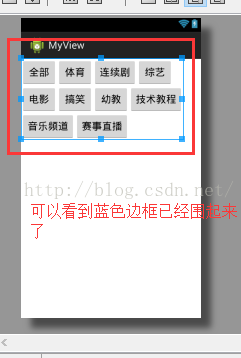
將FlowLayout的layout_height設置為wrap_content,雖然屏幕上仍然呈現的是一樣的效果,可是在預覽窗口中點擊FlowLayout,可以看到其實FlowLayout依舊是fill_parent的大小,而不是貼著子View的邊緣,如圖:
這不是我們想要的效果,正確的做法應該是:設置為wrap_content時,FlowLayout的邊界是緊緊貼著子View的邊緣的,所以我們應該修改onMeasure方法:
@Override
protected void onMeasure(int widthMeasureSpec, int heightMeasureSpec) {
	// TODO Auto-generated method stub
	//measureChildren(widthMeasureSpec, heightMeasureSpec);
	super.onMeasure(widthMeasureSpec, heightMeasureSpec);

	//得到FlowLayout的模式和寬高
	int widthMode = MeasureSpec.getMode(widthMeasureSpec);
	int widthSize = MeasureSpec.getSize(widthMeasureSpec);
	int heightMode = MeasureSpec.getMode(heightMeasureSpec);
	int heightSize = MeasureSpec.getSize(heightMeasureSpec);

	//記錄wrap_content下的最終寬度和高度
	int width = 0;
	int height = 0;
	//記錄每一行的最大寬度和最大高度
	int lineWidth = 0;
	int lineHeight = 0;

	int childCount = getChildCount();
	for(int i=0;i widthSize){
			width = Math.max(lineWidth, childWidth);
			height = height + lineHeight;
			lineWidth = childWidth;
			lineHeight = childHeight;
		}else
	            // 否則累加值lineWidth,lineHeight取最大高度
	        {
	                lineWidth += childWidth;
	                lineHeight = Math.max(lineHeight, childHeight);
	        }

		//如果是最後一個子View
		if (i == childCount - 1){
                	width = Math.max(width, lineWidth);
                	height += lineHeight;
            	}


	}
	//根據模式來決定FlowLayout的大小,如果不是EXACTLY,則說明布局文件中設置的模式應該是wrap_content
	/**
	* 如果是wrap_content,則將FlowLayout寬度和高度設置為我們計算出來的最終寬高
	* 如果是fill_parent或者具體數值,則將FlowLayout寬度和高度設置為一開始getMode和getSize得到的那個寬高
	*/
	setMeasuredDimension((widthMode == MeasureSpec.EXACTLY) ? widthSize
             : width, (heightMode == MeasureSpec.EXACTLY) ? heightSize
             : height);
}
再次查看預覽窗口:
 Android仿小米商城商品詳情界面UI,ScrollView嵌套ScrollView/WebView/ListView
最近公司沒事,研究了下多嵌套滾動組件的事件分發,雖然以前也接觸過,但都是拿網上的用,也是特別簡單的,正好朋友也需要,就研究了下。這個Demo也不是很完善,放上來也是讓各位
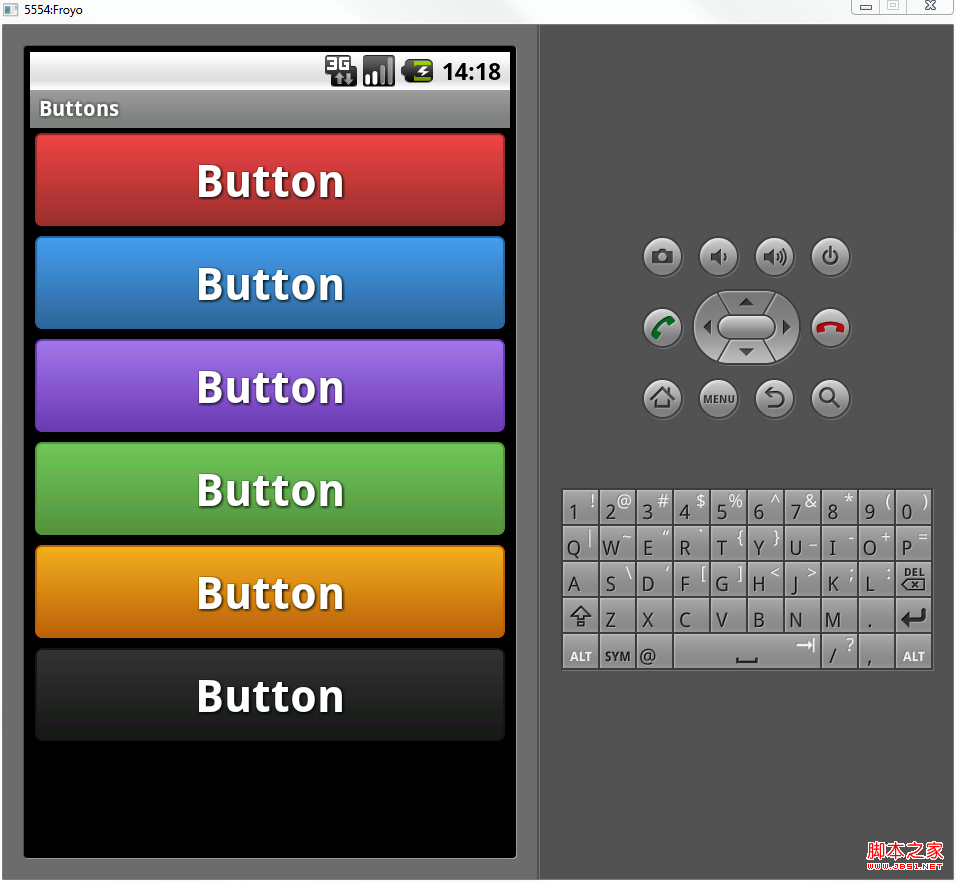 Android自定義格式顯示Button的布局思路
先把來源貼上http://zrgiu.com/blog/2011/01/making-your-android-app-look-better/http://www.di
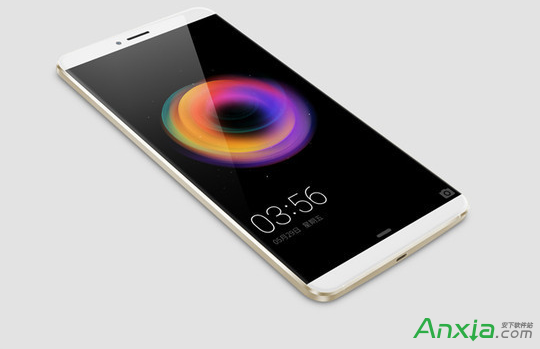 360奇酷手機如何刷機
360奇酷手機出自酷派和360合資公司,奇酷手機以及酷派手機都屬於安卓系統,那麼奇酷手機、酷派手機怎麼刷機呢?手機有毛病可以嘗試恢復手機出廠設置,操作方法如
 Android簡易實戰教程--第二十二話《自定義組合控件模擬qq登錄下拉框和其中的一些”小技巧”》
首先,很榮幸此專欄能被CSDN推薦到主頁。榮幸的同時,也激勵自己會把這個專欄一直更新下去。進入今天的主題:我們在qq登錄的時候,會有一個下拉的按鈕,來查看歷史登錄賬號。這