編輯:關於Android編程
ReactNative的發展已經進入了很多開發者視野,作為一名原生開發者更是對 RN 充滿了無限的好奇和期待,
本節將詳細講述如何將一個原生的 Android App 項目嵌入最新的 RN 模塊
1.  一個已有的 Android 原生項目
2. 已經配置好的原生 Android 開發環境和 node.js已經 RN 環境
3. 改造之後的流程圖

2.開始改造在原生 Android 項目的在app/build.gradle文件中,添加React Native依賴:
compile"com.facebook.react:react-native:+
加入.so 庫
ndk {
    abiFilters "armeabi-v7a", "x86"
}
在工程目錄下找到工程的 build.gradle文件中,添加 maven依賴
allprojects {
    repositories {
        jcenter()
        maven {
            // All of React Native (JS, Android binaries) is installed from npm
            url "$rootDir/node_modules/react-native/android"
        }
    }
}
3. 在 app 目錄裡添加需要的權限
/**設置調試 的權限**/
4.添加 FaceBook 的 ReactNative 調試的 activity
2. 編寫原生的 ReactNative 模塊 ,廢話不多說,直接上代碼
package com.allen.reactapp;

import android.app.Activity;
import android.os.Bundle;

import com.facebook.react.LifecycleState;
import com.facebook.react.ReactInstanceManager;
import com.facebook.react.ReactRootView;
import com.facebook.react.modules.core.DefaultHardwareBackBtnHandler;
import com.facebook.react.shell.MainReactPackage;

/**
 * 作者: allen on 16/7/31.
 */
public  class MyReactActivity extends Activity implements DefaultHardwareBackBtnHandler {
    private ReactRootView mReactRootView;
    private ReactInstanceManager mReactInstanceManager;

    @Override
    protected void onCreate(Bundle savedInstanceState) {
        super.onCreate(savedInstanceState);

        mReactRootView = new ReactRootView(this);
        mReactInstanceManager = ReactInstanceManager.builder()
                .setApplication(getApplication())
                .setBundleAssetName("index.android.bundle")
                .setJSMainModuleName("index.android")
                .addPackage(new MainReactPackage())
                /**
                 * http://stackoverflow.com/questions/37951246/react-native-cannot-find-development-server-integrating-existing-android-app
                 * 調試模式下,建議直接寫成 true 吧,我就因為這個錯誤,調了兩天原因
                 */
//                .setUseDeveloperSupport(BuildConfig.DEBUG)
                .setUseDeveloperSupport(true)
                .setInitialLifecycleState(LifecycleState.RESUMED)
                .build();
        mReactRootView.startReactApplication(mReactInstanceManager, "myreactactivity", null);

        setContentView(mReactRootView);
    }

    @Override
    public void invokeDefaultOnBackPressed() {
        super.onBackPressed();
    }
    @Override
    protected void onPause() {
        super.onPause();

        if (mReactInstanceManager != null) {
            mReactInstanceManager.onHostPause();
        }
    }

    @Override
    protected void onResume() {
        super.onResume();

        if (mReactInstanceManager != null) {
            mReactInstanceManager.onHostResume(this, this);
        }
    }

    @Override
    public void onBackPressed() {
        if (mReactInstanceManager != null) {
            mReactInstanceManager.onBackPressed();
        } else {
            super.onBackPressed();
        }
    }


}
到此為止我們的Android項目Activity和配置文件以及完成了最基本的配置方法了。========================================================================
========================================================================
3. 下面配置工程項目的 RN開發環境
1. 先後順序依次執行一下命令
$ npm init
該命令會創建一個package.json文件,並且提示我們輸入一些信息,默認不輸入即可,不過name必須要為全英文小寫哦,
然後再依次去執行以下命令
 $ npm install --save react
 $ npm install --save react-native
 $ curl -o .flowconfig https://raw.githubusercontent.com/facebook/react-native/master/.flowconfig
創建完成後,去工程目錄下修改 package.json

在scripts標簽那邊添加如下代碼:
"start":"node_modules/react-native/packager/packager.sh"

3. 工程目錄下創建 index.android.js 由於是測試代碼直接 Copy FaceBook 的源碼
/**
* Sample React Native App
* https://github.com/facebook/react-native
* @flow
*/
import React, { Component } from 'react';
import {
AppRegistry,
StyleSheet,
Text,
View
} from 'react-native';
class AwesomeProject extends Component {
render() {
return (
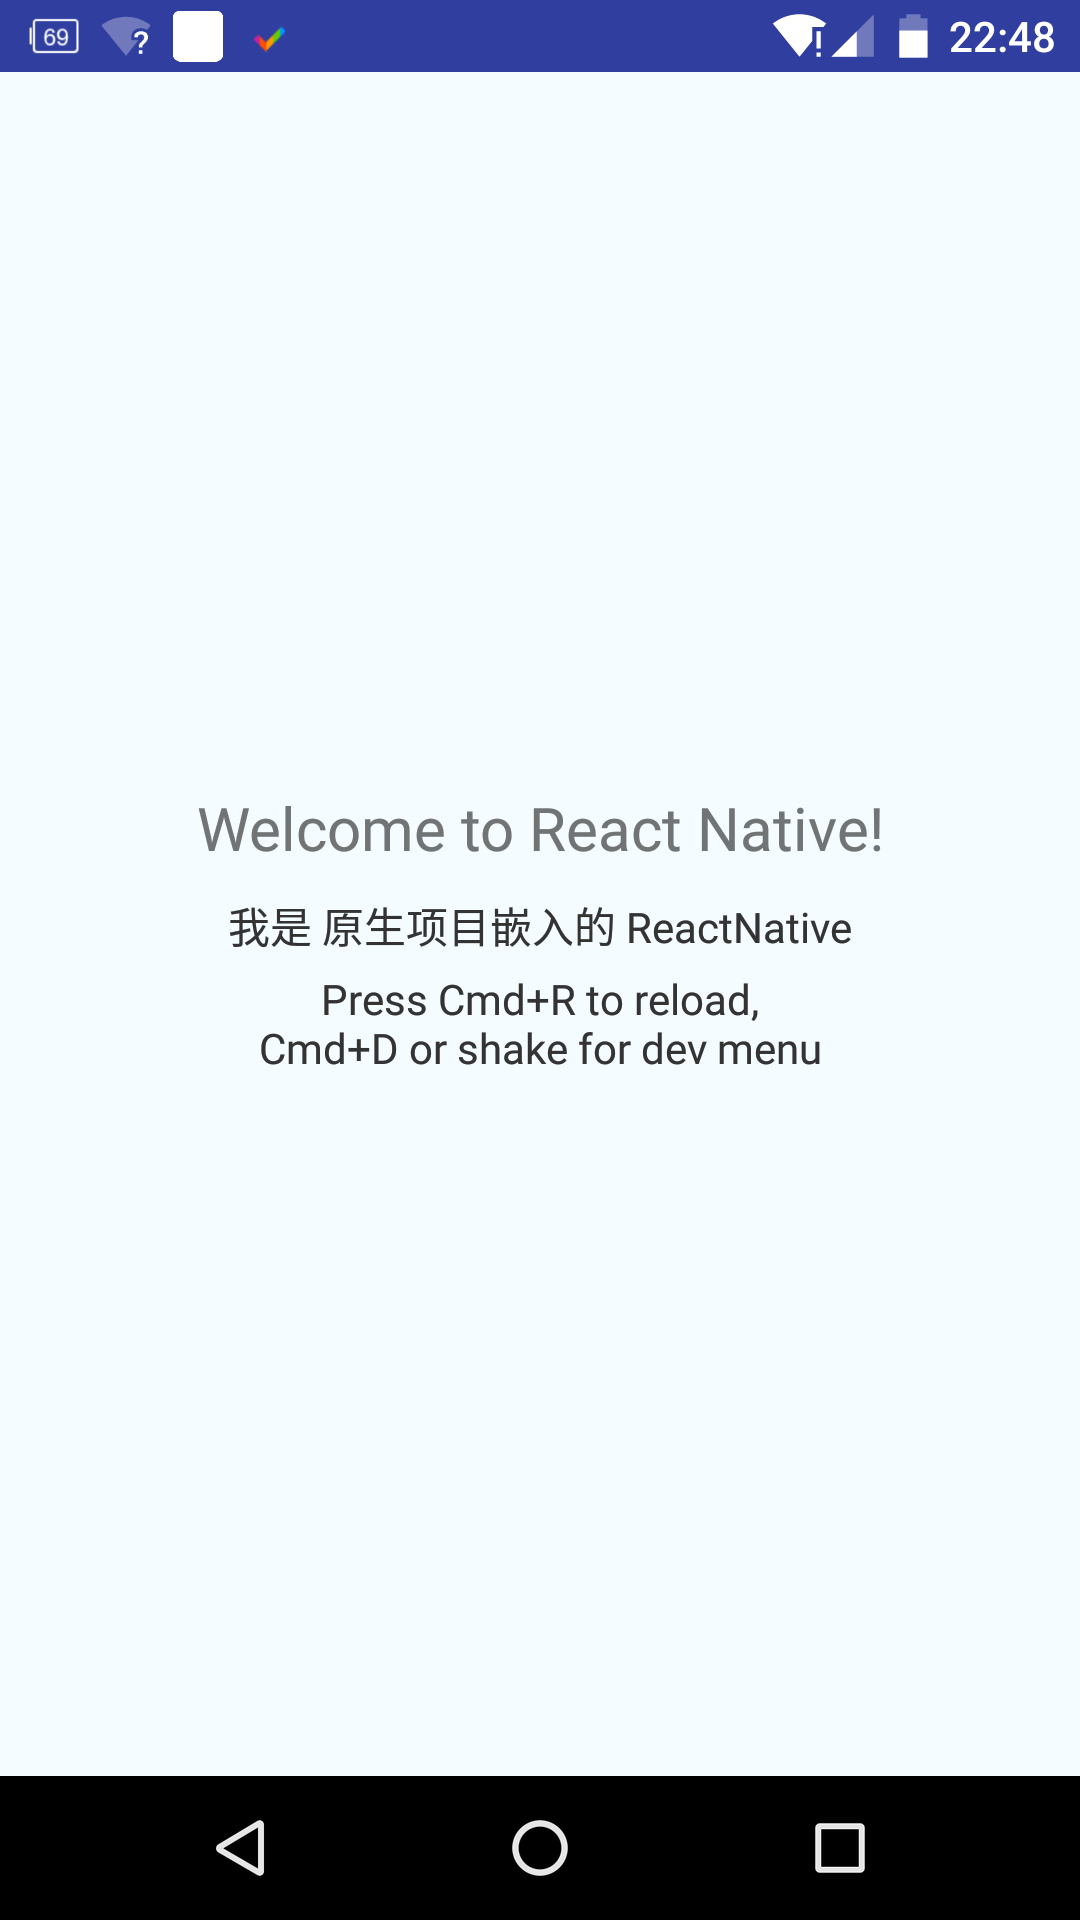
Welcome to React Native!
我是 原生項目嵌入的 ReactNative
Press Cmd+R to reload,{'\n'}
Cmd+D or shake for dev menu
);
}
}
const styles = StyleSheet.create({
container: {
flex: 1,
justifyContent: 'center',
alignItems: 'center',
backgroundColor: '#F5FCFF',
},
welcome: {
fontSize: 20,
textAlign: 'center',
margin: 10,
},
instructions: {
textAlign: 'center',
color: '#333333',
marginBottom: 5,
},
});
AppRegistry.registerComponent('myreactactivity', () => AwesomeProject);
注意:此處需要修改注冊的入口 保持一致,我的是 my_react_activity
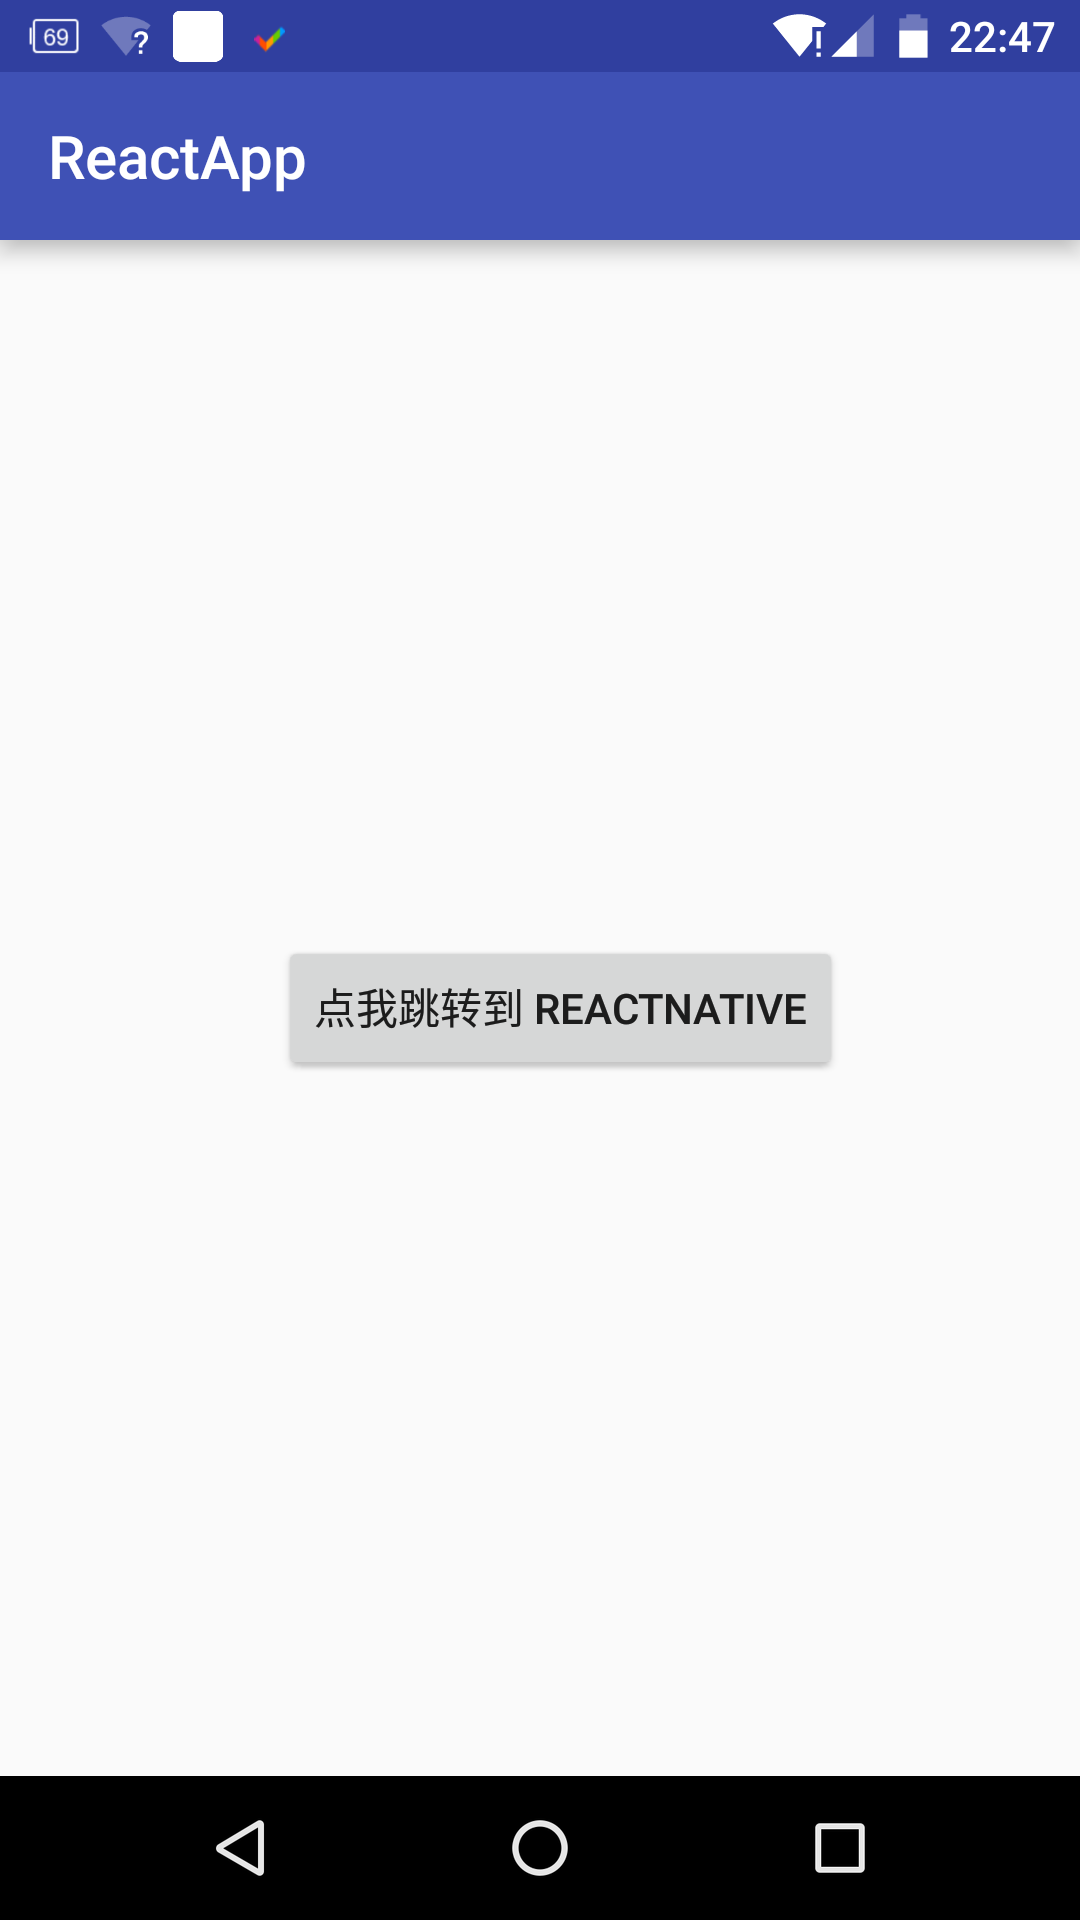
4.檢查以上所有步驟,有無遺漏,如果正常,接下來就可以順利的運行你的混合 APP 了,如果還不行,你需要檢查你的姿勢是否正確?運行你的 APP
1. 在項目的工程路徑運行以下命令來啟動你的開發服務器
react-native start
或者執行
npm start
2. android studio 調試你的 APP
3. 演示效果圖
===================
錯誤解決:
  Process: com.allen.reactapp, PID: 20469
java.lang.RuntimeException: java.util.concurrent.ExecutionException: java.lang.RuntimeException: Could not connect to development server.
Try the following to fix the issue:
Ensure that the packager server is running
Ensure that your device/emulator is connected to your machine and has USB debugging enabled - run 'adb devices' to see a list of connected devices
If you're on a physical device connected to the same machine, run 'adb reverse tcp:8081 tcp:8081' to forward requests from your device
If your device is on the same Wi-Fi network, set 'Debug server host & port for device' in 'Dev settings' to y
at com.facebook.react.ReactInstanceManagerImpl.createReactContext(ReactInstanceManagerImpl.java:911)
at com.facebook.react.ReactInstanceManagerImpl.access$700(ReactInstanceManagerImpl.java:100)
at com.facebook.react.ReactInstanceManagerImpl$ReactContextInitAsyncTask.doInBackground(ReactInstanceManagerImpl.java:197)
at com.facebook.react.ReactInstanceManagerImpl$ReactContextInitAsyncTask.doInBackground(ReactInstanceManagerImpl.java:180)
at android.os.AsyncTask$2.call(AsyncTask.java:295)
at java.util.concurrent.FutureTask.run(FutureTask.java:237)
at android.os.AsyncTask$SerialExecutor$1.run(AsyncTask.java:234)
at java.util.concurrent.ThreadPoolExecutor.runWorker(ThreadPoolExecutor.java:1113)
at java.util.concurrent.ThreadPoolExecutor$Worker.run(ThreadPoolExecutor.java:588)
at java.lang.Thread.run(Thread.java:818)
Caused by: java.util.concurrent.ExecutionException: java.lang.RuntimeException: Could not connect to development server.
Try the following to fix the issue:
Ensure that the packager server is running
Ensure that your device/emulator is connected to your machine and has USB debugging enabled - run 'adb devices' to see a list of connected devices
If you're on a physical device connected to the same machine, run 'adb reverse tcp:8081 tcp:8081' to forward requests from your device
If your device is on the same Wi-Fi network, set 'Debug server host & port for device' in 'Dev settings' to y
at com.facebook.react.common.futures.SimpleSettableFuture.get(SimpleSettableFuture.java:68)
at com.facebook.react.ReactInstanceManagerImpl.createReactContext(ReactInstanceManagerImpl.java:882)
    ... 9 more
Caused by: java.lang.RuntimeException: Could not connect to development server.
Try the following to fix the issue:
Ensure that the packager server is running
Ensure that your device/emulator is connected to your machine and has USB debugging enabled - run 'adb devices' to see a list of connected devices
解決辦法:

	.setUseDeveloperSupport(true) 調試模式下,建議直接寫成 true 吧,
簽名打包混合 APP

1. 將 js 文件存入 bundle 一起打包

執行命令:
curl -k "http://localhost:8081/index.android.bundle"> reactapp/src/main/assets/index.android.bundle
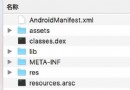
執行完命令成功,在 assets目錄應該看到 index.android.bundle文件
Android studio 執行打包過程,作為一名 Android 老司機我就不再具體描述了
原 Android 移植 React Native 項目地址
 Android學習(45) -- 自定義控件(9) 下拉刷新 (添加footer)
樣式效果 1、創建底部的布局layout_footer.xml 2、在自定義的ListView中 初始化話FooterVi
 Android4.4 應用分析——修改Launcher3應用以適應單屏壁紙
Launcher3壁紙的規格默認是:壁紙高度=屏幕高度,壁紙寬帶=屏幕寬度*2倍 Android4.4的壁紙信息存放在/data/system/users/0/目錄下,W
 Android數據庫高手秘籍(二)——創建表和LitePal的基本用法
我們學習了一些Android數據庫相關的基礎知識,和幾個頗為有用的SQLite命令,都是直接在命令行操作的。但是我們都知道,數據庫是要和程序結合在一起使用的,
 安卓APK瘦身
之前打包的時候直接就用eclipse或者android studio直接生成簽名文件,並沒有關心大小問題,最近有人問我有沒有對APK進行瘦身,對這方面內容一致沒有關注過,